
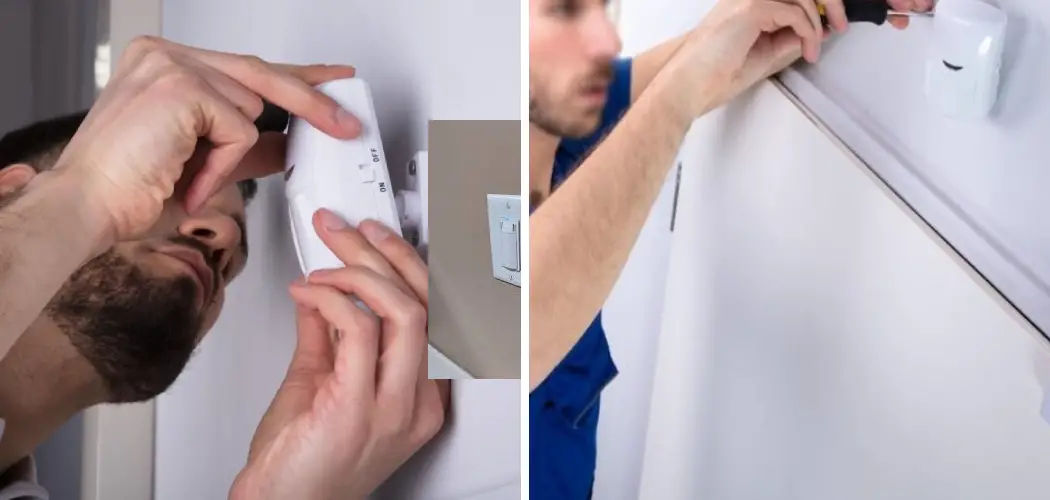
Few things are more frustrating than working at your desk, reading on the couch, or walking through a hallway when the lights suddenly go dark. Automatic lights are designed to save energy by switching off after a period of inactivity, but sometimes they shut off too soon. If you’ve found yourself waving your arms just to bring the room back to life, you’re not alone. Learning how to stop automatic light from turning off can give you back control and make your spaces more comfortable.
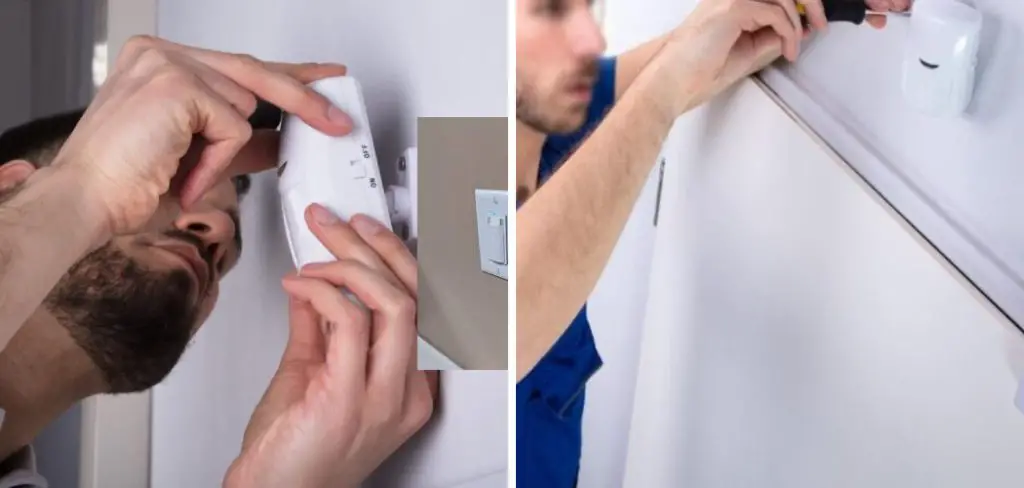
This guide breaks everything down into simple, friendly steps that work for motion sensors, smart bulbs, and timer-based fixtures. You don’t need to be an electrician or a tech expert to follow along. We’ll walk you through finding the right settings, adjusting timers, and overriding sensors so your lights stay on exactly when you want them. By the end, you’ll feel confident handling the issue yourself, no matter your skill level.
Why Stopping Your Automatic Light From Turning Off Matters
Lights that shut off unexpectedly do more than annoy you. They can disrupt your focus, interrupt important tasks, and even create safety concerns in stairwells or kitchens where visibility matters most. For anyone working from home, cooking, or caring for family members, reliable lighting keeps daily life running smoothly.
Taking control of your lighting also helps you balance comfort with energy savings. You don’t have to choose between convenience and efficiency. By adjusting your settings the right way, you keep the benefits of automation while removing the frustration. The result is a space that responds to your needs instead of fighting against them, giving you peace of mind and a more enjoyable environment every single day.
Step-by-Step Guide to How to Stop Automatic Light From Turning Off
Step 1: Identify Your Lighting Type
Before changing anything, figure out what kind of fixture you’re dealing with. Motion sensor lights react to movement, timer-based lights run on fixed schedules, and smart bulbs connect to an app or hub. Each type has its own controls, so identifying yours is the foundation for everything that follows.
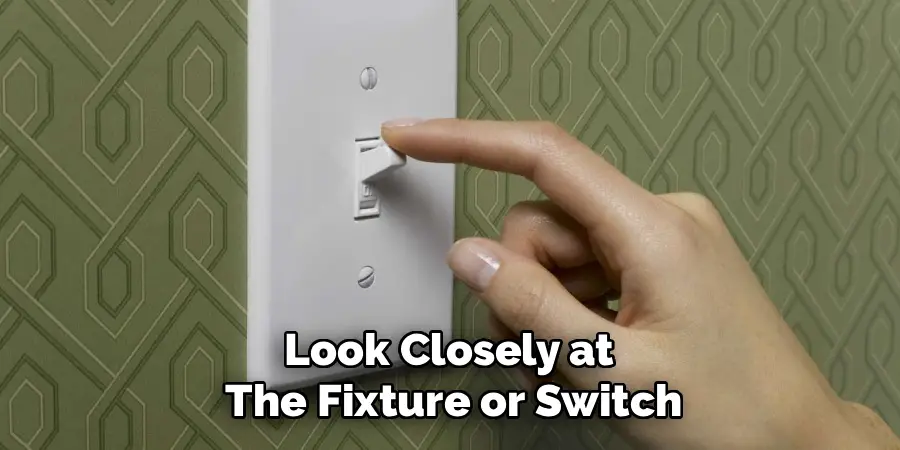
Look closely at the fixture or switch. A small lens or sensor usually means motion detection, while a dial or digital display often points to a timer. If you control the light through your phone, it’s likely a smart system. Knowing this saves you time and helps you target the exact setting that needs adjusting.
Step 2: Locate the Sensor or Settings Panel
Once you know your lighting type, find where the controls live. For motion sensors, the adjustment dials are often tucked along the side or bottom of the unit. Timer switches usually have buttons or sliders right on the wall plate. Smart systems keep their controls inside an app menu.
Take a moment to inspect the hardware carefully. Some sensors hide tiny screws or dials behind a removable cover, so gentle exploration helps. If you’re using an app, open it and browse to the device settings. Spotting the right panel early makes the rest of the process feel much easier and far less confusing.
Step 3: Adjust the Timer Duration
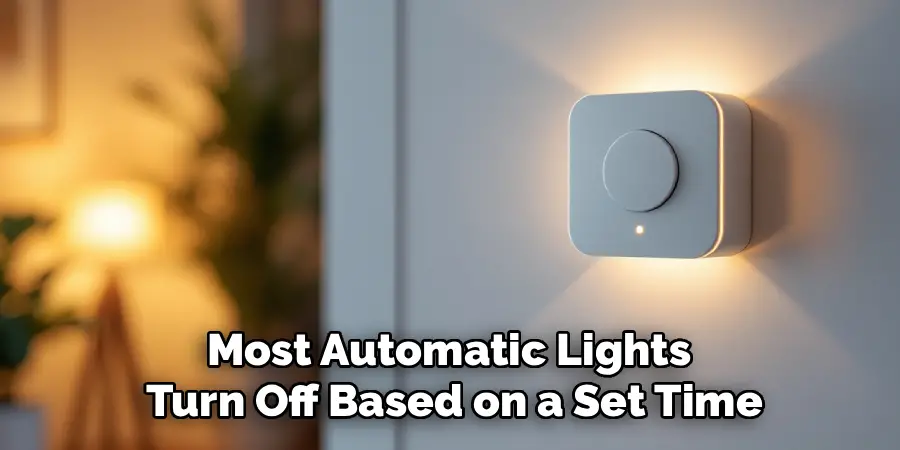
Most automatic lights turn off based on a set time. If yours shuts off too quickly, extending this duration is often the quickest fix. On manual sensors, look for a dial labeled “time” or “T” and turn it toward the longer setting, sometimes marked with a plus sign or higher number.
Knowing how to stop automatic light from turning off usually starts right here. In a smart app, find the timer or auto-off field and increase it to your preferred length, whether that’s five minutes or several hours. Test the change immediately by stepping away, then returning, to confirm the light behaves the way you expect.
Step 4: Modify Sensitivity Settings
Sometimes the problem isn’t the timer but the sensor’s sensitivity. If the device can’t detect small movements, like typing or reading, it assumes the room is empty and switches off. Increasing sensitivity helps the light recognize even subtle activity and stay on longer.
Locate the sensitivity dial, often labeled “sens” or shown as a range from low to high. Turn it upward gradually rather than all at once. After each small adjustment, test how the light responds to your normal movements. This trial-and-error approach prevents overcorrecting and helps you find the sweet spot where the light reliably stays lit during everyday tasks.
Step 5: Switch to Manual or Override Mode
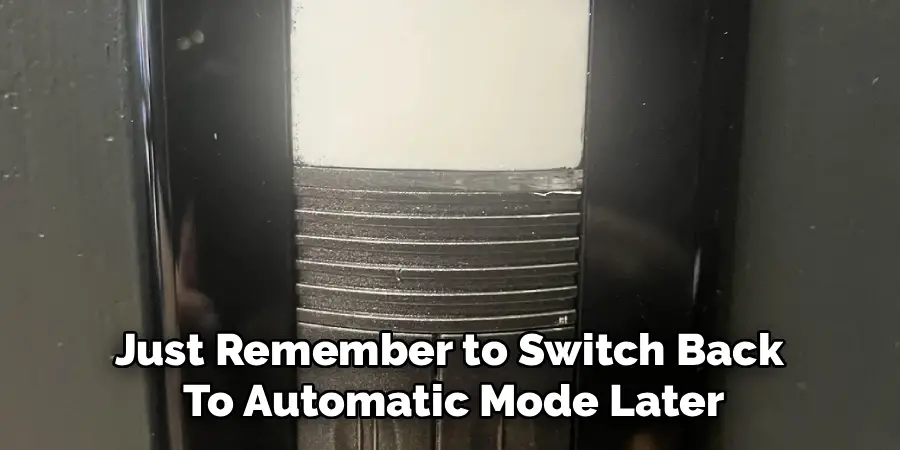
Many fixtures include a manual override that pauses automation entirely. This feature is perfect when you need steady, uninterrupted light for an extended period. On wall switches, this might be a simple toggle between “auto” and “on.” Smart bulbs often have a manual mode hidden in the app menu.
When you activate override, the light ignores its sensor or timer and stays on until you turn it off yourself. This is the most direct method for those who want full control. Just remember to switch back to automatic mode later if you still want the energy-saving benefits during times you’re away.
Step 6: Update Smart Bulb or App Settings
If you use smart lighting, your app holds powerful options that physical switches can’t match. Open the app and look for automation rules, schedules, or scenes that might be cutting your lights short. An old routine you set months ago could be the hidden culprit behind the sudden darkness.
Review each rule carefully and disable or edit anything that conflicts with your needs. You can also create a new schedule that keeps lights on during specific hours. Many apps offer real-time previews, so you can test adjustments instantly. Keeping your firmware updated also ensures the device runs smoothly and responds to your changes correctly.
Step 7: Check Wiring and Power Supply
If software tweaks don’t solve the problem, the issue might be physical. Loose wiring, a failing bulb, or an unstable power supply can cause lights to flicker or shut off unexpectedly. Always turn off power at the breaker before inspecting any wiring for your safety.
Look for loose connections, frayed wires, or corrosion around the fixture. Tighten anything that seems loose and replace bulbs that appear worn or damaged. If you’re unsure or uncomfortable working with electrical components, calling a licensed electrician is the smartest move. Professional support ensures the job gets done safely and your lights stay on dependably for the long term.

Frequently Asked Questions
Why Does My Motion Sensor Light Keep Turning Off Too Soon?
Your sensor’s timer is likely set to a short duration, or its sensitivity is too low to detect small movements. When the device thinks the room is empty, it switches off to save energy. Adjusting the timer dial to a longer setting and increasing sensitivity usually solves the problem and keeps your light on during normal activity.
Can I Permanently Disable the Automatic Feature?
Yes, most fixtures let you switch to manual or override mode, which keeps the light on until you turn it off yourself. On wall switches, look for an “auto” and “on” toggle. With smart bulbs, disable automation rules in the app. Just remember that turning off automation means you lose the energy-saving benefits when no one is around.
Will Changing These Settings Increase My Energy Bill?
It can, but only slightly, depending on how long your lights stay on. Keeping lights running longer naturally uses more electricity. To balance comfort and savings, choose a moderate timer setting rather than disabling automation completely. Energy-efficient LED bulbs also help keep costs low, so you enjoy reliable lighting without a noticeable jump in your monthly bill.
What Should I Do if Adjusting the Settings Doesn’t Work?
If timer and sensitivity changes don’t help, inspect the hardware. Loose wiring, a worn bulb, or an unstable power source can cause lights to shut off. Turn off the breaker, check connections, and replace any damaged parts. When the issue feels too technical or risky, contacting a licensed electrician ensures the repair is handled safely and correctly.
Do Smart Bulbs Offer Better Control Than Motion Sensors?
Smart bulbs generally give you more flexibility because you can customize schedules, brightness, and automation rules directly from an app. You can also adjust settings remotely and receive updates that improve performance. Motion sensors are simpler and great for hands-free use, but smart systems let you tailor your lighting more precisely to fit your daily routine and preferences.
Conclusion
Reliable lighting shouldn’t feel like a constant battle. By identifying your fixture type, adjusting timers and sensitivity, using override modes, and checking your wiring, you can solve the problem with confidence. Each step builds on the last, giving you practical tools that work whether you’re a complete beginner or someone comfortable with a bit of hands-on tinkering.
The good news is that understanding how to stop automatic light from turning off puts you firmly in control of your space. You no longer have to wave your arms in the dark or accept lights that quit on you. Start with the simplest adjustment that matches your setup, test it, and refine from there. If you ever feel stuck, don’t hesitate to reach out to a professional for expert support. Take action today, and enjoy lighting that finally works the way you want.

Rick is a handyman who grew up helping his dad with his business. He learned a lot from him about how to fix things, and also about how to work hard and take care of business. These days, Rick is still into fixing things- only now, he’s doing it for a living.
Rick is always looking for new ways to help people grow and develop. That’s why he started contributing to this blog: to share all his experience and knowledge so that he can help people who are interested in DIY repair.