
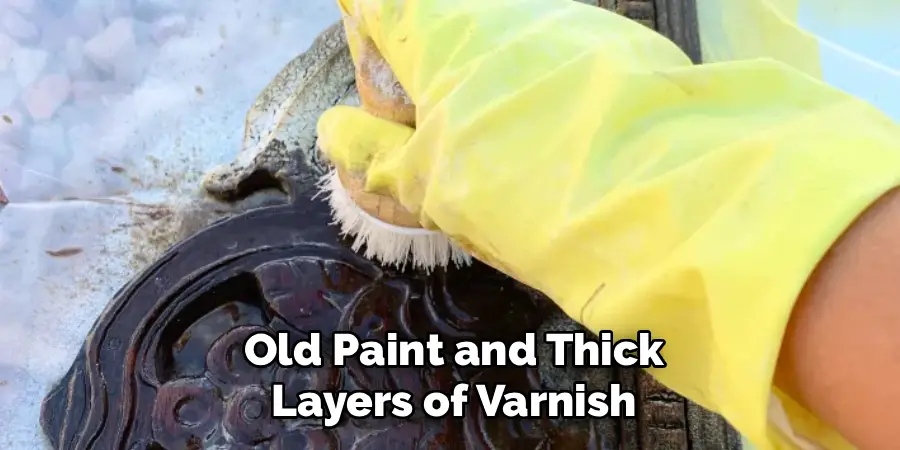
Old paint and thick layers of varnish can make a beautiful piece of furniture look tired and dull. Sanding for hours or scraping with harsh tools often feels like too much work, especially when you just want quick results. That is where a surprising kitchen product comes in. Learning how to use oven cleaner to strip furniture gives beginners a fast, affordable way to remove stubborn finishes without spending a fortune on specialty products.
Oven cleaner contains strong chemicals that break down grease, grime, and baked-on layers, which makes it just as effective on old finishes. Many hobbyists and furniture flippers rely on this method because it works quickly and needs very little equipment. In this guide, you will discover why the technique works, how to do it safely, and what steps to follow for smooth, clean results. Whether you are refreshing a thrift-store find or restoring a family heirloom, this friendly walkthrough will empower you to tackle the project with confidence from start to finish.
Why Using Oven Cleaner Works For Furniture Stripping
Oven cleaner is packed with powerful alkaline chemicals designed to dissolve tough, baked-on residue inside your oven. Those same ingredients happen to be excellent at softening paint, varnish, and old sealants on wooden surfaces. Instead of buying pricey commercial strippers, you get similar results from a can that costs only a few dollars, which makes this method a favorite for budget-conscious beginners.
The other big benefit is speed and simplicity. You spray, wait, then wipe away the softened layers with ease. There is no complicated mixing, no expensive brushes, and no advanced skill required. Because the product clings to vertical surfaces, it works well on chairs, table legs, and cabinet doors too. For anyone who wants a low-cost, high-reward project, this approach delivers reliable results every time.
Step-By-Step Guide To How To Use Oven Cleaner To Strip Furniture
Step 1: Set Up A Safe Work Area
Before you begin, choose a well-ventilated space such as a garage with open doors, a covered patio, or an outdoor area away from pets and children. Oven cleaner releases strong fumes, so fresh air matters a lot. Lay down old newspaper, a plastic drop cloth, or cardboard to protect the ground underneath.
Put on rubber gloves, safety goggles, and old clothing you do not mind ruining. These chemicals can irritate skin and eyes quickly, so protection is not optional. Having everything ready before you start means you can work smoothly without pausing halfway through. A tidy, safe setup keeps the entire process comfortable and stress-free from the very beginning.
Step 2: Clean The Furniture Surface First
Wipe down the piece with a dry cloth to remove dust, cobwebs, and loose dirt. If the surface feels greasy or sticky, use a damp rag with a little mild soap, then let it dry completely. Starting with a clean surface helps the product grip the finish properly.
This quick prep step also lets you inspect the furniture for cracks, loose joints, or damaged areas. Spotting these problems early means you can plan repairs later without surprises. Do not skip this stage, because a clean base makes the chemical work far more effectively. A few extra minutes here saves you frustration during the messier steps ahead.
Step 3: Apply The Oven Cleaner Generously
Shake the can well, then spray an even, thick layer across the surface you want to strip. Hold the can a few inches away and cover every painted or varnished section completely. Understanding how to use oven cleaner to strip furniture properly starts with generous, consistent coverage rather than thin, patchy spots.

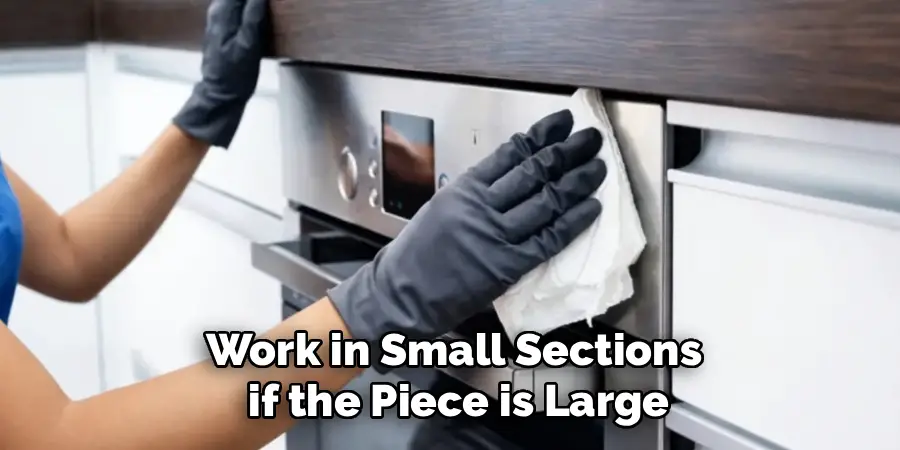
Work in small sections if the piece is large, so the product does not dry out before you finish. Focus on one panel, leg, or drawer at a time for the best control. The foam will begin clinging to the surface and slowly seeping into the old finish. Avoid touching it with bare hands while it settles into place.
Step 4: Let The Product Sit And Work
Patience pays off during this stage. Allow the foam to sit for fifteen to twenty minutes so the chemicals can break down the finish. You will often notice the paint or varnish start to bubble, wrinkle, or change color, which shows the product is doing its job.
Keep an eye on the surface without touching it. On thicker or older finishes, you may need a little extra waiting time. Resist the urge to rush, because removing the layers too soon leaves stubborn patches behind. Use this window to prepare your scraping tools and a bucket of water. When the finish looks soft and lifted, you are ready to move forward.
Step 5: Scrape Away The Softened Finish
Grab a plastic scraper or an old putty knife and gently push it across the surface at a low angle. The softened paint or varnish should lift away easily, peeling off in satisfying strips. Work with the grain of the wood to avoid gouging or scratching the surface underneath.
For curved legs, carved details, or tight corners, use an old toothbrush or steel wool to reach the tricky spots. Wipe the removed gunk onto newspaper or into a disposable container. If some areas resist, do not force them. Instead, reapply the product and wait again. Steady, gentle pressure protects the wood while still clearing the old finish completely.
Step 6: Neutralize And Rinse The Wood
Once the finish is gone, you must neutralize the leftover chemicals so they do not keep eating into the wood. Mix a little white vinegar with water, then wipe the entire surface using a clean cloth. This simple step stops the reaction and balances the wood after knowing how to use oven cleaner to strip furniture the right way.
After neutralizing, rinse the piece with plain water and another clean rag. Make sure no residue or foam remains hidden in the grain or corners. Let the furniture dry fully, which may take several hours depending on humidity. Skipping this rinse can leave a chalky film behind, so give it the attention it deserves.
Step 7: Sand And Prepare For Finishing
Once the wood is completely dry, lightly sand the surface with fine-grit sandpaper. This smooths any raised grain, removes tiny leftover flecks, and creates the perfect base for your new finish. Sand gently and always follow the natural direction of the wood grain for even results.
Wipe away the dust with a tack cloth or slightly damp rag, then inspect your work under good lighting. At this point, the furniture is ready for staining, painting, or sealing however you like. Take a moment to appreciate the clean, bare wood you revealed. With the hard part done, the creative finishing stage becomes the fun reward for your effort.
Frequently Asked Questions
Is Oven Cleaner Safe To Use On All Types Of Wood?
Oven cleaner works well on many hardwoods, but it can darken or damage delicate woods like oak or antique pieces. Always test a small hidden spot first to check the reaction. Softer woods and veneers need extra caution because the strong chemicals may cause blotches. When in doubt, start slowly and observe closely before treating the whole surface.
How Long Should I Leave Oven Cleaner On Furniture?
Most finishes soften within fifteen to twenty minutes, though thick or aged layers may need slightly longer. Watch the surface carefully as the foam works. When the paint or varnish begins to bubble and wrinkle, it is ready to scrape. Avoid leaving it on for too long, since extended contact can harm the raw wood underneath and create uneven patches.
Do I Really Need To Neutralize The Wood Afterward?

Yes, neutralizing is an essential step you should never skip. The chemicals in oven cleaner remain active even after scraping, which means they can keep damaging the wood over time. A simple wipe with a vinegar-and-water mixture stops this reaction safely. Rinsing afterward with clean water removes any lingering residue and leaves your furniture ready for a smooth, lasting finish.
What Tools Work Best For Scraping The Old Finish?
A plastic scraper or an old putty knife handles flat surfaces beautifully without scratching the wood. For carved details, curves, or tight corners, an old toothbrush or fine steel wool works wonderfully. Always scrape gently and follow the grain to protect the surface. Keeping a few different tools nearby lets you tackle every shape and texture with ease and confidence.
Can Beginners Try This Method Successfully?
Absolutely. This technique is one of the most beginner-friendly ways to strip furniture because it needs very little skill or equipment. As long as you follow safety steps, work patiently, and neutralize the wood afterward, you will get great results. Start with a small, inexpensive piece to build confidence. Each project teaches you more and makes the next one even easier.
Conclusion
Stripping furniture no longer needs to feel overwhelming or expensive. With one affordable can and a little patience, you can transform tired, worn pieces into fresh projects ready for a brand-new look. By following these seven simple steps, you now understand how to use oven cleaner to strip furniture safely and effectively from start to finish.
Remember to protect yourself, work in a ventilated space, and always neutralize the wood afterward for the best results. The more you practice, the smoother and faster the process becomes. So grab that thrift-store treasure or forgotten family heirloom and give it the makeover it deserves. Your next beautiful restoration is only a spray away, and the satisfaction of doing it yourself makes the effort completely worthwhile.

Rick is a handyman who grew up helping his dad with his business. He learned a lot from him about how to fix things, and also about how to work hard and take care of business. These days, Rick is still into fixing things- only now, he’s doing it for a living.
Rick is always looking for new ways to help people grow and develop. That’s why he started contributing to this blog: to share all his experience and knowledge so that he can help people who are interested in DIY repair.