

Danish teak furniture is a design classic, loved for its warm honey tones, clean lines, and incredible durability. Yet even the finest mid-century pieces lose their glow over time. Sun exposure, dry air, and everyday wear leave the wood looking dull, gray, or scratched. The good news is that you do not need to be a professional carpenter to bring these treasures back to life. Learning how to restore danish teak furniture is a rewarding weekend project that anyone can tackle with a little patience and the right approach.

In this guide, we walk you through the whole process in plain, friendly language. You will discover the tools you need, the steps that matter most, and the small details that make a big difference. Whether you inherited a teak sideboard or scored a lucky flea-market find, this article gives you the confidence to refresh it yourself. By the end, your furniture will feel smooth, look vibrant, and be ready to serve for decades more.
Why Restoring Danish Teak Furniture Matters
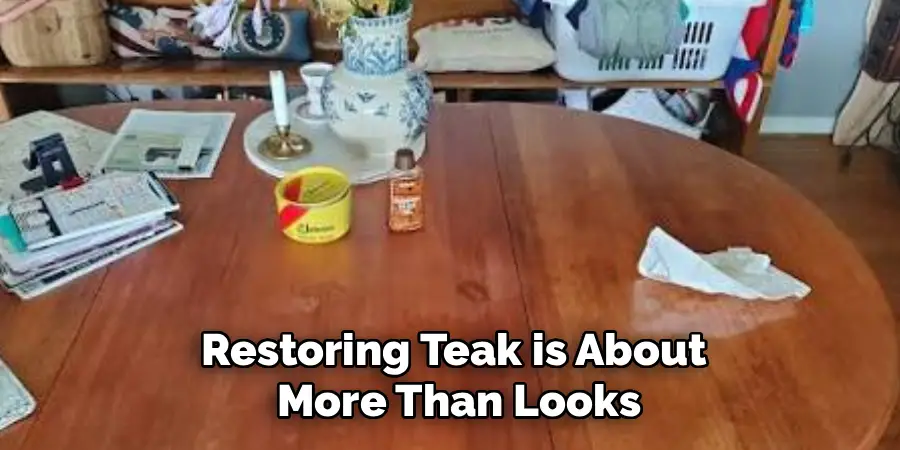
Restoring teak is about more than looks, though a revived finish certainly turns heads. Teak is naturally rich in oils that protect it from moisture and pests, but those oils fade with age and neglect. When you restore a piece, you replenish that protection and stop small problems from becoming permanent damage.

There is real value here too. Original Danish teak furniture is highly collectible, and a well-maintained piece holds or grows its worth far better than a weathered one. You also save money and reduce waste by refreshing what you already own instead of buying new. Best of all, the process is satisfying. Watching dry, gray wood transform into something warm and glowing is a genuine pleasure, and the skills you learn carry over to every wood piece you own.
Step-by-Step Guide to How to Restore Danish Teak Furniture
Step 1: Gather Your Tools and Prepare the Space
Before you touch the wood, set yourself up for success. You will want fine-grit sandpaper, a soft cloth, mild dish soap, warm water, a soft brush, and teak oil or a suitable wood conditioner. Work in a well-ventilated area with plenty of natural light so you can spot every scratch and stain. Lay down a drop cloth to protect your floor, and keep your supplies within easy reach.
Take a moment to inspect the furniture closely. Note any deep gouges, loose joints, or water rings. Knowing what you are working with helps you plan each stage and avoids surprises once you begin the hands-on work.
Step 2: Clean the Surface Thoroughly
Start with a gentle wash to lift away years of grime, oils, and dust. Mix a few drops of mild dish soap into warm water, then dampen your soft cloth and wipe the entire surface following the grain of the wood. For grooves and carved details, use a soft brush to reach into tight spots without scratching.
Avoid soaking the wood, since too much water can raise the grain or seep into joints. Wipe away excess moisture right away with a dry cloth. Once clean, let the piece dry fully, ideally overnight. A properly cleaned surface reveals the true condition of the teak and prepares it for smoother sanding.
Step 3: Sand Away Damage and Gray Patches
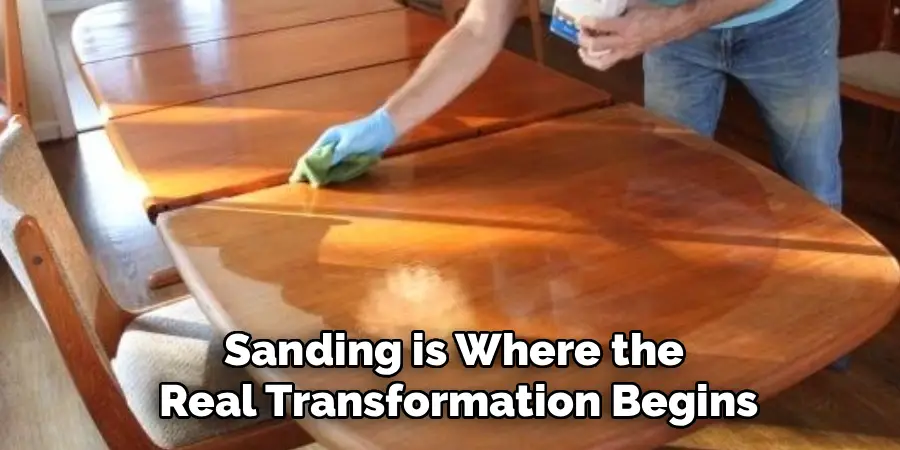
Sanding is where the real transformation begins, and it is a key part of how to restore danish teak furniture successfully. Choose a fine-grit sandpaper, around 220-grit, and always sand in the direction of the grain. Working against the grain leaves visible scratches that ruin the finish. Use light, even pressure and let the paper do the work.
Focus on gray, weathered areas and shallow scratches, sanding until fresh, golden wood appears beneath. For deeper marks, you may need a slightly coarser grit first, then smooth things out with the finer paper. Wipe away dust frequently so you can check your progress and keep the surface even throughout.
Step 4: Address Stains, Rings, and Deep Scratches
Some blemishes need extra attention. White water rings often respond to gentle sanding, while darker stains may call for a specialized wood cleaner or a light oxalic acid solution applied carefully to the spot. Test any product on a hidden area first to make sure it does not lighten the wood too much.
For deep gouges, a matching wood filler works well. Press it into the damage, let it cure, then sand it flush with the surrounding surface. Patience matters here. Rushing this stage leaves visible patches once you apply oil, so take your time and blend each repair until it disappears into the grain.
Step 5: Wipe Down and Let the Wood Rest
After sanding and spot repairs, your furniture will be covered in fine dust that must go before oiling. Use a slightly damp cloth or a tack cloth to lift every trace of residue, working with the grain once again. Check corners, edges, and undersides where dust loves to hide.
Then give the wood a short rest so any remaining moisture evaporates completely. Applying oil to a damp or dusty surface traps particles and leaves a blotchy, uneven result. A clean, dry, smooth surface is the foundation of a beautiful finish, so do not skip this quiet but important step before moving on.
Step 6: Apply Teak Oil for a Rich Finish
Now for the most satisfying moment, and another core part of how to restore danish teak furniture the right way. Pour a small amount of teak oil onto a lint-free cloth and rub it into the wood, following the grain in long, even strokes. Cover the whole piece generously, letting the thirsty wood drink in the oil.
Wait about fifteen minutes, then wipe off any excess so it does not turn sticky. For a deeper glow, apply a second coat after the first has soaked in. Two thin coats always beat one heavy layer, giving you an even, natural finish that highlights teak’s beautiful color and grain.
Step 7: Buff, Inspect, and Maintain
Once the oil has fully absorbed and dried, buff the surface with a clean, dry cloth to bring out a soft, warm sheen. Move over the entire piece and check for any spots you may have missed or areas that soaked up more oil than others. Touch up as needed until the whole surface looks consistent.
Finish by planning simple upkeep. Keep the furniture out of direct sunlight, wipe up spills quickly, and reapply a light coat of oil once or twice a year. This gentle routine protects your hard work and keeps the wood looking rich, healthy, and inviting for many years to come.
Frequently Asked Questions
How Often Should I Oil My Teak Furniture?
For indoor pieces, oiling once or twice a year is usually enough to keep the wood nourished and glowing. If your furniture sits in a bright room or a dry climate, you may want to oil it more often. Watch the wood itself, as a dull, thirsty look means it is time for another light coat. Regular attention keeps small problems from turning into big ones.
Can I Restore Teak Without Sanding It?
Yes, in some cases. If your furniture is only lightly dulled and free of scratches or gray patches, a thorough cleaning followed by fresh oil may be all it needs. Sanding becomes important when the surface is weathered, stained, or damaged. Always start with the gentlest method first, then move to sanding only if cleaning and oiling alone do not restore the warmth and color you want.
What Is the Best Oil for Danish Teak?
Teak oil and Danish oil are both popular, reliable choices, and each brings out that signature warm glow. Teak oil penetrates deeply and suits heavily used pieces, while Danish oil dries a little harder and offers extra surface protection. Either works well for most projects. Whatever you choose, apply thin coats, wipe away excess, and test on a hidden spot first to confirm you like the resulting color.

Why Does My Teak Look Gray and Dull?
Gray, dull teak is the natural result of age, sunlight, and dryness. Over time, the wood loses its protective oils and the surface oxidizes, creating that faded, silvery appearance. It is not damage in the true sense, and it is completely reversible. A gentle clean, light sanding, and fresh oil will lift away the gray and reveal the rich, honey-toned wood hiding just beneath the surface.
Is It Worth Restoring Old Teak Furniture Myself?
Absolutely. Restoring teak yourself saves money, reduces waste, and gives you a real sense of accomplishment. The process is beginner-friendly and needs only basic tools, so you do not have to hire a professional for most jobs. You also protect the value of collectible mid-century pieces. With a free weekend and a little patience, you can transform tired furniture into a stunning centerpiece you will be proud of.
Conclusion
Bringing a beloved teak piece back to life is easier than you might think, and the results speak for themselves. From gathering your tools to cleaning, sanding, repairing, and oiling, each step builds toward a finish that looks and feels brand new. Now that you understand how to restore danish teak furniture, you have everything you need to tackle the project with confidence and enjoy the satisfying transformation along the way.
So pick a weekend, gather your supplies, and get started. Your teak furniture is waiting to shine again, and the skills you gain will serve you on every future project. Take the first step today, and watch that warm, golden glow return.

Rick is a handyman who grew up helping his dad with his business. He learned a lot from him about how to fix things, and also about how to work hard and take care of business. These days, Rick is still into fixing things- only now, he’s doing it for a living.
Rick is always looking for new ways to help people grow and develop. That’s why he started contributing to this blog: to share all his experience and knowledge so that he can help people who are interested in DIY repair.