

That brand-new pendant light looks stunning, except for one thing: the cord dangles way too low, hovering awkwardly over your countertop or dining table. Before you reach for the scissors, take a breath. You don’t need to permanently alter your fixture to fix this. Learning how to shorten a pendant light cord without cutting is easier than you might think, and it keeps your light safe, adjustable, and ready for future changes.

This guide walks you through simple, reversible methods that anyone can use, no electrician required. Whether you rent your home and can’t make permanent changes, or you simply want flexibility for the future, these techniques give you full control over your lighting height. We’ll cover the tools you need, each step in plain language, and answers to the questions people ask most.
By the end, you’ll know exactly how to get that perfect cord length while protecting your investment. No wire stripping, no damage, and no second-guessing. Let’s get your pendant light hanging just the way you imagined it.
Why Shorten a Pendant Light Cord Without Cutting
Cutting a cord is permanent, and that’s the problem. Once you snip it, there’s no going back if you move the fixture to a higher ceiling or change your mind about the look. A no-cut approach keeps every option open.
It’s also safer. Cutting and rewiring a cord can expose you to electrical risks if done incorrectly, and it may void your product warranty. Reversible methods skip those dangers entirely.
You save money, too. Hiring an electrician for a simple height adjustment adds unnecessary cost. With a few basic tools and a little patience, you handle it yourself in minutes. Plus, renters love these techniques because they leave the fixture intact, ready to remove and take along when the lease ends.
Step-by-Step Guide to How to Shorten a Pendant Light Cord Without Cutting
Step 1: Turn Off the Power and Gather Your Tools
Safety comes first, always. Head to your breaker box and switch off the circuit that controls the light. Then flip the wall switch to confirm the power is truly off before you touch anything.
Now gather your supplies. You’ll want a small step ladder, a cord shortener or cord clip, a measuring tape, and possibly a few zip ties or a decorative cord cover. Having everything within reach makes the job smoother. Keep a friend nearby if your ceiling is high, since an extra set of hands steadies the ladder and passes tools while you work overhead.

Step 2: Measure Your Ideal Hanging Height
Before adjusting anything, decide exactly how low you want the light to hang. For a pendant over a kitchen island, aim for roughly 30 to 36 inches between the bottom of the fixture and the countertop. Over a dining table, a similar range works well.
Use your measuring tape to mark the target spot. Have someone hold the light at that height while you stand back and check the look from across the room. Trust your eyes here, since the right height feels balanced rather than cramped. Once you’re happy, note how much excess cord you need to tuck away.
Step 3: Choose the Right Method
Now pick the technique that fits your fixture. The most popular option is a cord shortener, a small clip or hook that gathers excess cord neatly. Loop adjusters work well for fabric-wrapped cords, while ceiling-mounted cord swags let you redirect the slack toward a hook on the ceiling.
Think about your style and your fixture type. A clear plastic cord shortener stays invisible, while a decorative knot adds charm to bohemian or rustic spaces. If your canopy at the ceiling has internal space, you can even coil the extra cord inside it. Match the method to both your room and your comfort level.

Step 4: Coil and Secure the Excess Cord
If you’re tucking the cord into the canopy, gently loosen the canopy cover where it meets the ceiling. Carefully coil the extra length into neat loops, keeping the wire relaxed rather than tightly kinked. Tight bends stress the wire over time, so loose, even coils are your goal.
Once coiled, secure the bundle with a soft zip tie or twist tie. Then tuck the coil back inside the canopy and reattach the cover. This method hides everything completely, leaving a clean, professional look. Take your time threading the cord so nothing snags or pinches against the metal edges of the housing.
Step 5: Install a Cord Shortene
A cord shortener is the simplest tool for the job. Most clip directly onto the cord and let you wind the excess around them, hiding the slack in a tidy bundle near the ceiling. Position the shortener high enough that it blends in with the canopy.
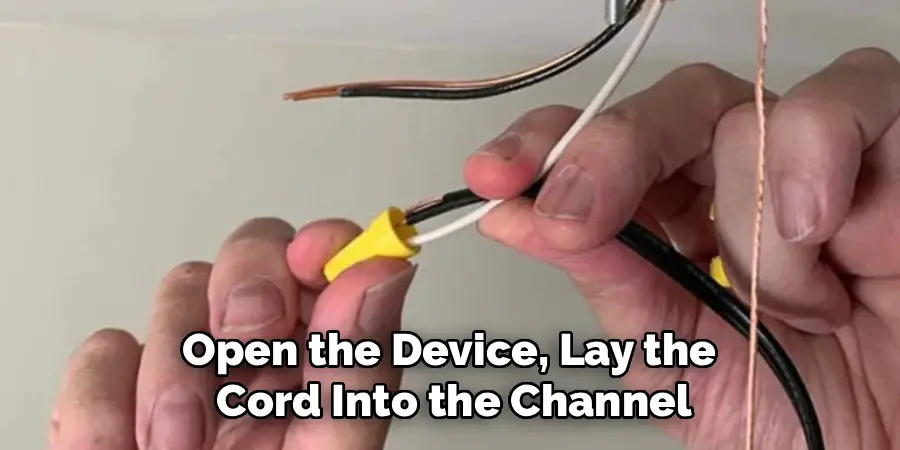
Open the device, lay the cord into the channel, and wrap the extra length around it until you reach your desired height. Then snap it closed to lock everything in place. The beauty here is reversibility, since you can pop it open and lengthen the cord anytime. It takes only a minute and requires zero electrical knowledge.
Step 6: Use a Ceiling Hook or Swag for Decorative Flair
Want to add character while solving the length problem? A ceiling swag hook lets you drape the cord sideways, creating an intentional, stylish line across the ceiling. This works beautifully when your outlet or junction box sits in an awkward spot.
Screw a small swag hook into a ceiling stud or use a proper anchor for drywall. Drape the cord up and over the hook, then let it fall to your chosen height. The slack disappears into the horizontal run. This approach turns a practical fix into a design feature, perfect for industrial, farmhouse, or eclectic interiors that celebrate visible cords.
Step 7: Restore Power and Test Your Work
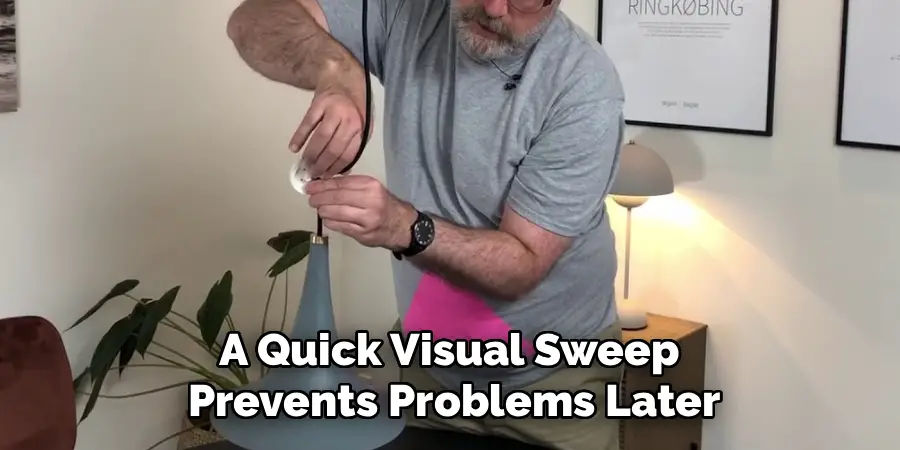
With your cord adjusted and secured, double-check that all coverings are reattached and nothing hangs loose. Make sure no part of the cord is pinched, stretched too tight, or resting against sharp metal edges. A quick visual sweep prevents problems later.
Now return to the breaker box and switch the power back on. Flip the light switch and watch your pendant glow at its new, perfect height. Step back and admire the result. If the height feels slightly off, no worries, since every method here is fully adjustable. Simply loosen, tweak, and re-secure until it looks exactly right.
Frequently Asked Questions
Can I Shorten a Pendant Light Cord Without Any Tools?
You can manage a basic adjustment with almost nothing, though a few small items help. Tying a simple knot in the cord near the ceiling reduces length instantly, using just your hands. However, a cord shortener or zip ties create a cleaner, more secure result. For the safest and tidiest finish, having a step ladder and a measuring tape on hand makes the process far smoother and more accurate.
Will Coiling the Cord Damage the Wire Over Time?
Loose, gentle coils are perfectly safe and won’t harm the wire. Problems only arise when you bend the cord tightly or create sharp kinks that stress the internal copper strands. Always coil with relaxed, even loops, and avoid pinching the cord against metal edges inside the canopy. When done properly, your fixture stays in great shape for years, with no impact on performance or safety.
Is This Method Safe for Renters?
Absolutely, and renters love these techniques for good reason. Every method here is fully reversible, leaving your fixture and wiring completely intact. When you move out, simply remove the cord shortener, untie any knots, or detach the swag hook and patch the tiny screw hole. Your landlord stays happy, your deposit stays protected, and you take your beautiful pendant light along to your next home without a hitch.
What If My Cord Is Too Stiff to Coil Neatly?
Stiff cords can be tricky, but you still have great options. Instead of forcing tight coils, use a cord shortener designed for thicker or rigid cords, which gathers the slack in a controlled way. A swag hook also works wonderfully, since it redirects the cord sideways rather than coiling it. Warm cords relax slightly, so working in a comfortable room temperature can make stiff materials more cooperative.
How Do I Know the Right Height for My Pendant?
Height depends on where the light hangs. Over kitchen islands and dining tables, leave roughly 30 to 36 inches between the fixture’s bottom and the surface below. In open walkways, hang it higher to avoid head bumps. The best approach is to hold the light at different heights and view it from across the room. Trust your eye, since balanced spacing simply feels right.
Conclusion
Getting your pendant light to hang at the perfect height doesn’t require scissors, an electrician, or any permanent changes. As you’ve seen, learning how to shorten a pendant light cord without cutting comes down to a handful of simple, reversible techniques that anyone can master. From tucking excess cord into the canopy to using a sleek cord shortener or a stylish swag hook, you have plenty of options to match your space and your skill level.
The biggest wins here are flexibility and peace of mind. Your fixture stays intact, your warranty stays valid, and you keep the freedom to adjust the height whenever your needs change. No tools were harmed, and no wires were cut.
So grab your step ladder, pick the method that suits your room, and give it a try today. Your pendant light is about to look exactly the way you pictured it, and you’ll have done it all yourself.

Rick is a handyman who grew up helping his dad with his business. He learned a lot from him about how to fix things, and also about how to work hard and take care of business. These days, Rick is still into fixing things- only now, he’s doing it for a living.
Rick is always looking for new ways to help people grow and develop. That’s why he started contributing to this blog: to share all his experience and knowledge so that he can help people who are interested in DIY repair.