
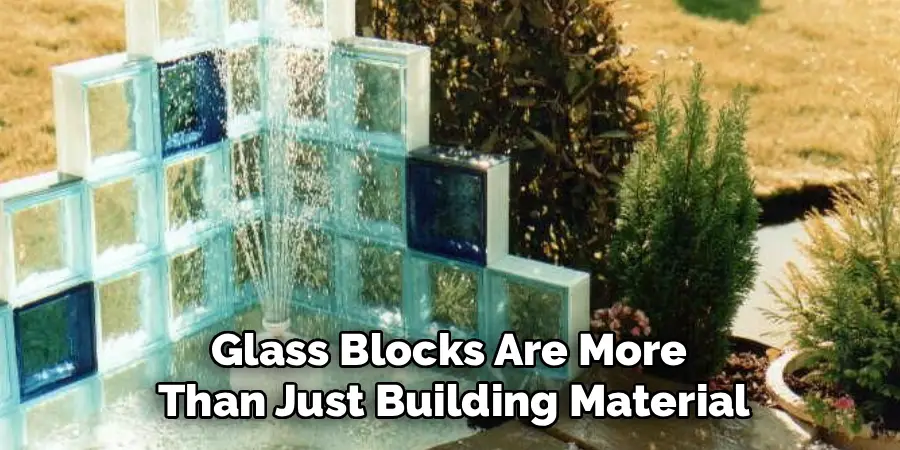
Glass blocks are more than just building material for walls and windows. With a little creativity, they transform into stunning home accents, glowing night lights, and personalized gifts that brighten any room. If you have ever wondered how to decorate glass blocks and turn a plain cube into a cherished keepsake, you are in the right place. This craft is beginner-friendly, budget-conscious, and endlessly customizable, which is why it has become a favorite weekend project for makers of all skill levels.
Decorating glass blocks matters because it lets you blend function with art. You can design seasonal centerpieces, wedding gifts, or cozy accent lamps without needing expensive equipment. The materials are affordable, widely available, and forgiving, so mistakes are easy to fix as you learn. Whether you want a shimmering holiday display or a subtle piece for your entryway, this guide walks you through the process step by step. By the end, you will feel confident enough to experiment with your own designs and share the results with pride.
Why Decorating Glass Blocks Matters
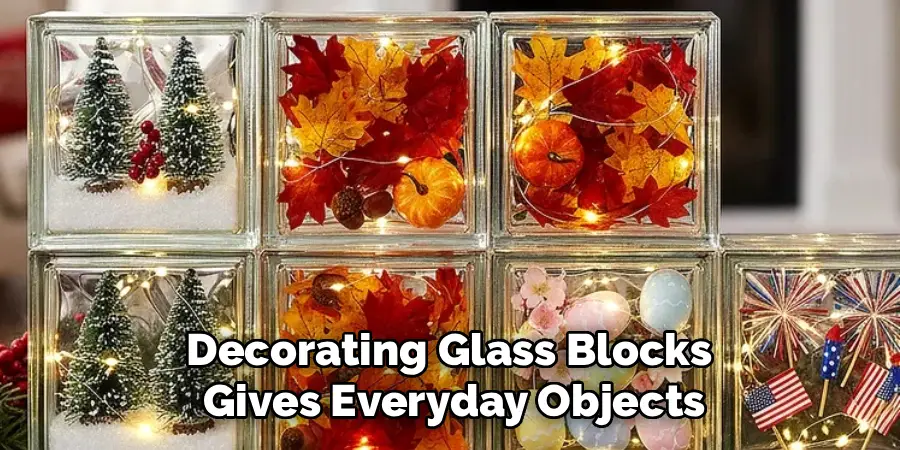
Decorating glass blocks gives everyday objects new purpose and personality. Instead of tossing out spare blocks, you can turn them into glowing lamps, holiday decor, or heartfelt presents. The benefits reach beyond looks. This hobby builds confidence, sharpens your creative skills, and offers a relaxing way to unwind.
Cost is another big advantage. Most supplies, like vinyl decals, ribbon, and string lights, are inexpensive and easy to find. You can create high-impact pieces for a fraction of what store-bought decor costs.
Best of all, the craft adapts to any skill level. Beginners can start with simple painted designs, while experienced crafters can layer techniques for detailed masterpieces. Every project offers instant, satisfying results you can display or gift right away.
Step-by-Step Guide to How to Decorate Glass Blocks
Step 1: Gather Your Materials
Start by collecting everything you need before you begin. A clean glass block is your canvas, so pick one with a smooth surface or a small opening for lights. Gather acrylic paint, adhesive vinyl, ribbon, glass markers, and a set of battery-powered fairy lights. Having your supplies within reach keeps the process smooth and stress-free. If you feel unsure, remember that most of these items cost only a few dollars, so experimenting comes without pressure. Lay out a protective sheet on your work surface, wear an apron, and set up good lighting so you can see every detail clearly as you work.
Step 2: Clean and Prep the Surface
Preparation makes the difference between a project that lasts and one that peels within days. Wipe the entire block with rubbing alcohol to remove dust, oils, and fingerprints. This simple step helps paint and vinyl stick firmly for years. Let the surface dry completely before moving on, since even a little moisture can ruin adhesion. If your block has stickers or price tags, peel them away and clean off any leftover residue. Take your time here because a spotless surface rewards you with crisp, professional-looking results. Think of this stage as laying a strong foundation for everything that follows.
Step 3: Choose Your Design and Theme
Now comes the fun part, deciding how to decorate glass blocks in a way that matches your style. Sketch a rough idea on paper first so you can visualize placement and colors. Popular themes include seasonal holidays, family names, inspirational quotes, and floral patterns. Keep your first design simple, then add complexity as your confidence grows. Consider where the block will sit, because a mantel piece might call for bold colors while a bedside lamp suits softer tones. Planning ahead saves you from second-guessing later and helps you gather any extra supplies your chosen theme might require before you start applying anything.
Step 4: Apply Vinyl or Painted Details
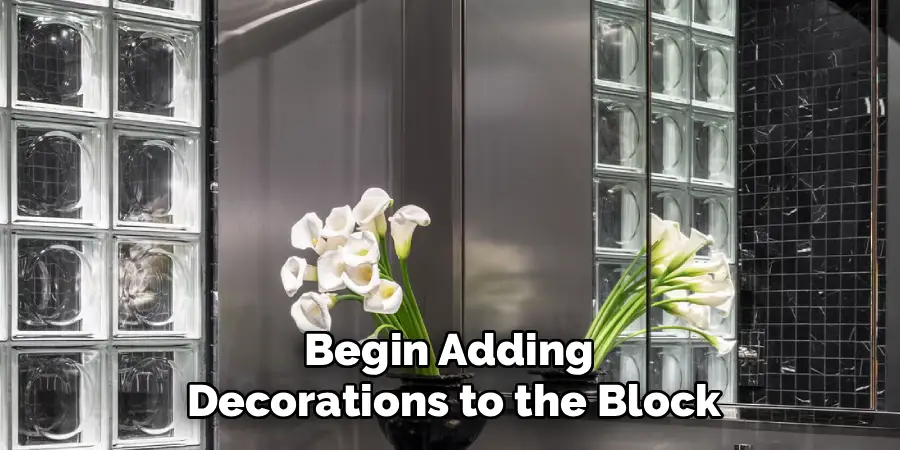
With your design ready, begin adding decorations to the block. If you use adhesive vinyl, position each piece carefully, then smooth it down with a plastic card to remove air bubbles. For painted details, use thin, even coats and let each layer dry before adding the next. Steady hands and patience produce the cleanest lines, so work slowly and enjoy the process. Painter’s tape can help you create sharp edges or geometric shapes. If something looks off, gently peel or wipe it away while it is still workable. Small imperfections often disappear once the lights and finishing touches come together.
Step 5: Add Interior Lighting
Lighting transforms a decorated block into a warm, glowing centerpiece. Feed a strand of battery-powered fairy lights through a small opening in the block, tucking the battery pack behind or beneath it. Choose warm white lights for a cozy feel or colored lights for festive flair. Arrange the strand evenly so the glow spreads throughout the glass rather than clustering in one spot. Test the lights before sealing anything in place to confirm the effect matches your vision. This step often surprises first-time crafters with how professional the finished piece looks once it starts to shine from within.
Step 6: Finish With Ribbon and Accents
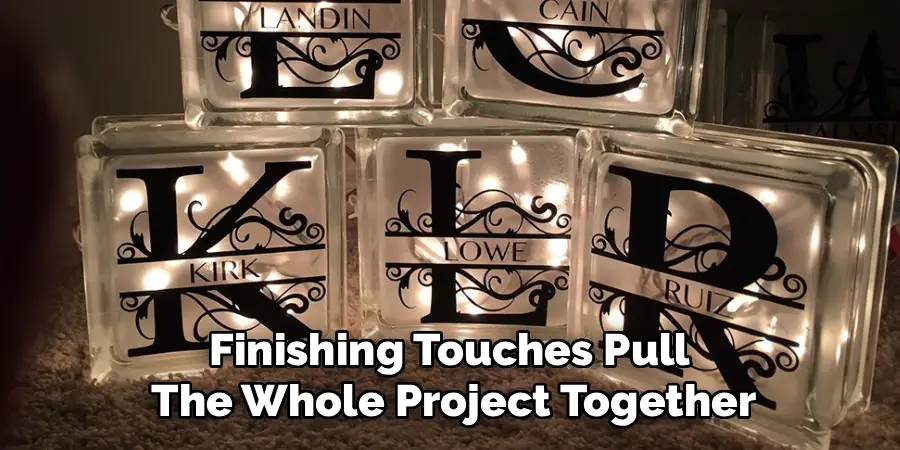
Finishing touches pull the whole project together and add a polished, gift-ready look. Tie a wide ribbon around the top of the block and shape it into a full, cheerful bow. Add small accents like faux flowers, bells, or seasonal picks tucked into the ribbon for extra character. These details let you personalize each block to suit the occasion, whether it is a birthday, holiday, or housewarming. Keep the accents balanced so they complement rather than overwhelm your design. Step back frequently to check the overall look, adjusting the ribbon and decorations until everything feels just right.
Step 7: Seal and Display Your Creation
Protect your hard work by sealing painted areas with a clear acrylic spray or brush-on sealant. This guards against scratches, moisture, and fading, keeping your creation vibrant for years. Apply the sealant in a well-ventilated space and allow it to cure fully before handling. Once everything is dry, choose the perfect spot to display your block, such as a windowsill, shelf, or entry table. Take a photo to celebrate your success and share it with friends. Enjoy the satisfaction of finishing a handmade piece, and let it inspire your next creative project down the road.
Frequently Asked Questions
What Type Of Glass Block Works Best For Decorating?
Craft-style glass blocks with a pre-drilled hole work best because they let you add lights easily. Look for blocks with a smooth, frosted, or clear finish depending on your design goals. Frosted surfaces diffuse light beautifully, while clear blocks show off vivid details. Most craft stores sell blocks made specifically for decorating, so choose one sized to fit your display space.
Do I Need Special Paint For Glass Surfaces?
Yes, using paint made for glass gives you the best results. Acrylic enamel or dedicated glass paint bonds well and resists chipping once cured. Some paints require baking or air-drying to set permanently, so always read the label first. Regular craft acrylics can work for temporary projects, but a proper sealant helps them last much longer on smooth glass surfaces.
How Do I Keep Vinyl From Peeling Off?
Clean the surface thoroughly with rubbing alcohol before applying any vinyl. Oils and dust weaken the adhesive and cause edges to lift over time. Press each piece down firmly using a plastic card or squeegee to remove trapped air. For extra durability, seal the edges with a clear coat. Storing the block away from constant moisture and heat also helps the vinyl stay put.
Can Beginners Really Do This Project Successfully?
Absolutely, this craft welcomes all skill levels. Start with a simple painted design or a single vinyl decal, then build your skills from there. The materials are forgiving, so you can wipe away mistakes and try again without wasting supplies. Following each step slowly and testing your lights early helps you feel confident. Many first-timers finish their project in a single afternoon.
What Lights Are Safe To Use Inside A Block?
Battery-powered LED fairy lights are the safest and most popular choice. They stay cool to the touch, reducing any fire risk, and they run on small, replaceable batteries. Choose a strand sized to fit your block so the glow spreads evenly. Warm white creates a cozy mood, while colored lights add festive energy. Always test the strand before tucking it inside.
Conclusion
Turning plain blocks into glowing works of art is easier than you might expect, and now you have every step needed to succeed. From gathering supplies and prepping the surface to adding lights, ribbon, and a protective seal, each stage builds toward a finished piece you can proudly display. Learning how to decorate glass blocks opens the door to endless creative possibilities, whether you are making seasonal decor, thoughtful gifts, or a cozy accent for your own home.
The best part is that this project grows with you. Start simple, celebrate your early wins, and gradually experiment with bolder designs as your confidence rises. Do not be afraid to make mistakes, because each one teaches you something new. Gather your materials, set aside an afternoon, and give it a try. Once you see your first block light up, you will be eager to create the next. Your handmade creations are waiting, so start crafting today.

Rick is a handyman who grew up helping his dad with his business. He learned a lot from him about how to fix things, and also about how to work hard and take care of business. These days, Rick is still into fixing things- only now, he’s doing it for a living.
Rick is always looking for new ways to help people grow and develop. That’s why he started contributing to this blog: to share all his experience and knowledge so that he can help people who are interested in DIY repair.