
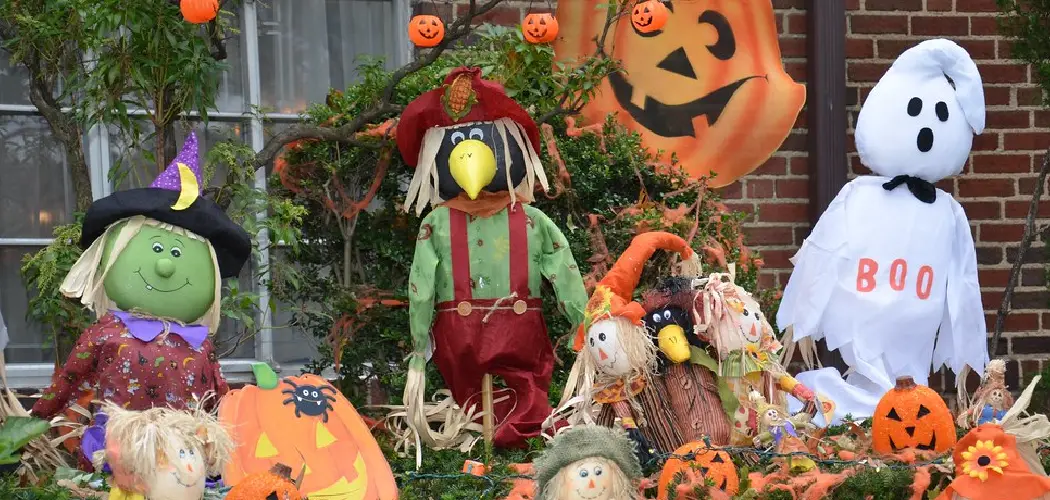
Decorating your home for Halloween is one of the most fun parts of the spooky season, but getting everything to stay in place can feel tricky at first. Whether you want cobwebs stretched across the porch, bats flying up the stairwell, or glowing lights framing your windows, knowing how to hang halloween decorations properly makes the whole project easier and safer. The good news is that you do not need to be a handy expert to pull off a frightfully good display.
This friendly guide walks you through everything you need, from the right tools to the smartest hanging techniques. We will keep things simple, clear, and beginner-friendly so you feel confident every step of the way. You will learn how to protect your walls, secure heavy props, and create eye-catching effects without damaging your home. By the end, you will have the skills to transform any space into a haunted scene that wows trick-or-treaters and guests alike. Let us get started and turn your decorating ideas into reality.
Why Hanging Halloween Decorations Matters
Hanging your decorations the right way does far more than make your home look festive. It keeps your props secure so they do not fall, tear, or blow away in autumn winds, which protects both your belongings and the people walking by. Proper hanging also prevents damage to walls, ceilings, and painted surfaces, saving you from costly repairs once the season ends.
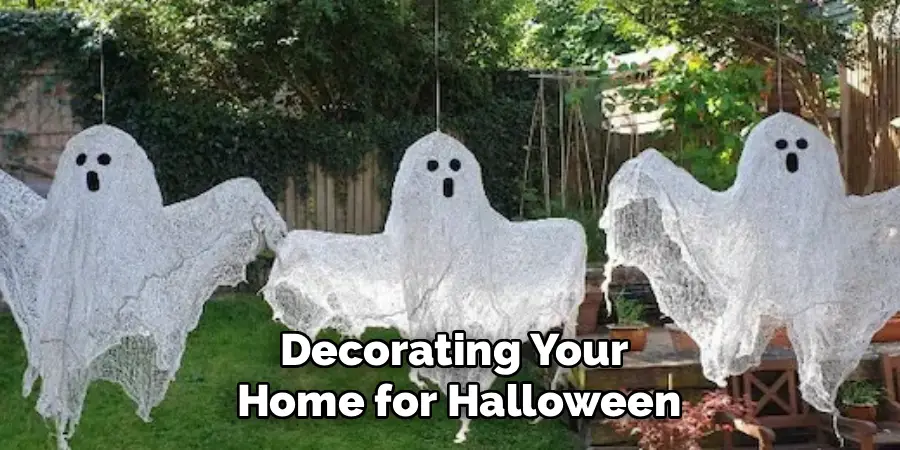
Beyond safety, thoughtful placement creates a bigger visual impact. When decorations hang evenly and stay put, your display looks polished and intentional rather than messy. That means more delighted reactions from neighbors and a stronger sense of pride in your work. A little planning up front helps you avoid frustration, wasted materials, and last-minute stress, so you can actually enjoy the festivities.
Step-by-Step Guide to How To Hang Halloween Decorations
Step 1: Gather Your Tools And Supplies
Before you hang a single bat, collect everything you might need in one spot. Grab removable adhesive hooks, painter’s tape, fishing line, zip ties, and a sturdy step ladder. If you plan to work outdoors, add weatherproof clips and outdoor-rated extension cords to your kit. Having these items ready saves you countless trips back and forth and keeps your momentum going.
Take a moment to check the weight of each decoration too. Lightweight paper cutouts need very little support, while heavy foam tombstones or animatronics require stronger anchors. Matching the right tool to each item now prevents crashes and torn decorations later, giving you a smoother, safer setup.
Step 2: Plan Your Layout First
Walk through your space and picture where each piece will go before you start attaching anything. Sketch a quick map or snap photos of your walls, porch, and windows so you can visualize the final look. This helps you spot problem areas, like outlets that are too far from your lights or corners that feel too crowded.
Think about how people will move through your display, whether that is guests entering your front door or kids reaching for candy. Leave clear walkways and keep low-hanging items away from head height. A little planning now means fewer surprises and a display that flows naturally from one spooky scene to the next.
Step 3: Protect Your Walls And Surfaces
Nobody wants to peel paint or leave sticky residue behind once November arrives, so protect your surfaces from the start. Use removable adhesive hooks and strips designed to come off cleanly, and always follow the weight limits printed on the packaging. For delicate wallpaper or freshly painted walls, painter’s tape offers a gentle grip that lifts away without a fuss.
When you press a hook into place, hold it firmly for at least thirty seconds so the adhesive bonds well. Give it a full hour before hanging anything heavy. Taking these small steps keeps your home looking great and makes cleanup after the holiday quick and painless.
Step 4: Decorations On Walls And Ceilings
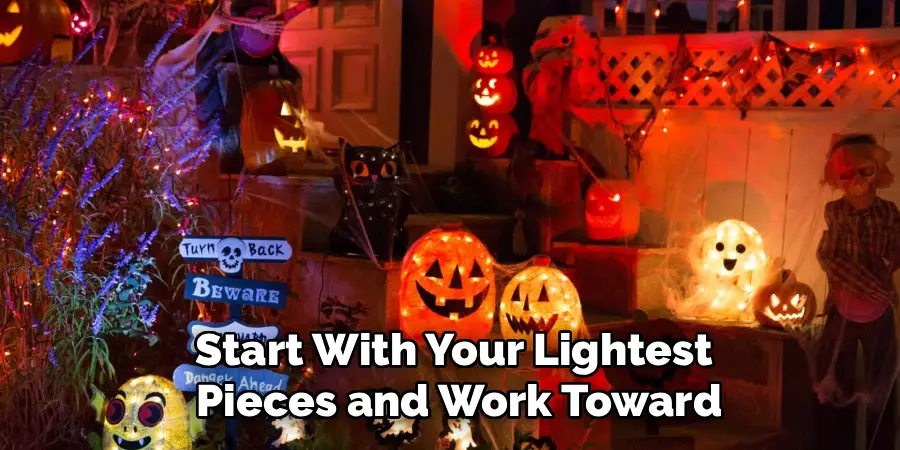
Start with your lightest pieces and work toward the heavier ones so you can adjust the layout as you go. For wall art, ghosts, and garlands, press adhesive hooks at even heights to keep everything looking balanced. Use a level or measure from the ceiling to avoid crooked rows that throw off the whole scene.
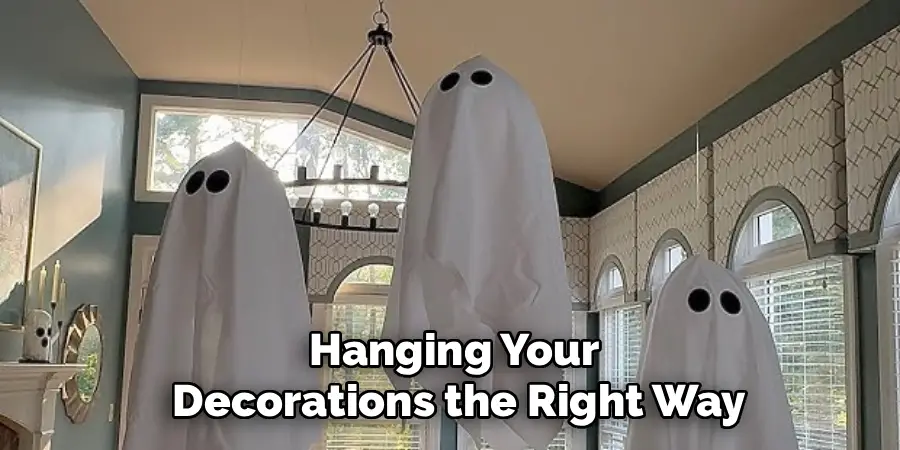
For ceiling decorations like dangling spiders or floating ghouls, fishing line is your best friend because it stays nearly invisible. Loop it around a hook or ceiling anchor, then tie a secure knot. Test the hold with a gentle tug before you let go, and adjust the length until each piece hangs at the perfect haunting height.
Step 5: Secure Outdoor And Heavy Items
Outdoor decorations face wind, rain, and curious hands, so they need extra reinforcement. Anchor inflatables with the included stakes and tie-downs, then add sandbags or bricks for windy days. Use zip ties to fasten props to railings, fences, or porch posts, and choose weatherproof clips for string lights along your gutters or eaves.
Heavy items such as tombstones or large skeletons should sit low and stable, ideally staked into the ground or leaned against a solid surface. Double-check every connection after a storm or strong gust. A few extra minutes spent securing these pieces keeps your yard safe and your display standing tall through the whole season.
Step 6: Lighting Brings Your Display to Life
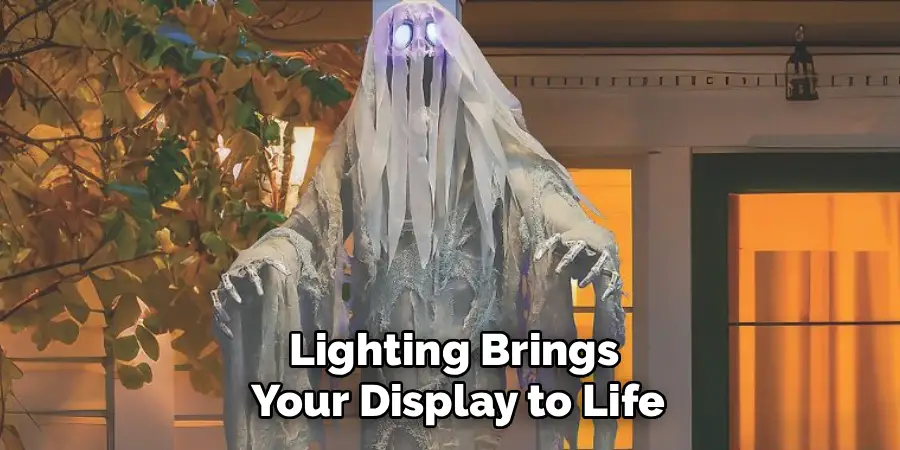
Lighting brings your display to life, so plan your electrical setup carefully. Map out where each light strand goes and count how many outlets you have before you start. Use outdoor-rated extension cords for anything outside, and never overload a single socket, since that creates a fire risk you want to avoid.
Attach string lights with plastic clips or adhesive hooks rather than staples or nails, which can pierce the wires. Tuck cords along edges and corners to keep them tidy and out of walkways. For a dramatic glow, layer warm lights near entryways and cooler tones in shadowy corners. Test everything before dark so you can fix any dead bulbs early.
Step 7: Test, Adjust, And Finish
Once everything is in place, step back and view your display from several angles, including the street. This is your chance to spot droopy garlands, uneven spacing, or lights that need a nudge. Small tweaks now make a huge difference in the final effect, so take your time and enjoy the process.
Give every anchor, hook, and knot one last check to confirm it holds firm. Turn on your lights and props at night to see how the whole scene comes together in the dark. If something looks off, adjust it before the big night. When you are happy, you have officially created a haunt worth celebrating.
Frequently Asked Questions
What Is The Best Way To Hang Decorations Without Damaging Walls?
Removable adhesive hooks and strips are your safest choice because they hold firmly yet peel off cleanly when the season ends. Match the hook to the weight of your decoration, and press it in place for thirty seconds to secure the bond. For extra-delicate surfaces, painter’s tape offers a gentle grip that protects your paint and wallpaper.
How Do I Keep Outdoor Decorations From Blowing Away?
Wind is the biggest threat to outdoor displays, so anchoring matters most. Use ground stakes, sandbags, or bricks to weigh down inflatables and lightweight props. Fasten items to railings and posts with zip ties, and choose weatherproof clips for lights. After any storm or strong gust, inspect each connection and reinforce anything that has loosened to keep your yard display standing safely.
Can I Hang Heavy Props On My Ceiling Safely?
Yes, but you need the right support. For lightweight ceiling items, fishing line tied to a small hook works beautifully and stays nearly invisible. Heavier props require a proper ceiling anchor rated for the weight, so check the packaging before you hang anything. Always test the hold with a firm tug, and never exceed the recommended limit to avoid dangerous falls.
What Tools Do Beginners Need To Get Started?
Beginners can start with a simple kit that covers most projects. Gather removable adhesive hooks, painter’s tape, fishing line, zip ties, and a sturdy step ladder. If you plan an outdoor display, add weatherproof clips and outdoor-rated extension cords. This small collection handles the majority of decorations, and you can expand your toolkit as your displays grow more ambitious each year.
How Far In Advance Should I Set Up My Display?
Most people set up their decorations one to two weeks before Halloween, which gives you time to adjust and fix any issues. Indoor items can go up earlier since they face no weather. For outdoor pieces, watch the forecast and secure everything well, so wind and rain do not ruin your hard work before the big night arrives.
Conclusion
Creating a spooky, standout display comes down to a few simple habits, and now you have all of them in your toolkit. Start by gathering the right supplies and planning your layout, then protect your surfaces before you attach a single piece. Work from light items to heavy ones, secure your outdoor props against the wind, and light everything thoughtfully to bring your scene to life. Finish by testing every anchor and stepping back to admire your work.
With these steps, you know exactly how to hang halloween decorations that stay put, look polished, and keep everyone safe. The best part is that you can adapt each technique to your own space, style, and skill level. So grab your hooks, round up your favorite spooky props, and start building the haunted display of your dreams. Your neighbors and trick-or-treaters are in for a treat.

Rick is a handyman who grew up helping his dad with his business. He learned a lot from him about how to fix things, and also about how to work hard and take care of business. These days, Rick is still into fixing things- only now, he’s doing it for a living.
Rick is always looking for new ways to help people grow and develop. That’s why he started contributing to this blog: to share all his experience and knowledge so that he can help people who are interested in DIY repair.