
Coming home to find your favorite chair leg gnawed to splinters can feel heartbreaking, especially when it comes from a puppy you adore. Dogs chew for many reasons, from teething and boredom to anxiety, and wooden furniture often becomes an easy target. The good news is that most damage looks worse than it actually is, and you do not need to be a master carpenter to fix it.
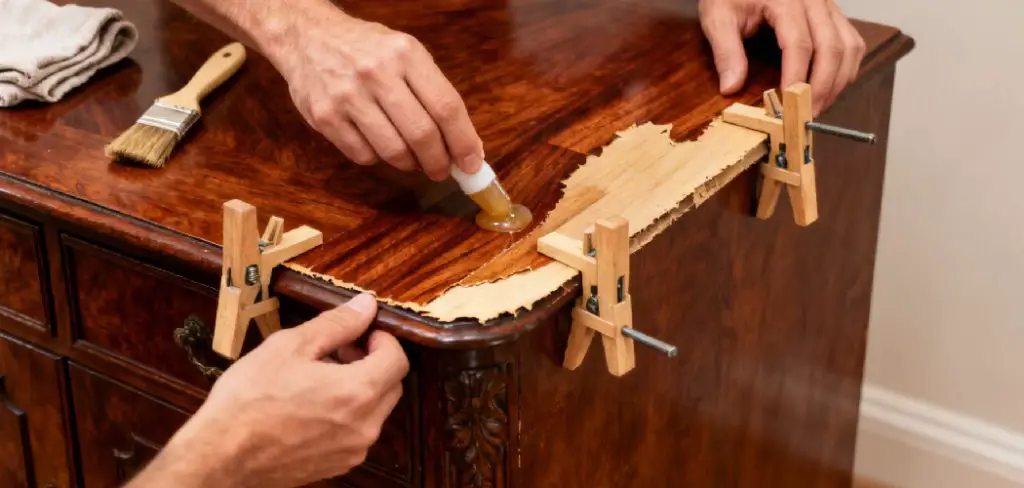
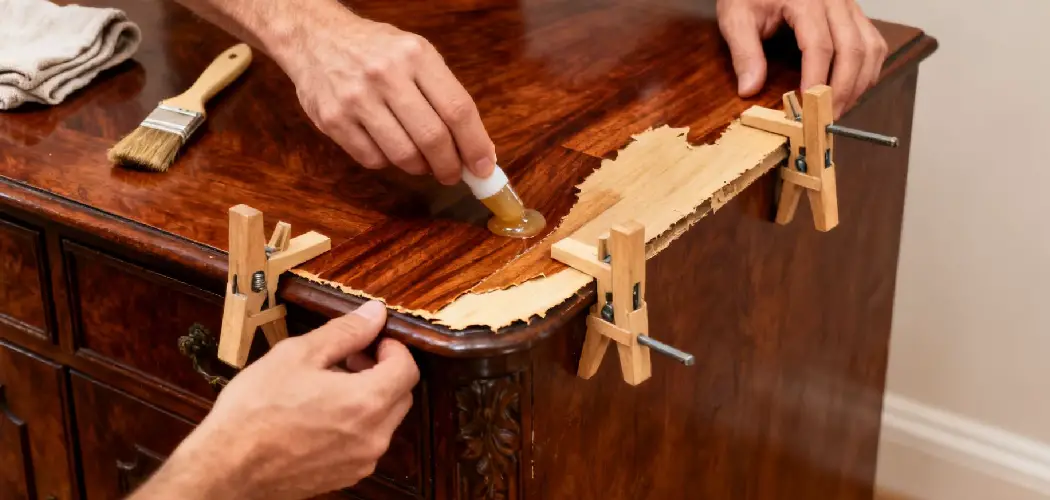
Learning how to repair wood furniture chewed by a dog is a practical skill that saves you money and keeps cherished pieces in your home for years. With a few affordable tools and a little patience, you can smooth out bite marks, fill deep gouges, and restore a finish that blends seamlessly with the rest of the piece. This guide walks you through each stage in plain language, so beginners and seasoned DIYers alike can follow along with confidence and see real results.
Why Repairing Dog-Chewed Wood Furniture Matters
Fixing damaged furniture is about more than looks. Splintered edges and rough wood can injure both people and pets, and exposed raw wood invites moisture, warping, and further chewing. Repairing a piece promptly protects your investment and stops small problems from turning into costly replacements.
There is also a sentimental side to consider. Many wooden pieces are heirlooms or hard to match, so restoring them preserves memories and style you cannot easily buy again. Beyond that, repairing rather than tossing furniture is a greener choice that keeps usable items out of landfills. When you handle the fix yourself, you gain a rewarding skill, boost your confidence, and enjoy the satisfaction of bringing something you love back to life.
Step-by-Step Guide to How to Repair Wood Furniture Chewed by a Dog
Step 1: Assess the Damage Closely
Start by examining the chewed area in good light so you understand what you are working with. Run your fingers over the surface to feel for splinters, deep gouges, and loose fragments. Gently wiggle any structural parts, like legs or rungs, to check whether the bite marks weakened the joints or only scratched the surface.
Take a photo before you begin, since it helps you track progress later. Note whether the damage sits on a painted, stained, or bare section, because that guides your repair choices. A careful assessment now saves time and prevents you from applying the wrong product to the wrong problem.
Step 2: Clean the Chewed Area
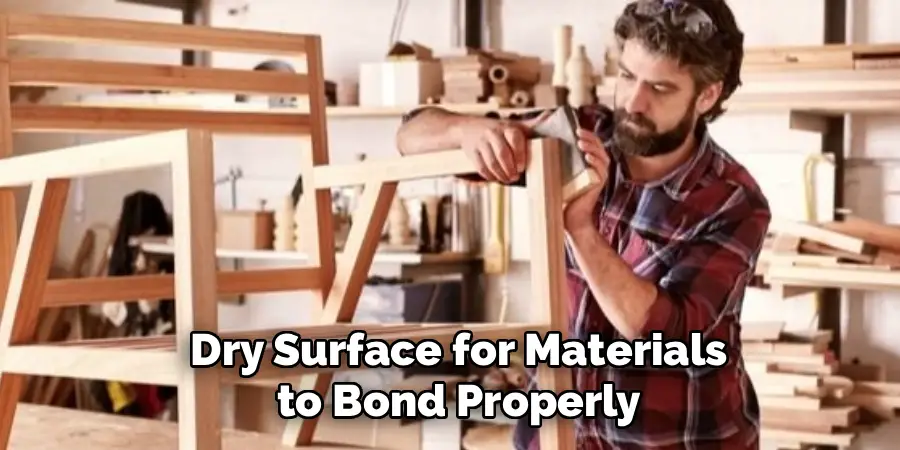
Before any repair work, you need a clean, dry surface for materials to bond properly. Dog saliva, dust, and loose wood fibers can weaken fillers and glue, so cleaning is not a step to skip. Mix a little mild soap with warm water and wipe the damaged spot with a soft cloth.
Avoid soaking the wood, as too much moisture can cause swelling or lift the finish. Once you have wiped away grime, dry the area thoroughly with a clean towel and let it air out for a few minutes. A tidy, dry surface gives your filler and finish the best chance to hold strong over time.
Step 3: Remove Loose Splinters and Rough Edges
Knowing how to repair wood furniture chewed by a dog starts with clearing away anything that will not stay put. Use fine-grit sandpaper, around 150 to 220 grit, to smooth rough edges and knock down raised splinters. Sand gently in the direction of the grain to avoid creating new scratches.
For stubborn slivers sticking out, trim them carefully with a sharp utility knife or small chisel before sanding. Wipe away the dust with a slightly damp cloth when you finish. Your goal here is a stable, even surface, not a perfectly polished one just yet, since filling and finishing come later.
Step 4: Fill the Gouges and Bite Marks
Now comes the part that makes damage disappear. Choose a wood filler or epoxy that matches your project, using two-part epoxy for deep or structural gouges and standard filler for shallow marks. Press the product firmly into each groove with a putty knife, making sure it packs in completely with no air pockets.
Slightly overfill each spot, because filler tends to shrink a little as it dries. Smooth the surface as best you can while the material is still workable, then wipe away excess before it hardens. Follow the drying time on the label, since rushing this stage leads to weak, crumbly repairs.
Step 5: Sand Everything Smooth
Once the filler has fully cured, it is time to blend your repair into the surrounding wood. Start with medium-grit sandpaper to level any raised filler, then switch to fine grit for a smooth, even feel. Sand in gentle circular motions first, then finish along the grain so the surface matches the rest of the piece.
Keep checking your progress by running your hand across the area, since your fingertips catch imperfections your eyes might miss. If you find low spots, add a thin second layer of filler and repeat. Wipe away all dust with a tack cloth before moving on to color and finishing.
Step 6: Match the Color and Stain
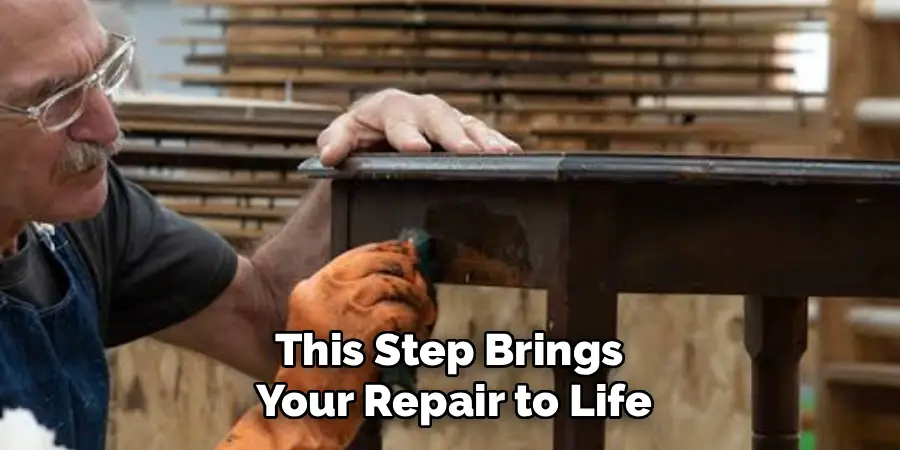
This step brings your repair to life so it disappears into the original wood. Test your stain or paint on a hidden area or a scrap piece before applying it to the visible repair. Wood filler often absorbs color differently, so you may need to blend two shades to get a close match.
Apply the stain in thin, even coats with a small brush or cloth, building up gradually until the tone matches. Wipe off excess and let each coat dry fully before adding another. Patience pays off here, because a well-matched color is what makes your fix look truly professional.
Step 7: Seal and Protect the Repair
The final stage locks in your hard work and shields the wood from future harm. Once you understand how to repair wood furniture chewed by a dog, sealing becomes the habit that keeps repairs lasting for years. Apply a clear protective finish such as polyurethane, wax, or varnish that matches the sheen of the surrounding surface.
Use light, even strokes and let each coat dry before adding the next, usually two or three coats for solid protection. Lightly buff between coats with very fine sandpaper for a smooth result. To discourage repeat chewing, consider a pet-safe deterrent spray once the finish has fully cured.
Frequently Asked Questions
Can I Fix Deep Chew Damage Myself Without Special Tools?
Yes, you can handle most deep damage with basic supplies like two-part epoxy, sandpaper, a putty knife, and matching stain. Deep gouges simply need more filler and longer drying time than shallow marks. As long as the furniture is still structurally sound, patient layering and careful sanding will restore it. For badly broken joints or cracked legs, though, professional help may be the safer choice.
How Long Does a Typical Repair Take to Complete?
Most repairs take one to three days from start to finish, though your active working time is only a couple of hours. The bulk of that timeline comes from drying and curing periods for filler, stain, and sealant. Rushing these stages weakens the final result, so plan around them. Small surface scratches may be done in an afternoon, while deep structural fixes need extra patience and time.
What Wood Filler Works Best for Pet Damage?
For shallow bite marks, a standard stainable wood filler works well and blends nicely with color. For deep or structural gouges, choose a two-part epoxy wood filler, since it dries harder and resists further chewing. Always pick a product labeled paintable or stainable so you can match your furniture’s finish. Test a small amount first to confirm how it absorbs color before committing.
How Do I Stop My Dog From Chewing Again?
Prevention combines training, exercise, and smart deterrents. Give your dog plenty of appropriate chew toys and daily activity to reduce boredom and anxiety, which are common chewing triggers. Apply a pet-safe bitter deterrent spray to vulnerable furniture legs once repairs have cured. Positive reinforcement, where you reward good behavior, works better than punishment. If chewing continues, a vet or trainer can help you find the root cause.
When Should I Replace the Furniture Instead of Repairing It?
Repair usually makes sense when the damage is cosmetic or the joints remain sturdy. Consider replacement if the wood is rotted, the structure is unstable, or repeated repairs no longer hold. Sentimental or high-value pieces are often worth professional restoration even with heavy damage. Weigh the cost of materials and your time against the price of a comparable replacement before deciding which path suits you best.
Conclusion
Restoring a chewed piece of furniture is far more achievable than most people expect, and the reward is a home that looks cared for and pet-friendly at the same time. By assessing the damage, cleaning and smoothing the surface, filling the gouges, matching the color, and sealing everything properly, you transform an eyesore back into a piece you are proud to display. Each step builds on the last, so following the order carefully gives you the best possible result.
Now that you know how to repair wood furniture chewed by a dog, you have the confidence to tackle nicks and bite marks whenever they appear. Gather your tools, take your time, and remember that patience during drying stages makes all the difference. Give your favorite piece the fresh start it deserves, and pair your repair with a few prevention habits to keep those paws and teeth away for good.

Rick is a handyman who grew up helping his dad with his business. He learned a lot from him about how to fix things, and also about how to work hard and take care of business. These days, Rick is still into fixing things- only now, he’s doing it for a living.
Rick is always looking for new ways to help people grow and develop. That’s why he started contributing to this blog: to share all his experience and knowledge so that he can help people who are interested in DIY repair.