
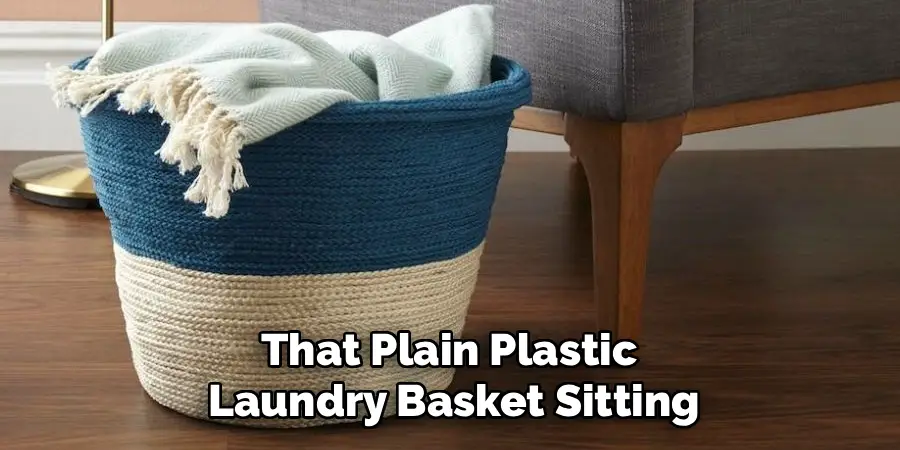
That plain plastic laundry basket sitting in your closet does a great job, but it rarely wins any style points. The good news is that you can change that with a few simple materials and a free afternoon. Learning how to decorate a plastic laundry basket lets you turn a boring household item into something that fits your room, matches your color scheme, and even sparks a little joy every time you fold clothes.
This project welcomes everyone, whether you have crafted for years or you are picking up a paintbrush for the first time. You do not need fancy tools or expensive supplies. Instead, you need a bit of patience and a willingness to experiment. Throughout this guide, we will walk you through clear, beginner-friendly steps that reduce mistakes and build your confidence. By the end, you will have a fresh, personalized basket and the skills to tackle more home makeover projects with ease and a genuine sense of pride.
Why Decorating A Plastic Laundry Basket Matters
A decorated basket does more than look pretty. It helps your space feel intentional and organized, which can make daily chores feel less like work and more like a routine you actually enjoy. When your storage matches your décor, rooms look tidier and calmer, even when laundry piles up.
There is also a practical side. Refreshing an old basket saves money and keeps usable plastic out of landfills, so you help the planet while personalizing your home. Plus, this project builds hands-on skills you can reuse on planters, bins, and other containers. Think of it as a small, low-risk way to practice crafting, gain quick wins, and empower yourself to take on bigger, more creative projects with confidence over time.
Step-By-Step Guide To How To Decorate A Plastic Laundry Basket
Below you will find seven clear steps. Take your time, follow each one in order, and feel free to adapt the ideas to suit your own style and skill level.
Step 1: Gather Your Supplies
Start by collecting everything you need so you never have to pause mid-project. For most makeovers, you will want spray paint or acrylic paint made for plastic, painter’s tape, fabric or ribbon, strong craft glue, scissors, and a soft cloth. If you plan to add lettering or patterns, grab stencils or vinyl too. Lay all your materials on a covered table in a well-ventilated space. Having your tools within reach keeps the process smooth and reduces frustration. Choose colors and textures that match the room where the basket will live, and you will love the finished result even more.
Step 2: Clean And Prep The Surface
Before any decoration sticks properly, your basket needs a clean, dry surface. Wipe the entire basket with warm water and a little dish soap to remove dust, oils, and residue. Rinse it and let it dry completely, since trapped moisture can ruin paint and glue later. For an even better bond, lightly sand the smooth plastic with fine-grit sandpaper. This creates tiny grooves that help paint grip the surface, so your finish lasts far longer. Wipe away the sanding dust with a dry cloth. This prep stage feels minor, yet it makes the biggest difference in how professional your final basket looks.
Step 3: Laundry Basket With Paint
Painting is the fastest way to transform your basket, and it works beautifully for beginners. Apply a primer designed for plastic first, then let it dry according to the label. Next, add thin, even coats of your chosen paint rather than one thick layer, because thin coats dry faster and resist drips. Hold spray cans about eight inches away and move steadily side to side. Allow each coat to dry before adding the next, and expect to use two or three coats for full coverage. Once you understand how to decorate a plastic laundry basket with paint, you can mix shades, blend ombré effects, or tape off crisp geometric designs.
Step 4: Add Fabric Or Ribbon Accents
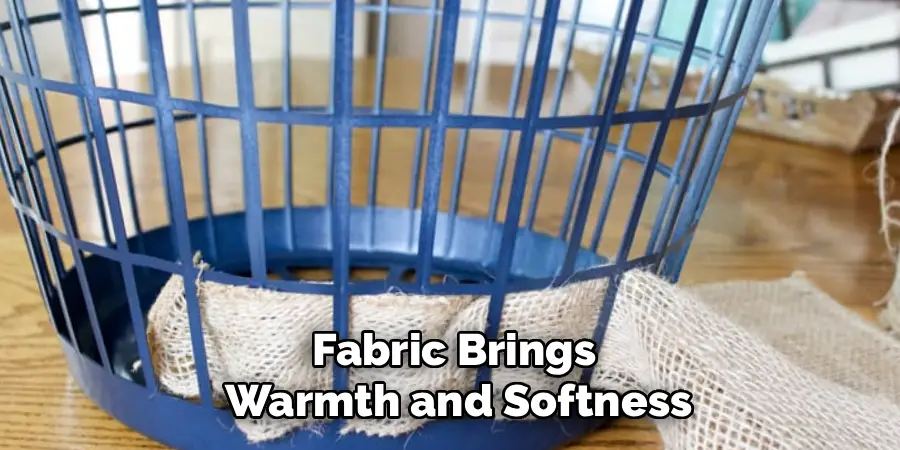
Fabric brings warmth and softness that paint alone cannot match. Measure the sides of your basket, then cut fabric strips or ribbon slightly longer than you need so you have room to adjust. Apply a thin line of craft glue along one edge and press the fabric down gently, smoothing out wrinkles as you go. You can weave ribbon through the basket’s existing holes for a textured basketweave look, or wrap a wide band around the top rim for a clean border. Work in small sections to keep everything neat, and press firmly so the material bonds securely before moving on.
Step 5: Plastic Basket With Patterns
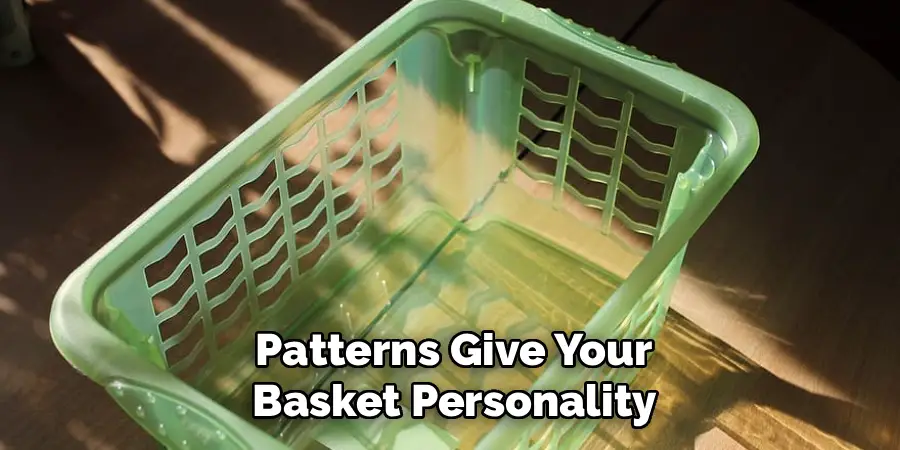
Patterns give your basket personality and turn a simple item into a standout piece. This is where you can really make the design your own. Use stencils and a dabbing motion with your brush to create shapes like dots, stripes, or florals, and always let one color dry before layering another. Adhesive vinyl decals offer a no-mess alternative if you prefer sharp lines without freehand painting. When you learn how to decorate a plastic laundry basket with patterns, you unlock endless customization, so try polka dots for a playful nursery or thin gold lines for a modern, elegant vibe that suits any grown-up space.
Step 6: Personalize With Labels Or Names
Adding a name, monogram, or label makes the basket both stylish and practical, especially in shared homes. You can use letter stencils, iron-on vinyl, or even a simple hanging tag tied with twine. Center your text before committing so it looks balanced from every angle. Labels help family members know exactly which basket belongs to them, which cuts down on mix-ups and small daily headaches. For kids, let them pick their own colors or stickers so they feel involved and proud. This personal touch turns a plain container into something meaningful that reflects the people who use it every day.
Step 7: Seal And Protect Your Work
Your final step locks in all your hard work so it survives everyday use. Apply a clear sealant or polyurethane spray over painted and stenciled areas once everything is fully dry. This protective layer guards against scratches, moisture, and fading, which matters because laundry baskets get handled constantly. Use two light coats rather than one heavy one, and let the sealant cure for the full time listed on the product. Avoid tossing wet clothes in until the finish hardens completely. With this seal in place, your refreshed basket stays vibrant and durable, giving you months or even years of enjoyment from a single afternoon of effort.
Frequently Asked Questions
What Type Of Paint Works Best On Plastic Baskets?
Acrylic paint and spray paint labeled specifically for plastic surfaces work best. These formulas bond well and resist peeling. Always apply a plastic primer first for the strongest finish. Avoid regular wall or craft paints not made for plastic, since they tend to flake off quickly. Thin, even coats sealed with a clear topcoat will give you the most durable, long-lasting result.
Do I Really Need To Sand The Basket First?
Sanding is not strictly required, but it strongly improves how well paint and glue stick. A light pass with fine-grit sandpaper creates a slightly rough surface that helps materials grip the smooth plastic. Skipping this step often leads to chipping later. If you want a finish that lasts through daily use, take a few extra minutes to sand, wipe away the dust, and prep properly.
How Long Should I Wait Between Coats?
Drying time depends on your product, so always check the label first. As a general rule, wait about fifteen to thirty minutes between light spray-paint coats and up to an hour for acrylics. Rushing this step causes smudges and uneven texture. Once your final coat goes on, allow several hours or even overnight before sealing to make sure everything hardens fully and looks smooth.
Can Kids Help With This Project Safely?
Absolutely, and involving kids makes the project more fun. Give children safe, mess-friendly tasks like applying stickers, pressing fabric, or choosing colors. Handle spray paint and sealants yourself in a ventilated area, since those products need adult supervision. Water-based acrylics and washable options work well for little hands. This shared activity builds creativity and gives kids a sense of ownership over the finished basket they helped design.
How Do I Clean A Decorated Basket Without Ruining It?
Once sealed, your basket becomes much easier to maintain. Wipe it gently with a slightly damp cloth and mild soap, then dry it right away. Avoid soaking it, scrubbing hard, or using harsh chemicals, since those can lift paint and loosen fabric. For fabric accents, spot-clean carefully rather than washing the whole piece. Regular light cleaning keeps your design looking fresh for a very long time.
Conclusion
Transforming a dull storage bin into a piece you love is easier than it looks, and now you have everything you need to succeed. From gathering supplies and prepping the surface to painting, adding patterns, personalizing, and sealing, each step builds toward a polished, durable result. The beauty of this project is how flexible it is, so you can adapt every idea to match your taste, your room, and your skill level with real confidence.
Knowing how to decorate a plastic laundry basket gives you a simple, budget-friendly way to refresh your home while flexing your creative muscles. Grab that plain basket, pick your favorite colors, and start today. You will end up with a functional, one-of-a-kind piece and the skills to reinvent other items around your house whenever inspiration strikes.

Rick is a handyman who grew up helping his dad with his business. He learned a lot from him about how to fix things, and also about how to work hard and take care of business. These days, Rick is still into fixing things- only now, he’s doing it for a living.
Rick is always looking for new ways to help people grow and develop. That’s why he started contributing to this blog: to share all his experience and knowledge so that he can help people who are interested in DIY repair.