
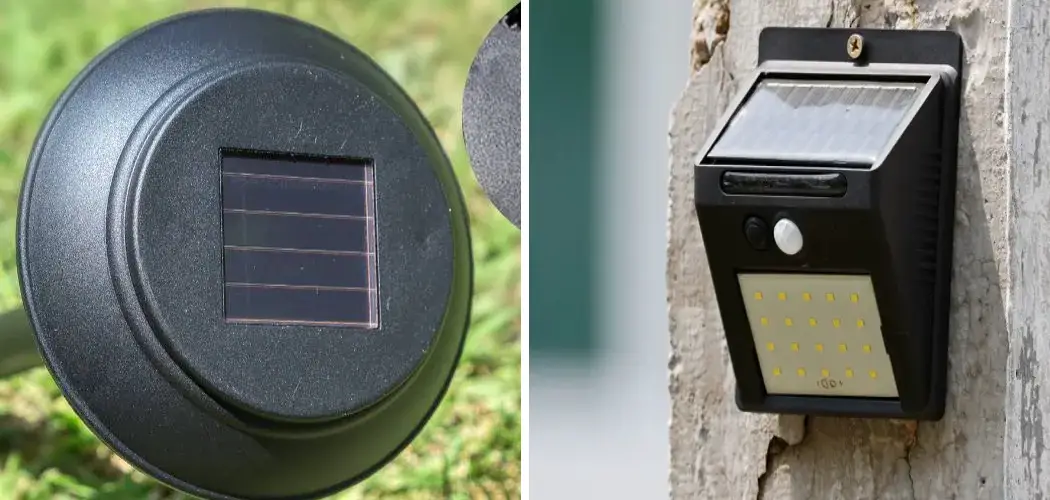
Solar lights are a simple, eco-friendly way to brighten gardens, pathways, and patios without adding to your electricity bill. But many people run into a common puzzle: their lights came with a tiny on/off switch, and they’re not sure how it affects charging. The good news is that learning how to charge solar lights with on/off switch is easier than it looks, and getting it right makes a huge difference in how brightly and how long your lights glow.
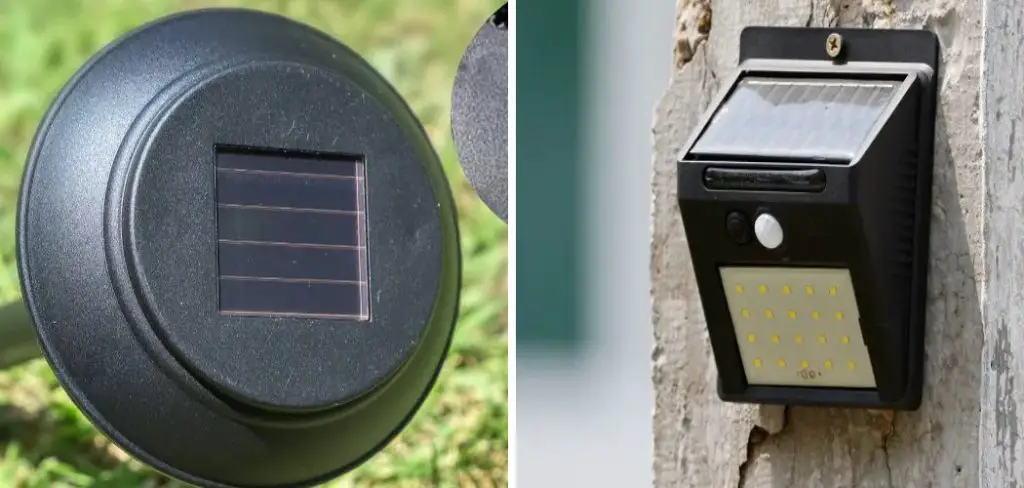
That little switch isn’t just for turning lights on at night. It plays a key role in how your solar panel soaks up sunlight and stores energy in the battery. If you’ve ever wondered why your lights stay dim or die after an hour, the switch position might be the culprit. In this guide, you’ll learn exactly what to do, step by step, in plain language. No technical jargon, no guesswork, just clear instructions you can follow today to get the most out of every sunny day.
Why Charging Solar Lights With an On/Off Switch Matters
The on/off switch does more than control your light, it directly affects how your battery charges and how long it lasts. When you understand how to use it correctly, you get brighter lights, longer runtime, and a battery that stays healthy for years instead of months.
Many new solar lights ship with the switch turned off to protect the battery during storage. If you never flip it on, the light may never charge or shine properly. Using the switch the right way also prevents deep battery drain, which is one of the biggest reasons solar lights fail early. Mastering this small detail empowers you to skip frustrating trial and error and enjoy reliable, glowing lights night after night, all while saving money on replacements.
Step-by-Step Guide to How to Charge Solar Lights With On/Off Switch
Step 1: Turn the Solar Light On
To begin, locate the on/off switch on your solar light. This switch is usually located under the top of the light or on the bottom. Flip the switch to the “on” position.
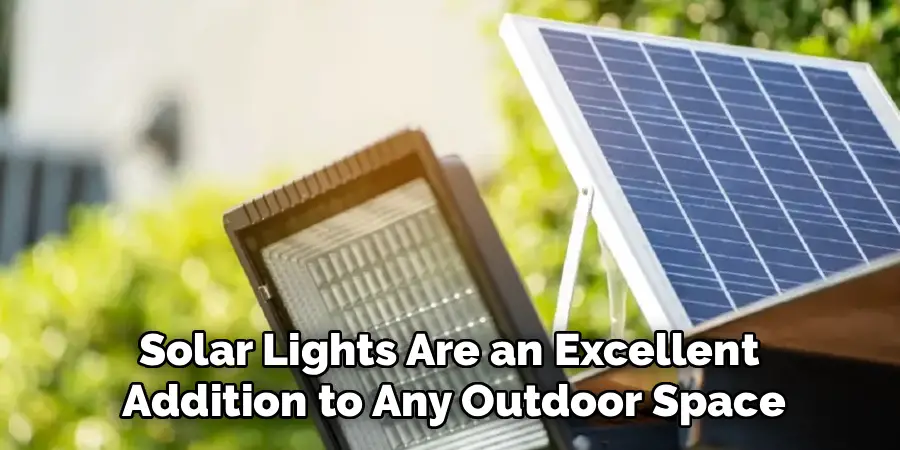
Solar lights are an excellent addition to any outdoor space, offering an eco-friendly and cost-effective way to illuminate your surroundings. However, understanding the nuances of using these lights effectively can make a significant difference in their performance and durability. By following the right steps, you can ensure your solar lights are always charged and ready to provide consistent lighting, enhancing both the functionality and aesthetics of your outdoor areas.
Step 2: Place the Light in Direct Sunlight
The first step in ensuring your solar lights are always charged is to place them in direct sunlight. These lights rely on the sun’s energy to charge their batteries, so it is crucial to position them where they can receive ample sunlight throughout the day. Avoid placing them in shaded areas or under trees that may obstruct the sun’s rays.
Solar-powered lights offer an eco-friendly and cost-effective way to illuminate your outdoor spaces. By harnessing the sun’s energy, these lights eliminate the need for traditional electricity, reducing both energy consumption and environmental impact. Proper setup and maintenance ensure they remain reliable and efficient, providing a sustainable lighting solution for your home.
Step 3: Remove Any Protective Film or Tab
New solar lights frequently arrive with a clear plastic film over the panel or a pull tab inside the battery compartment. These protect the product during shipping, but they also block charging. Peel off any film covering the solar panel so sunlight can reach the cells directly. If there’s a pull tab between the battery and the contacts, remove it completely. Leaving these in place is a surprisingly common mistake that makes people think their lights are broken. A quick check here ensures nothing stands between your panel and the sun, giving you a clean, unblocked surface for the best possible charge.

Step 4: Clean the Solar Panel
Regular cleaning of your solar panel will help maintain its efficiency and ensure it continues to produce strong light. Use a soft, damp cloth or sponge to gently wipe away any dirt, dust, or debris that may have accumulated on the panel. Avoid using harsh chemicals or abrasive materials that could scratch the surface of the panel. It’s also important to clean your solar panel regularly if you live in an area with heavy pollution or a lot of trees.
Step 5: Allow Sufficient Charging Time
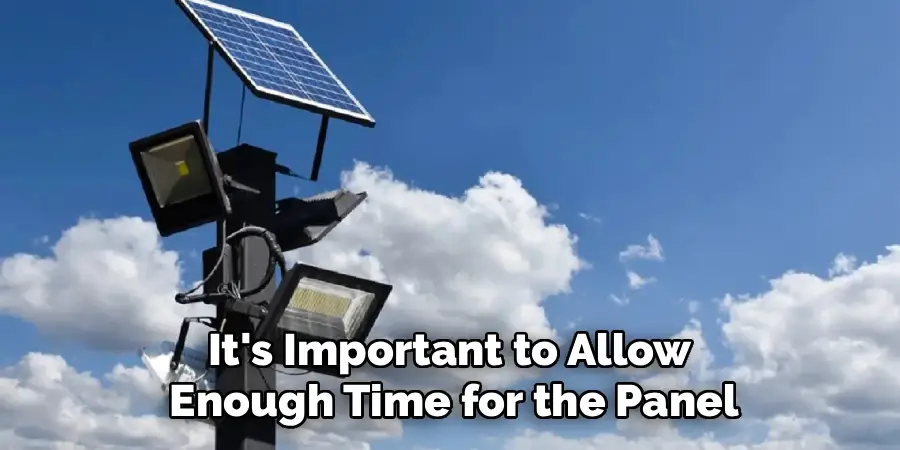
When using solar lights, it’s important to allow enough time for the panel to charge fully. This will ensure that the light has enough power to last through the night. The amount of time needed for charging depends on various factors such as the weather and sunlight exposure. However, a general rule is to give your solar panel at least 6-8 hours of direct sunlight for optimal charging. ### Step 6: Check Connections and Wiring Regularly check the connections and wiring of your solar lights to ensure they are secure and functioning properly. Over time, these components may become loose or damaged due to weather or wear and
Step 6: Test the Light at Night
After a full day of charging, it’s time to check your results. Wait until dusk or move the light into a dark room to trigger the built-in light sensor. With the switch on and the battery charged, the light should turn on automatically. If it glows brightly, you’ve done everything right. If it’s dim or doesn’t light up, double-check that the switch is truly in the “ON” position and that nothing is blocking the panel. Testing at night gives you instant feedback and helps you confirm that your charging routine is working before you rely on the lights every evening.
Step 7: Keep the Panel Clean and Maintained
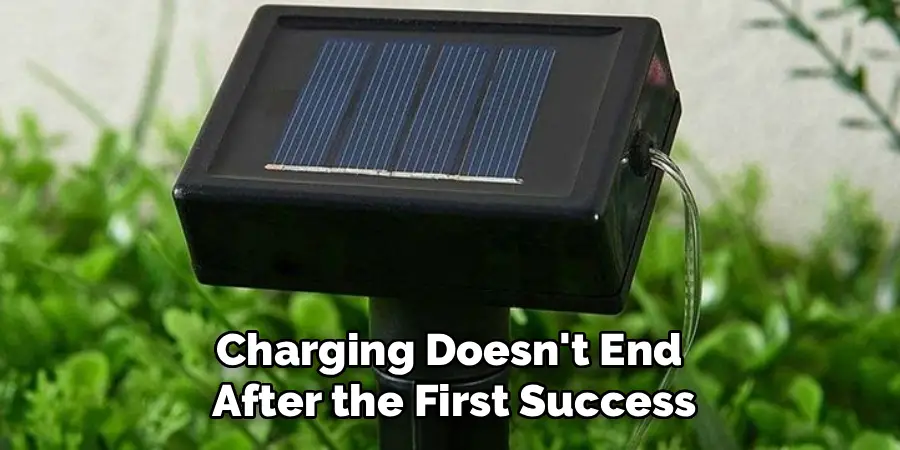
Charging doesn’t end after the first success. Over time, dust, pollen, bird droppings, and grime build up on the solar panel and block sunlight. Wipe the panel gently with a soft, damp cloth every couple of weeks to keep it absorbing maximum light. Also check the switch occasionally to make sure it stays on, since accidental bumps can flip it off. During long cloudy stretches or winter storage, recharge the battery fully every month to protect its health. Regular, simple maintenance keeps your lights performing at their best and stretches the lifespan of both the panel and the battery.
Frequently Asked Questions
Should the Switch Be On or Off While Charging?
The switch should be on while charging in most cases. For the majority of solar lights, the panel only sends power to the battery when the switch is in the “ON” position. Turning it off can stop charging completely. A few models charge regardless of switch position, so always check your manual. When in doubt, leave the switch on for both charging and nightly use.
How Long Does It Take to Charge Solar Lights Fully?
A full charge usually takes six to eight hours of direct sunlight. New lights or fully drained batteries may need one to two full days to reach maximum capacity. Cloudy weather, shade, and a dirty panel all slow things down. For the best results, place your lights in strong, unblocked sunlight and give them a complete, uninterrupted day to charge before testing them at night.
Why Won’t My Solar Lights Turn On After Charging?
Several simple issues could be to blame. First, confirm the switch is set to “ON.” Next, check that no protective film or pull tab is blocking the panel or battery. Make sure the light is getting real sunlight, not shade. Finally, an old or faulty rechargeable battery may no longer hold a charge and could need replacing. Working through these one by one usually solves the problem.
Can I Charge Solar Lights Indoors?
Yes, but it’s far less effective than outdoor charging. A bright, sunny windowsill can deliver some charge, though indoor light is weaker and filtered through glass. Artificial light, like household bulbs, charges very slowly and isn’t a reliable option. If you must charge indoors during bad weather, choose your sunniest window and expect longer charging times. For full, dependable performance, outdoor direct sunlight is always the better choice.
Do I Need to Turn the Switch Off When Not Using the Lights?
Turning the switch off helps during long-term storage. If you’re packing lights away for winter or won’t use them for weeks, switching off prevents the battery from draining and protects its health. Just remember to recharge the battery fully every month or so during storage. For everyday use, however, you can leave the switch on so the lights charge by day and glow automatically by night.
Conclusion
Getting your solar lights to shine brightly really comes down to a few simple habits: find the switch, flip it on, clear any film, and give the panel plenty of direct sunlight. Once you know how to charge solar lights with on/off switch correctly, you’ll avoid the frustration of dim or dead lights and enjoy a warm, reliable glow night after night. The little switch is your secret tool for healthier batteries and longer-lasting performance.
Now it’s your turn to put these steps into action. Head outside, locate that switch, and set your lights up for their first full charge today. With a quick wipe of the panel every few weeks and a monthly top-up during storage, you’ll keep your solar lights working beautifully for years. Small effort, big payoff, and a brighter outdoor space waiting for you every evening.

Rick is a handyman who grew up helping his dad with his business. He learned a lot from him about how to fix things, and also about how to work hard and take care of business. These days, Rick is still into fixing things- only now, he’s doing it for a living.
Rick is always looking for new ways to help people grow and develop. That’s why he started contributing to this blog: to share all his experience and knowledge so that he can help people who are interested in DIY repair.