

Switch off the lights when you leave a room. It’s one of those things we all know but doesn’t always do. Maybe it’s because turning off the light switch is just one more thing to remember in an already long list of things to do before leaving the house. But what if there was a way to make turning off the light switches easier? There is: labeling them! In this article, we will show you how to label light switches. Keep reading.
Labeling light switches are a great way to make your life easier. It makes turning off the lights in a room more accessible, but it can also help you avoid accidents. For example, if you have a light switch close to a door, labeling it “exit” will let you know that this is the switch you need to turn off when you leave the room.
A Detailed Guide on How to Label Light Switches
Method 1: Using Tape
One way to label a light switch is to use tape. This is a quick and easy method that can be used to label switches of all shapes and sizes.
Start by determining the layout of your labels. You may want to make them straight or curved, depending on the shape of your switch. Next, cut a piece of tape slightly larger than the switch. Write the switch’s name on the tape with a Sharpie or other writing instrument. Stick the tape to the switch. Repeat for each switch in your home.
Method 2: Using a Label Maker
If you want to be extra precise in your labeling, you can use a label maker. This will ensure that the labels are evenly spaced and look professional. Here’s how to do it:

Make sure that the label maker is set to the correct language. Cut a piece of tape slightly longer than the width of the light switch. Peel off the backing from the tape and stick it in the middle of the light switch. Print out the label for the light switch using your label maker. Be sure to use a font that is easy to read. Stick the label over the piece of tape on the light switch.
Method 3: Labeling with Stickers
The most popular way to label light switches is by using stickers. You can purchase stickers at your local hardware store or online. There are many different types of stickers available, so choose the one that best suits your needs.
To use the stickers, first, remove the old switch cover and then clean the surface of the switch with a damp cloth. Let the switch dry completely before applying the sticker. Next, peel off the backing and place the sticker in the desired location. Finally, firmly press down on the sticker to make sure it sticks to the switch.
If you need to change or remove the sticker at a later date, you can do so by gently peeling it off. However, be careful not to damage the paint or wallpaper if you decide to reuse the sticker.
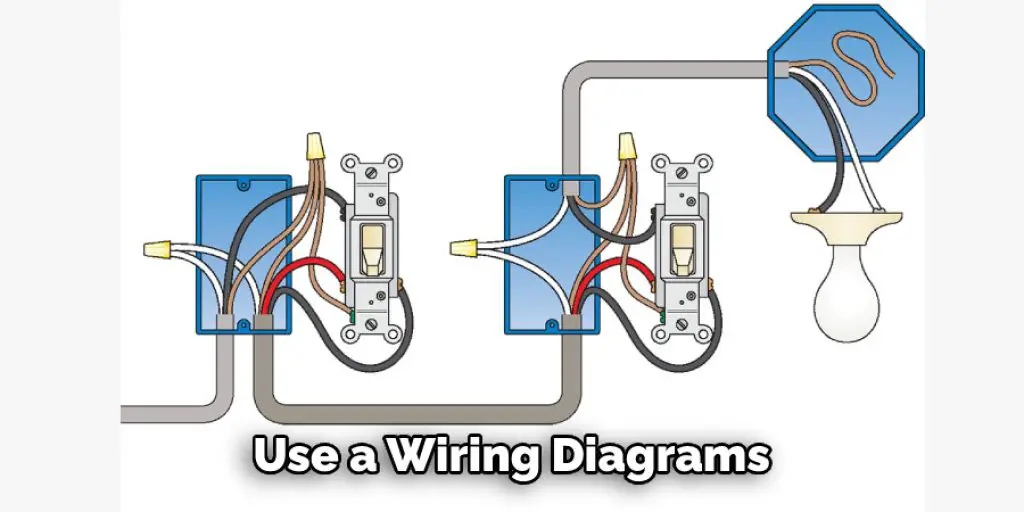
Method 4: Using Wiring Diagrams
Another way to label light switches is by using wiring diagrams. This method can be a little more complicated, but it can be very effective in ensuring that all switches are correctly labeled. First, you’ll need to find the wiring diagram for your home. Once you have the diagram, you can use it to identify the different wires in your home. You can then use these wires to create labels for your light switches.
When using wiring diagrams, one thing to keep in mind is that not all homes are wired the same way. So, you may need to adjust your wiring diagram depending on your specific home. Also, make sure that you always consult with a professional electrician before working on your home’s wiring.
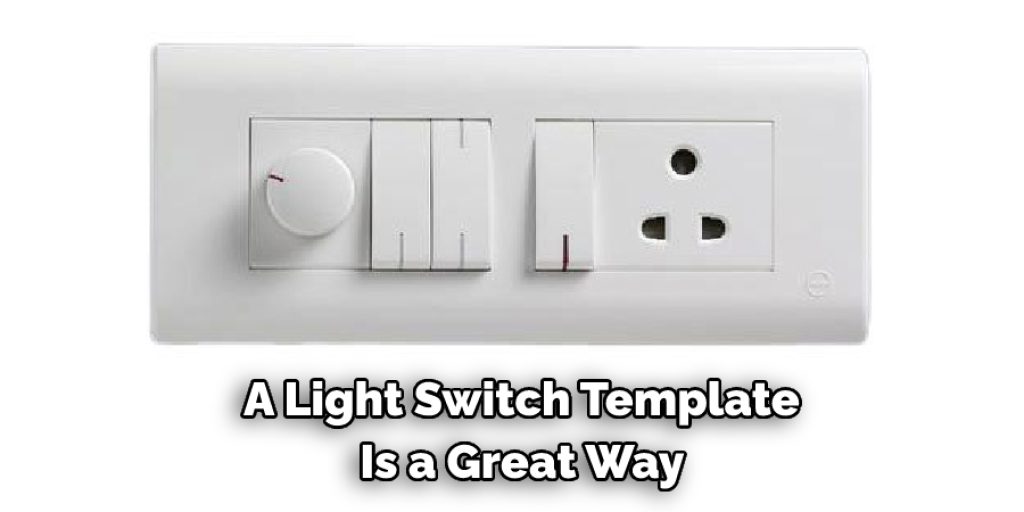
Method 5: Using a Light Switch Template
A light switch template is a great way to quickly and easily label your light switches. There are a few different templates to choose from, so find the one that best suits your needs.
Once you have chosen a template, print it out and follow the instructions to attach it to your light switch. Make sure the template is facing the right way before you attach it!
Now, when you need to turn on the lights, all you have to do is look for the symbol on the switch. This will make it easier for everyone in your home to know which switch turns on which light.
Method 6: Buying Pre Labeled Light Switch
If you do not want to go through the hassle of labeling your light switches, you can always buy a pre-labeled light switch. This is a straightforward way to do it, and it is also very affordable. You have to find a store that sells them and purchase the ones that fit your needs. Remember that pre-labeled light switches may not have every language on them, so it is essential to check the label before purchasing.
Method 7: Taping Notes to the Wall
If you’re looking for a way to keep your switches labeled that won’t require any drilling or extra hardware, taping notes to the wall is a great solution. This method is also perfect if you’re renting and don’t want to make any permanent changes to the walls.
To get started, grab a piece of paper and a marker. Then, write down the name of each switch on the paper. Once everything is written down, use some tape to attach the paper to the wall near each switch.
This is a super-easy way to keep track of your light switches, and it’s also really affordable. If you ever move or decide to redecorate your home, you can take down the notes and attach them somewhere else.
Method 8: Hiring an Electrician
If you are not comfortable labeling your light switches, you can always hire an electrician to do it for you. This is an excellent option if you want the job done right and don’t have time to do it yourself. Just be sure to shop around and get quotes from a few different electricians before you decide.
When you hire an electrician, discuss your needs with them. For example, they may suggest adding a dimmer switch or other features to your light switches. You can also ask them to label the switches for you if you’d like.
Electricians typically charge by the hour, so ask for an estimate before you hire them. Be sure to get all of the details in writing, including the start and end dates of the project and the cost. This will help avoid any surprises later on.
Hiring an electrician is a great way to ensure that your light switches are correctly labeled. Just be sure to shop around and get quotes from a few different electricians before you decide. These methods will be helpful in how to label light switches.
Tips
- Labeling light switches can be helpful in case of an emergency.
- To label a light switch, you will need a permanent marker or label maker.
- It is best to use a clear or brightly colored label so that it is easily visible.
- If there are multiple switches in one area, it may be helpful to name them according to their function (ex. “bedroom light,” “hallway light,” etc.).
- It is also essential to keep track of any changes made to the labeling, especially if multiple people live in the same space.
There are many reasons why you might want to label your light switches. Perhaps you have a disability and need easy access to the lights, or maybe you want to make sure that everyone in your home knows which switch turns on which light. Whatever the reason, labeling light switches are a quick and easy way to make your life easier.
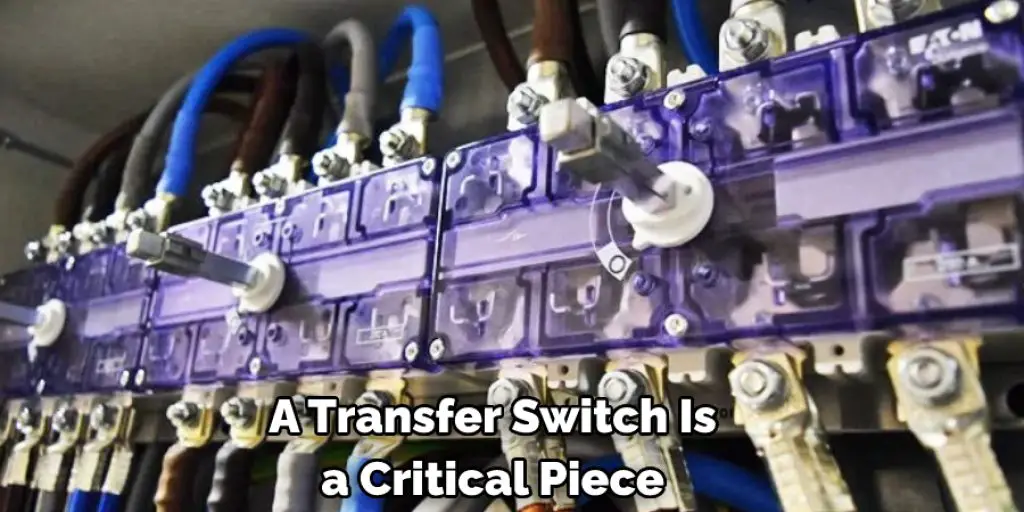
You can check it out to Wire Two Transfer Switches to One Generator
Conclusion:
We hope you find this article on how to label light switches useful. Labeling light switches is an easy way to ensurIt’sat everyone in your home knows where the lights are. It’s’ also an excellent opportunity to add a little personality to your space. Whether you want to go with traditional labels or something, make sure the markings are clear and concise. If you’re’ looking for some inspiration, take a look at these fun ideas for labeling light switches.