
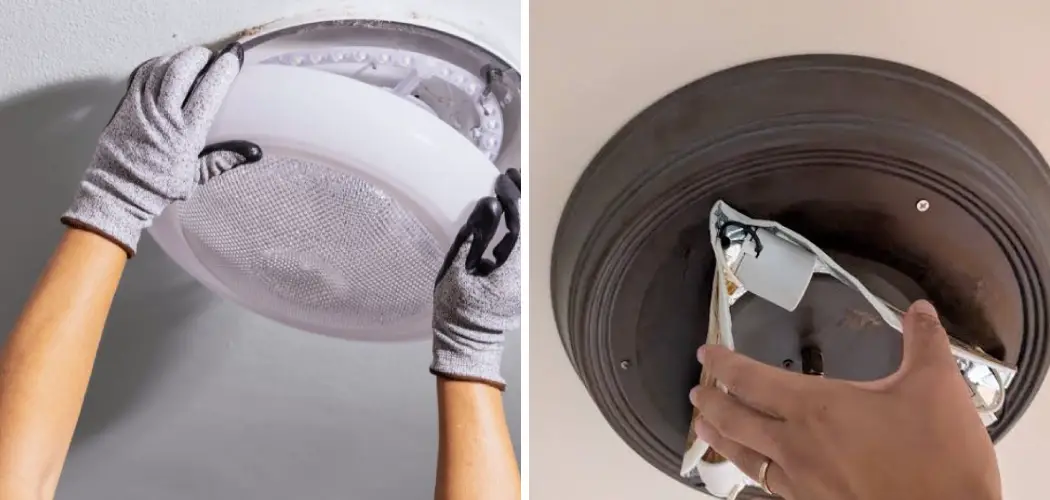
Updating your bathroom lighting can feel like a big job, especially when you reach up to take down the old fixture and realize there are no visible screws anywhere. Don’t worry, you’re not stuck. Many modern fixtures use hidden clips, twist locks, or magnetic mounts instead of obvious hardware. Once you know what to look for, the whole task becomes surprisingly simple.
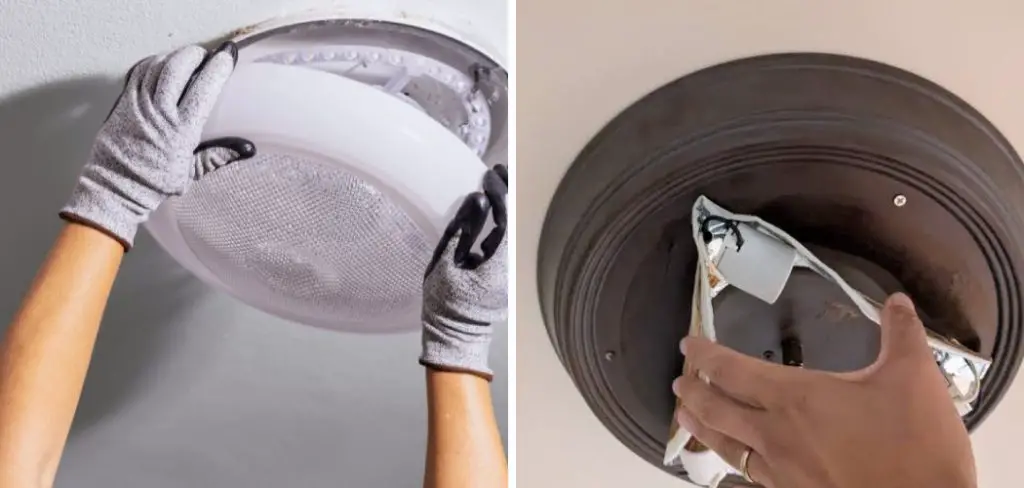
This friendly guide walks you through how to remove bathroom light fixture without screws using clear, beginner-friendly steps. You’ll learn how to spot the hidden fasteners, work safely around electrical connections, and take down your fixture without damaging the wall or ceiling. Whether you’re swapping a dated light for something brighter or just doing routine maintenance, this matters because doing it the right way protects both your home and your hands.
Why Removing a Screwless Light Fixture Matters
Knowing how to handle a screwless fixture saves you time, money, and frustration. Many people assume they need an electrician for every lighting change, but most basic removals are well within reach for a careful beginner. Learning this skill empowers you to refresh your bathroom whenever you like.
There’s also a safety benefit. Forcing a fixture that won’t budge can crack the housing, damage the wiring, or leave you with bare wires exposed. When you understand how hidden mounts work, you remove the guesswork and avoid costly repairs. You’ll also reduce the risk of common mistakes, like pulling too hard or skipping the power shutoff. In short, this knowledge gives you control, keeps your project smooth, and builds confidence for future home upgrades.
Step-by-Step Guide to How to Remove Bathroom Light Fixture Without Screws
Step 1: Turn Off the Power Completely
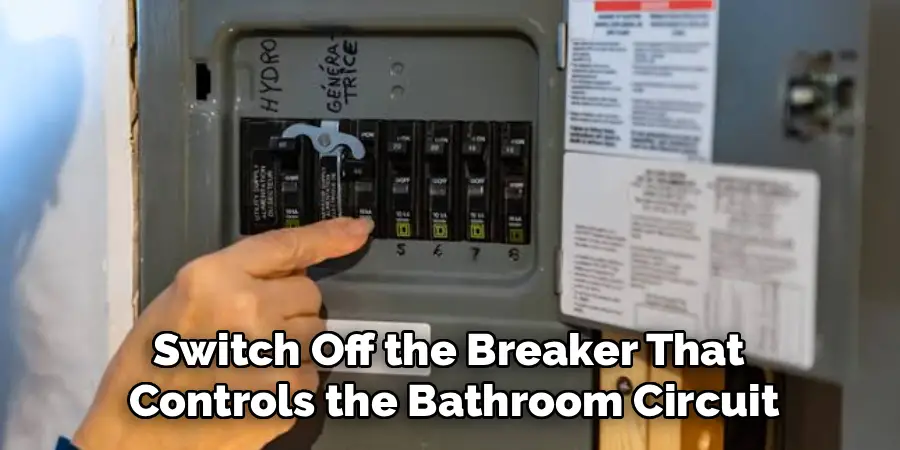
Safety always comes first, so begin by cutting the electricity to your bathroom light. Head to your home’s breaker panel and switch off the breaker that controls the bathroom circuit. If your panel isn’t labeled clearly, flip the main breaker to be extra safe.
Once the power is off, flip the light switch on and off to confirm the fixture stays dark. For added peace of mind, use a non-contact voltage tester near the wiring. Hold it close to the wires and watch for any beep or light. If everything stays quiet, you’re clear to keep going.
Step 2: Gather Your Tools and Prepare the Area
A little preparation makes the rest of the job easier and faster. Grab a sturdy step stool or ladder, a soft cloth, a small flathead screwdriver, a flashlight, and a non-contact voltage tester. Keep a container nearby to hold any small parts you remove along the way.
Next, clear the space below the fixture and lay down a towel to catch dust or falling pieces. Good lighting helps too, so position your flashlight or a portable lamp where it shines on the fixture. Having everything within arm’s reach means you won’t have to climb down and up repeatedly, which keeps your focus on the task.
Step 3: Inspect the Fixture for Hidden Mounts
This is the most important part of learning how to remove bathroom light fixture without screws, because the mounting method determines your next move. Climb up and look closely at the base where the fixture meets the wall or ceiling. Run your fingers gently around the edge to feel for movement, gaps, or pressure points.
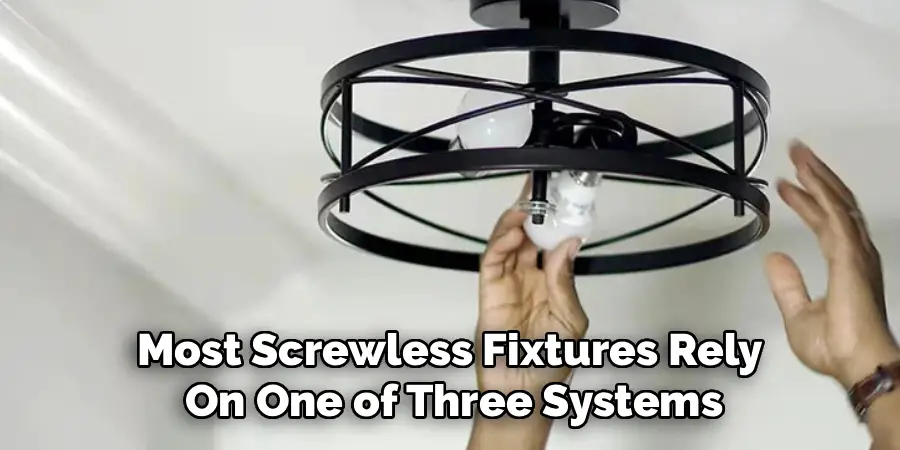
Most screwless fixtures rely on one of three systems. Some twist into place and unlock with a turn. Others snap onto spring-loaded clips hidden behind the trim. A few newer models use strong magnets. Identifying which type you have prevents unnecessary force and saves you from accidental damage.
Step 4: Remove the Decorative Cover or Shade
Before reaching the mount itself, you’ll usually need to take off the outer cover, glass shade, or trim ring. Hold the cover steady with one hand so it doesn’t drop suddenly. Then try gently rotating it counterclockwise, since many shades thread on much like a jar lid.
If turning doesn’t work, the cover may be held by small friction clips. Slide your flathead screwdriver wrapped in a cloth into the seam and ease it outward with light, even pressure. Move slowly around the edge rather than yanking one side. Set the cover safely aside on your towel so it stays scratch-free and ready to reuse.
Step 5: Release the Twist Lock or Clips
Now you’ll reach the actual fastening system, which is the heart of how to remove bathroom light fixture without screws. For a twist-lock design, grip the base firmly and rotate it counterclockwise until it loosens and slides free from the mounting bracket. The motion is smooth, so if it resists, double-check that you’re turning the right way.
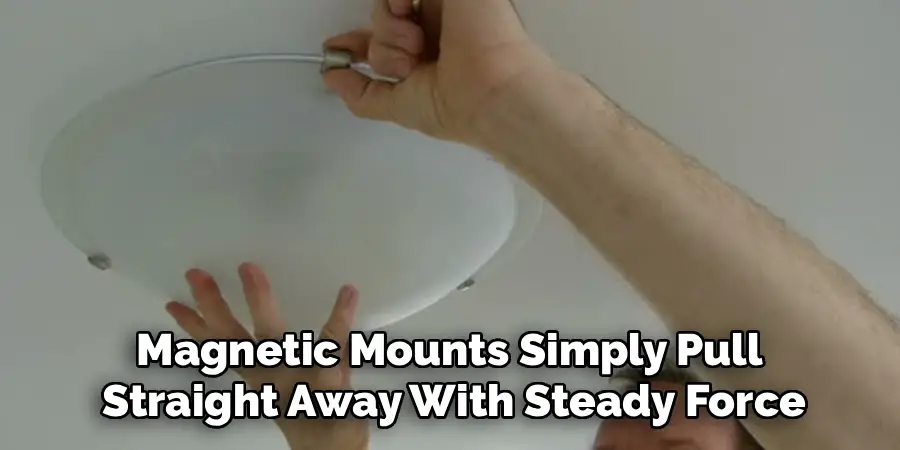
For clip-mounted fixtures, locate the spring clips along the edges. Press them inward or downward while supporting the fixture’s weight with your other hand. Magnetic mounts simply pull straight away with steady force. Whatever the type, work patiently and keep your free hand ready to catch the fixture.
Step 6: Disconnect the Wiring Safely
With the fixture loose, you’ll see the wires connecting it to your home’s electrical box. Lower the fixture gently so the wires aren’t strained. You’ll typically find three connections: black for hot, white for neutral, and a green or bare copper ground wire.
Unscrew the plastic wire nuts by twisting them counterclockwise, then carefully separate each pair of wires. Take a quick photo first if you want a reference for installing your new fixture later. Avoid touching the bare metal ends together, even with the power off. Once all three connections are free, the old fixture will be completely detached and ready to come down.
Step 7: Cap the Wires and Clean Up
Finish strong by securing the loose wires so the area stays safe until you install a replacement. Twist a wire nut onto each individual wire end, then gently tuck them back into the electrical box. This prevents any accidental contact if power returns.
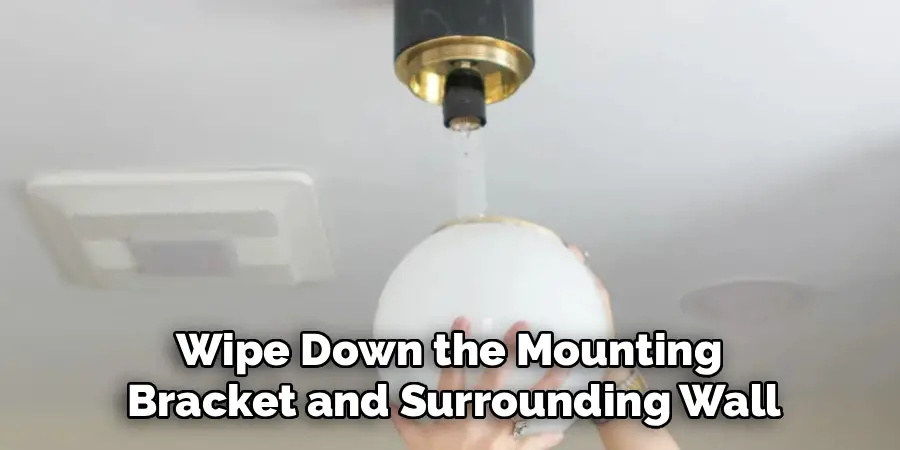
Wipe down the mounting bracket and surrounding wall with your cloth to remove dust or residue. Gather your tools, fold up the towel, and store the old fixture if you plan to reuse or recycle it. When you’re ready to restore electricity, flip the breaker back on only after confirming the wires are capped and the area is clear.
Frequently Asked Questions
How Do I Know if My Fixture Has Hidden Clips or a Twist Lock?
Look and feel around the base carefully. Twist-lock fixtures rotate slightly when you apply gentle pressure, while clip-mounted ones feel rigid until you press the spring tabs. Gently wiggle the fixture and watch how it moves. If it spins, it likely twists off. If it shifts straight out or feels springy at the edges, hidden clips or magnets are holding it.
Is It Safe to Remove a Light Fixture Myself?
Yes, basic removal is safe for beginners as long as you turn off the power at the breaker and confirm it’s off with a voltage tester. The biggest risk is electrical, so never skip that step. If you ever see scorched wires, frayed insulation, or anything that looks damaged, stop and call a licensed electrician for expert support and peace of mind.
What Should I Do if the Fixture Won’t Budge?
First, stop pulling hard, since force often causes cracks or damage. Recheck whether you’ve removed the decorative cover completely, as it may hide the real mount. Confirm you’re twisting the correct direction or that all clips are released. A little penetrating oil on stubborn threaded parts can help. Patience and gentle, repeated attempts almost always work better than brute strength.
Do I Need to Hire an Electrician for This Job?
For straightforward removals, you usually don’t. Most homeowners can handle disconnecting and taking down a fixture with simple tools. However, you should call a professional if you find aluminum wiring, multiple wires bundled oddly, or signs of past electrical problems. When in doubt, expert help at every step keeps you safe and protects your home from costly mistakes.
How Long Does the Removal Process Take?
Most beginners finish in about fifteen to thirty minutes. Turning off the power and gathering tools takes only a few minutes. Identifying the mount and removing the cover usually goes quickly once you know what to look for. The wiring disconnection is the slowest part for first-timers, but it speeds up with practice and a calm, steady approach.
Conclusion
Taking down a screwless fixture is far easier than it first appears once you understand the hidden mounting systems behind it. You started by cutting the power safely, gathered the right tools, inspected the mount, and worked through removing the cover, releasing the clips or twist lock, and disconnecting the wiring. Each step builds on the last, giving you a clear and repeatable process.
The key takeaways are simple: always prioritize safety, identify your mount type before pulling, and work with patience instead of force. Now that you know how to remove bathroom light fixture without screws, you can confidently refresh your space whenever you like. Grab your tools, take it one step at a time, and enjoy the satisfying results of a job done well.

Rick is a handyman who grew up helping his dad with his business. He learned a lot from him about how to fix things, and also about how to work hard and take care of business. These days, Rick is still into fixing things- only now, he’s doing it for a living.
Rick is always looking for new ways to help people grow and develop. That’s why he started contributing to this blog: to share all his experience and knowledge so that he can help people who are interested in DIY repair.