
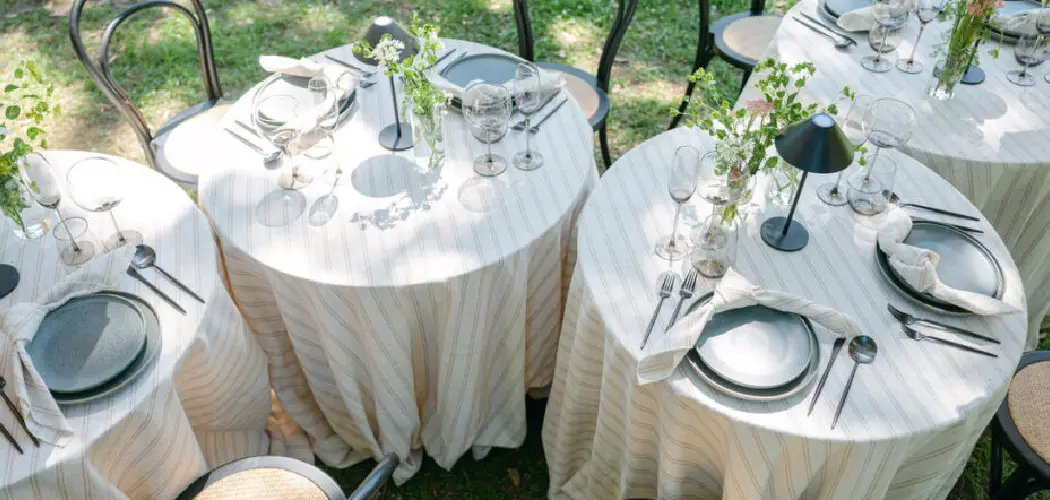
A round table has a charm all its own. The soft curves invite conversation, make small spaces feel friendlier, and give you a blank canvas to play with. Yet many people freeze when they sit down to style one, unsure where to place the centerpiece or how to balance everything without it looking cluttered. Learning how to decorate a round table solves that problem, and the good news is that it takes far less effort than you might expect.
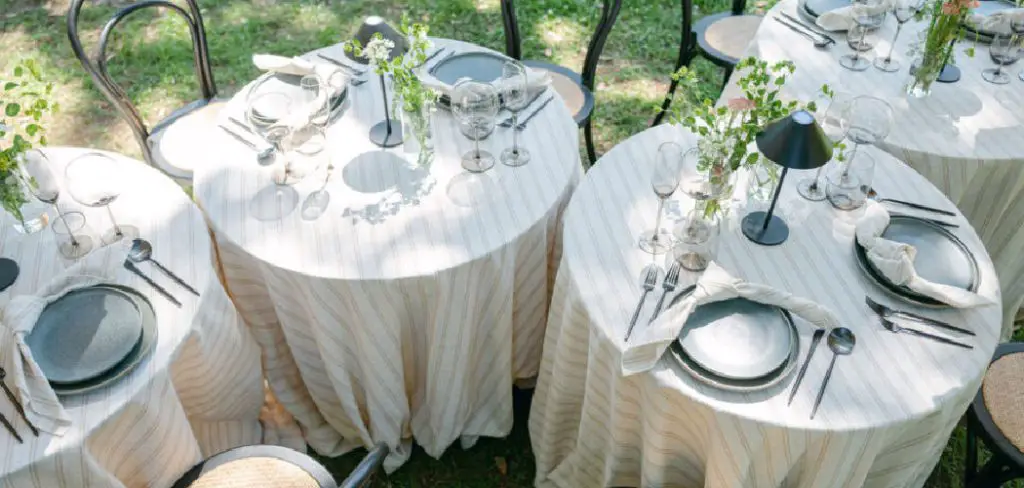
This guide breaks the whole process into clear, beginner-friendly steps anyone can follow, whether you’re prepping for a dinner party or just want your everyday table to feel a little more special. You’ll discover how to choose a base layer, build a centerpiece, add height and texture, and pull the look together with color. By the end, you’ll have a table that feels warm, balanced, and inviting. No design degree required, just a few simple ideas and items you likely already own. Let’s get your round table looking its best.
Why Decorating a Round Table Matters
A well-styled round table does more than catch the eye. It sets the mood for every meal and gathering, turning an ordinary spot into a place people genuinely want to linger. The circular shape naturally draws everyone toward the center, which encourages connection and makes guests feel included in the conversation.
There’s a practical side too. Thoughtful decor helps a small room feel cozy rather than cramped, since round tables soften sharp lines and open up walkways. The right centerpiece and layering also protect your surface from scratches and spills while showing off your personal style. Best of all, a polished table boosts your own enjoyment of the space every single day. Small touches like fresh flowers or a textured runner can lift your whole mood, proving that a little effort here pays off well beyond special occasions.
Step-by-Step Guide to How to Decorate a Round Table
Step 1: Start With a Base Layer
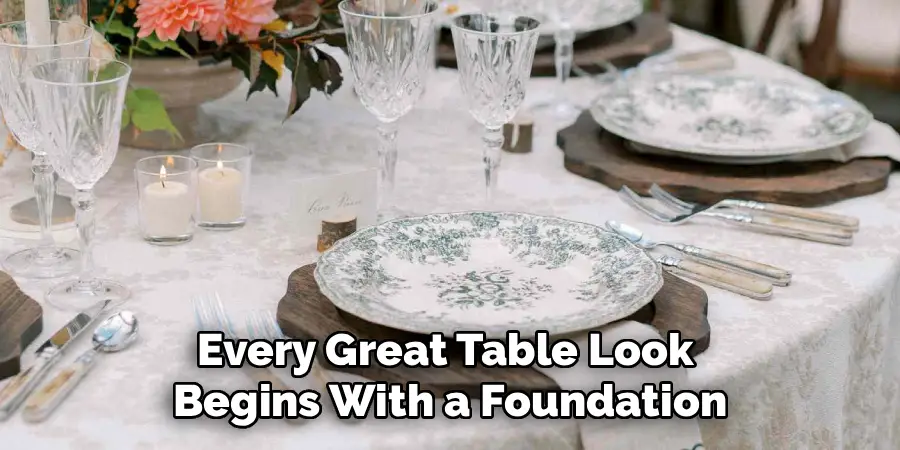
Every great table look begins with a foundation. A base layer protects your surface and gives the rest of your decor something to sit against, so choose this first before adding anything else. A round tablecloth works beautifully because it echoes the shape, but a square cloth draped over the top adds interesting angles if you prefer a more relaxed feel.
If you love showing off a gorgeous wood grain or marble finish, skip the full cloth and use a round placemat or a fabric circle in the center instead. Think about the mood you want, since light linen feels airy and casual while a deep velvet runner brings instant drama. This layer quietly shapes everything that follows.
Step 2: Build a Strong Centerpiece
The center is the heart of any round table, so this is where your eye should land first. Pick one main piece to anchor the space, such as a vase of fresh flowers, a bowl of fruit, or a cluster of candles on a tray. Because the table is round, your centerpiece looks good from every angle, which means symmetry matters more here than on a rectangular surface.
Keep the scale in proportion to your table. A tiny bud vase gets lost on a large surface, while an oversized arrangement crowds a small one. Aim for something that fills roughly a third of the diameter, leaving plenty of breathing room around it for plates and elbows.
Step 3: Play With Height and Layers
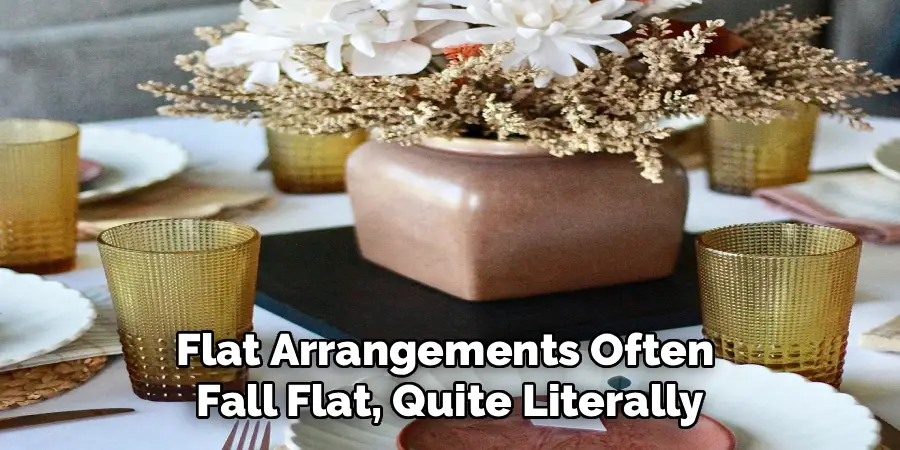
Flat arrangements often fall flat, quite literally. Adding varied heights keeps the eye moving and makes your table feel rich and intentional. Try pairing a tall vase or candlestick with a few shorter items around it, like small votives, a low bowl, or a stack of pretty books.
Be mindful of sight lines if people will be eating at the table. Anything too tall in the center can block faces and stall conversation, so either keep the main piece below eye level or choose slim, see-through elements like thin taper candles. Layering different shapes and levels gives your round table that styled, magazine-worthy look without any extra cost or complicated effort.
Step 4: Add Texture and Natural Touches
Texture brings a table to life and stops it from feeling cold or one-note. Mix smooth surfaces with rougher ones, such as a glossy ceramic vase beside a woven placemat or a linen napkin with a chunky knit. These contrasts add warmth and depth that draw people in.
Natural elements work wonders here. A few sprigs of eucalyptus, a scattering of pinecones in autumn, or a simple bowl of lemons in summer connects your table to the season and feels effortlessly fresh. Greenery is especially forgiving for beginners because it looks good loosely arranged. These small organic touches make the whole setup feel collected over time rather than staged.
Step 5: Choose a Cohesive Color Palette
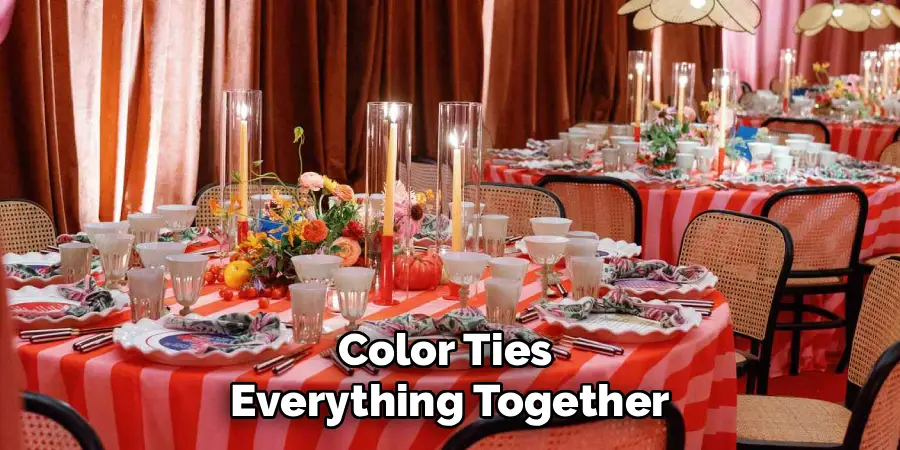
Color ties everything together, so decide on a simple palette before you scatter items around. Stick to two or three main shades plus a neutral, which keeps the look intentional rather than chaotic. You might pull your colors from a favorite vase, the room’s wall tone, or the flowers you love most.
Once you have your palette, repeat those shades in small doses across the table. A blue runner can echo blue candle holders, while warm wood tones tie into a tan placemat. This repetition creates harmony and makes even a mix of different objects feel like they belong together. When in doubt, lean on neutrals and let one bold color be the star.
Step 6: Balance the Round Shape
Round tables reward a balanced, radial approach. Instead of lining items up in a row as you would on a long table, arrange them so the look feels even from every seat. Picture the table as a clock and space your elements evenly around the center to keep things from looking lopsided.
Place pairs or trios of smaller objects at regular intervals, like two candle holders across from each other or three small vases forming a triangle. This even spacing flatters the circular form and makes sure no single side feels heavy.
Step 7: Finish With Functional Details
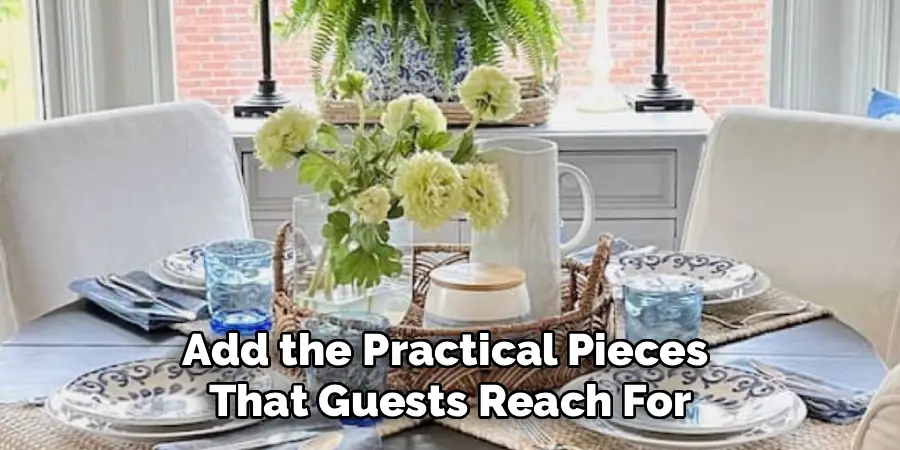
The final layer turns a pretty table into a usable one. Add the practical pieces that guests reach for, such as cloth napkins, place settings, a small salt and pepper set, or coasters in your chosen colors. These details signal that the table is ready for real life, not just for looking at.
Keep function and beauty in harmony by choosing items that match your palette and style. A linen napkin folded simply, a sweet name card, or a single bloom at each place setting adds a thoughtful touch without much work. Once these finishing pieces are in place, take one last look, tidy any stray edges, and enjoy your beautifully styled table.
Frequently Asked Questions
What Is the Best Centerpiece for a Round Table?
The best centerpiece is one that looks good from every angle, since a round table has no clear front or back. Fresh flowers in a low vase, a bowl of fruit, or a cluster of candles all work wonderfully. Aim for something that fills about a third of the table’s width, leaving room for plates. Keep it below eye level so guests can chat comfortably across the table.
How Do I Decorate a Round Table Without Making It Look Cluttered?
Less is usually more. Choose one main centerpiece and a few supporting pieces rather than crowding the surface with lots of small items. Stick to a simple color palette of two or three shades plus a neutral so everything feels connected. Leave plenty of open space around your decor for plates, glasses, and elbows. When the table breathes, it instantly looks more polished and intentional.
Should I Use a Round or Square Tablecloth?
Both can look great, so it depends on the mood you want. A round tablecloth follows the table’s shape for a clean, classic feel, while a square cloth draped on top adds casual, layered angles that feel relaxed and modern. If your table has a beautiful surface, skip the full cloth and use a round runner or central placemat instead to show off the wood or marble underneath.
How Can I Decorate a Round Table on a Budget?
You can create a stunning look using items you already own. Gather a few candles, a bowl of fruit, or greenery clipped from your garden for a fresh, free centerpiece. Shop your home for vases, trays, and napkins, then unify them with a single color theme. Thrift stores and dollar shops offer affordable runners and candle holders. The trick is cohesion, not cost, so style with what you have.
What Height Should Table Decorations Be?
Keep dining decor low, ideally below eye level, so guests can see each other and talk easily across the table. A centerpiece around ten to twelve inches tall usually works well. If you love tall pieces like candlesticks or branches, choose slim, airy ones that people can see through. For tables used only for display, you have more freedom to play with dramatic height and bold statement pieces.
Conclusion
Styling a round table comes down to a few simple ideas working together. Start with a base layer, anchor the space with a well-scaled centerpiece, then add height, texture, and a cohesive color palette to create depth. Balance your pieces evenly around the circular shape, and finish with the functional details that make the table ready for everyday life or a special gathering. Each step builds on the last, so you end up with a look that feels warm, balanced, and genuinely inviting.
Now that you know how to decorate a round table, the best thing you can do is start experimenting. Pull together a few favorite items, try one arrangement tonight, and adjust until it feels right to you. There are no rigid rules here, only your taste and a little playful practice. Grab a vase, light a candle, and give your table the refresh it deserves. You’ll be surprised how much joy a beautifully styled table brings to your space.

Rick is a handyman who grew up helping his dad with his business. He learned a lot from him about how to fix things, and also about how to work hard and take care of business. These days, Rick is still into fixing things- only now, he’s doing it for a living.
Rick is always looking for new ways to help people grow and develop. That’s why he started contributing to this blog: to share all his experience and knowledge so that he can help people who are interested in DIY repair.