
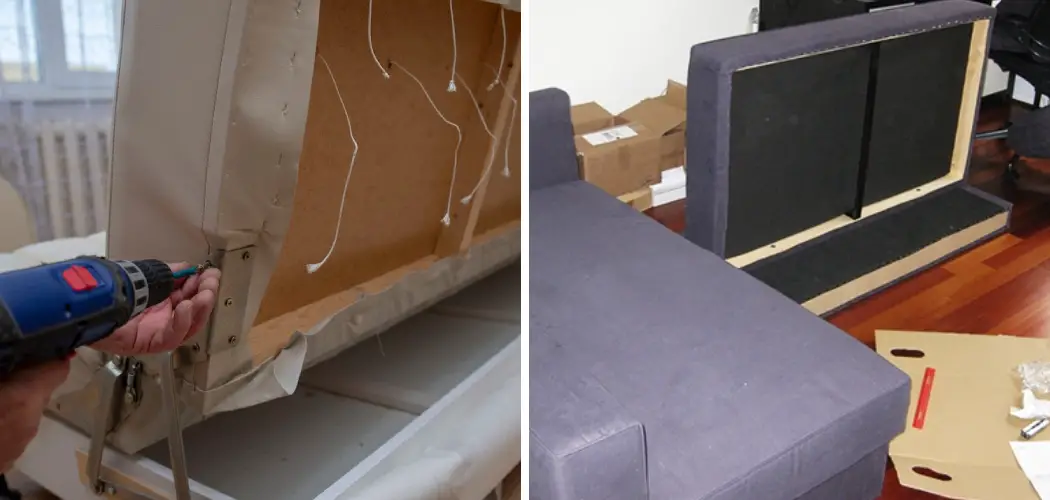
Moving day brings plenty of challenges, and a bulky sofa often tops the list of headaches. That oversized couch might look great in your living room, but squeezing it through a narrow doorway or up a tight staircase can feel impossible. The smart fix is to break it down into smaller, more manageable pieces. Learning how to take apart a sofa for moving saves your back, protects your furniture, and makes the whole process far less stressful.
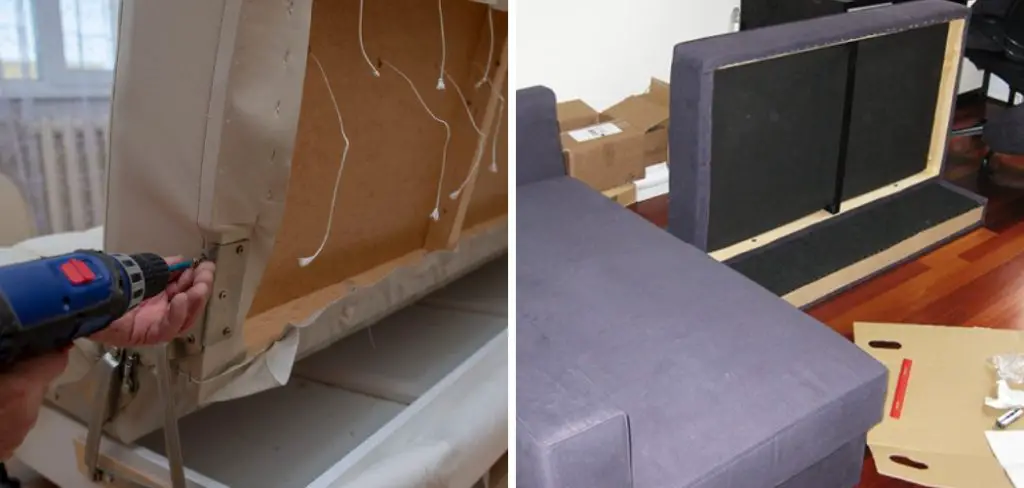
You don’t need to be a handyman or own a workshop full of tools, either. Most sofas come apart with just a few basic items and a little patience. Whether you’re shifting to a new apartment, navigating a stubborn hallway, or simply trying to fit your couch into a moving truck, this guide walks you through every step. We’ll cover preparation, removing cushions and legs, detaching the frame, and packing each part safely. By the end, you’ll feel ready to tackle the job with confidence and ease.
Why Taking Apart a Sofa for Moving Matters
Breaking down your sofa before a move brings real, practical benefits. A disassembled couch is lighter and easier to carry, which lowers your risk of pulled muscles, dropped furniture, or scratched walls. Smaller pieces also slide through doorways, around corners, and down stairs without the frustrating struggle of wrestling one giant block.
There’s a space-saving win too. When you separate the parts, you can stack and arrange them neatly inside a moving truck, leaving room for other belongings and reducing the trips you need to make. This protects your sofa from dents, tears, and pressure damage during transit. On top of that, taking it apart often costs nothing and saves you money you might otherwise spend on extra movers or larger trucks. A little effort upfront makes the entire move smoother and safer.
Step-by-Step Guide to How to Take Apart a Sofa for Moving
Step 1: Gather Your Tools and Plan Ahead
Before you touch a single screw, set yourself up for success. Grab a screwdriver set, an Allen wrench, a pair of pliers, and a utility knife for any stubborn fabric or staples. Keep a few sealable bags handy to hold loose screws and small parts, plus a marker and some tape to label everything clearly.
Take a moment to look over your sofa and find where it comes apart. Snap a few photos with your phone as you go, since these will help you reassemble it later. A clear plan and the right tools turn a confusing job into a simple one. Working in an open, well-lit space also makes the whole task far easier.

Step 2: Remove All Cushions and Pillows
Start with the easy part by stripping off every cushion, throw pillow, and loose padding. These pieces usually lift right off, though some attach with zippers, ties, or hook-and-loop strips you’ll need to undo. Set them aside in a clean, dry spot away from your work area so they don’t get dirty or in the way.
Once everything is off, give the bare frame a quick look. You’ll often spot screws, bolts, or fasteners that were hidden beneath the cushions. Bag and label the cushions by section, especially if your sofa has a specific layout, so you know exactly where each one belongs when you put it all back together later.
Step 3: Detach the Legs From the Base
With the cushions gone, flip your sofa onto its back or side to reach the legs underneath. Most sofa legs either screw off by hand or attach with bolts you can loosen using a wrench or screwdriver. Turn them counterclockwise and work slowly so you don’t strip the threads or crack the wood.
As each leg comes free, place it in a labeled bag along with its hardware. This small step prevents the frustrating hunt for missing screws during reassembly. Removing the legs lowers the sofa’s profile and makes it much easier to carry through doors and load onto a truck. Set the legs aside in a safe, organized pile.

Step 4: Take Off the Arms and Side Panels
Many sofas, especially modular and sectional styles, have arms that detach from the main body. Look along the inside seams and underneath for bolts, brackets, or locking clips holding the arms in place. Use your wrench or screwdriver to loosen these connectors, supporting the arm with one hand so it doesn’t drop suddenly and damage the frame.
This is a key part of learning how to take apart a sofa for moving, since the arms often add the most width. Once removed, the body becomes dramatically slimmer and easier to maneuver. Bag the hardware, label each arm as left or right, and lean the panels against a wall where they won’t get knocked over.
Step 5: Separate the Back From the Frame
The backrest is often the trickiest piece, but it makes a huge difference once removed. Many couches have a back that locks onto the base with metal clips, hooks, or screws hidden behind the upholstery. Feel along the bottom edge of the backrest for these fasteners, and gently pull back any loose fabric to reveal them.
Release the clips or unscrew the bolts while a helper steadies the back so nothing falls. Lift the backrest straight up and off, since most designs slot downward into place. Removing the back is a core part of how to take apart a sofa for moving, leaving you with flat, stackable sections that fit easily through tight spaces and into your moving truck.

Step 6: Wrap and Protect Each Piece
Now that your sofa sits in separate parts, protect every piece before it leaves the room. Wrap the frame sections, arms, and backrest in moving blankets or thick furniture pads, securing them with packing tape or stretch wrap. This shields the wood and upholstery from scratches, dents, and dirt during the move.
Slide cushions and pillows into large plastic bags to keep them clean and dry, especially in damp or rainy weather. Cover any exposed metal brackets or sharp corners with extra padding so they don’t tear nearby items or hurt anyone carrying them. Taking time to wrap each part carefully means your sofa arrives at its new home looking just as good as it left.
Step 7: Load and Transport the Parts Safely
With everything wrapped, you’re ready to move the pieces out. Carry the heaviest sections first, using proper lifting form by bending at your knees rather than your back. Grab a helper for the bulkier parts, and use a furniture dolly to roll heavy frames smoothly across floors and down ramps.
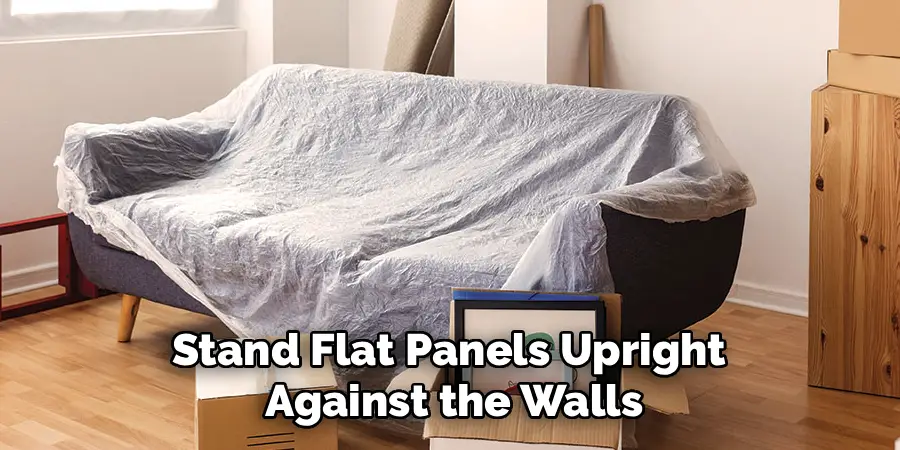
Inside the truck, stand flat panels upright against the walls and stack lighter pieces on top to save space. Keep your bagged hardware in one clearly marked box so nothing goes missing on the journey. Wedge the parts snugly so they don’t shift or slide while driving. Careful loading protects your sofa and the rest of your belongings all the way to your new place.
Frequently Asked Questions
Can Every Sofa Be Taken Apart?
Not every sofa comes apart the same way. Modular and sectional couches are designed to separate easily, while many traditional frames only allow you to remove cushions and legs. Some fully upholstered sofas have parts stapled or glued together, which makes full disassembly tricky. Check underneath and along the seams for screws, bolts, or clips. If you find none, you may only be able to remove the cushions and legs.
What Tools Do I Need for the Job?
You’ll need just a handful of common tools to get started. A screwdriver set, an Allen wrench, and a pair of pliers handle most fasteners you’ll encounter. Keep a utility knife nearby for stubborn staples or fabric, plus sealable bags, a marker, and tape to organize hardware. Moving blankets, stretch wrap, and a furniture dolly round out the kit, making the whole project safer and far more manageable.
How Do I Keep Track of All the Screws?
Staying organized is the secret to easy reassembly. As you remove each part, drop its screws and bolts into a labeled sealable bag, naming the section they came from, like “left arm” or “legs.” Tape the bag directly to its matching piece when possible. Snap photos at each stage with your phone so you have a visual guide later. This simple habit prevents lost hardware and saves you hours of guesswork.
Will Taking My Sofa Apart Damage It?
When done carefully, disassembly causes little to no damage. The key is loosening fasteners slowly to avoid stripping threads or cracking wood, and supporting each piece so nothing drops unexpectedly. Pulling back upholstery gently keeps the fabric intact. Wrapping every part in blankets before the move protects against scratches and dents. Rushing or forcing pieces is what usually leads to harm, so patience truly protects your furniture.
How Long Does It Take to Disassemble a Sofa?
The time depends on your sofa’s design and your experience. A simple couch with removable cushions and legs might take just fifteen to twenty minutes. A larger sectional with detachable arms and a clip-on back could take forty-five minutes to an hour. Working with a helper speeds things up considerably. Give yourself plenty of time rather than rushing, since careful work now makes reassembly much smoother at your new home.
Conclusion
Breaking down a bulky couch turns one of moving day’s biggest challenges into a manageable task. By gathering the right tools, removing the cushions and legs, detaching the arms and back, and wrapping each piece with care, you create lightweight sections that glide through doorways and stack neatly in your truck. The whole process comes down to working slowly, staying organized with labeled hardware, and protecting every part along the way.
Now that you know how to take apart a sofa for moving, you can save your back, shield your furniture, and skip the stress of wrestling an oversized couch through tight spaces. So grab your screwdriver, snap a few reference photos, and enlist a helper for the heavier pieces. With a clear plan and a little patience, your sofa will arrive at its new home in great shape, ready to be put back together and enjoyed for years to come.

Rick is a handyman who grew up helping his dad with his business. He learned a lot from him about how to fix things, and also about how to work hard and take care of business. These days, Rick is still into fixing things- only now, he’s doing it for a living.
Rick is always looking for new ways to help people grow and develop. That’s why he started contributing to this blog: to share all his experience and knowledge so that he can help people who are interested in DIY repair.