
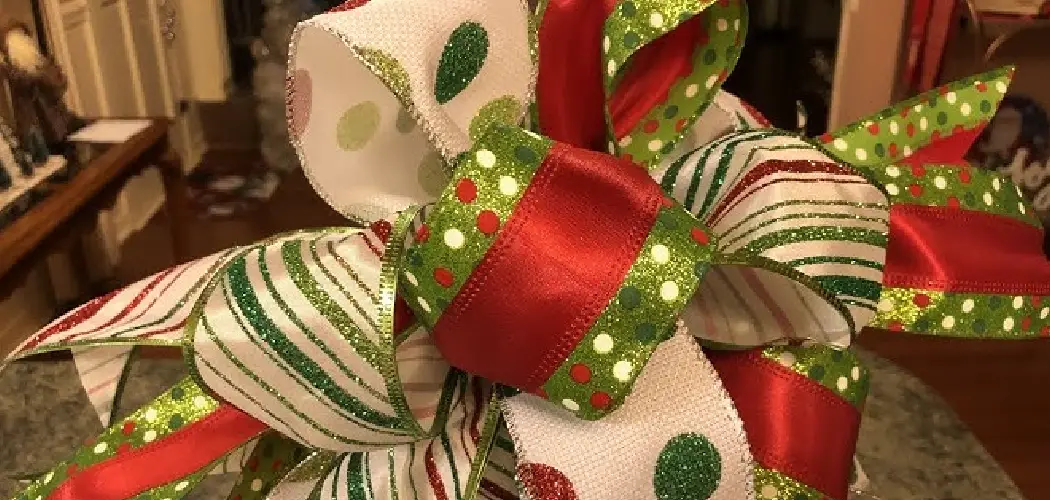
Few things transform a plain gift, wreath, or wall display quite like a big, beautiful bow. Whether you are dressing up a holiday door, topping a special present, or adding a designer touch to your home, learning how to make a large decorative bow gives you a skill you will reach for again and again. The good news is that you do not need fancy tools or years of practice. With a length of ribbon, a few simple techniques, and a little patience, you can create a bow that looks like it came from a high-end boutique.
This guide walks you through the entire process one clear step at a time, so every skill level feels welcome here. You will discover how to choose the right ribbon, build full loops, and fluff your finished piece into something worthy of a photo. Along the way, you will pick up small tricks that make a huge difference in the final look. By the end, you will feel confident tackling any bow project that comes your way.
Why Making a Large Decorative Bow Matters
A well-made bow does more than fill empty space, it becomes the focal point that pulls an entire design together. Store-bought bows often look flat, feel flimsy, and cost far more than the ribbon you would buy on your own. When you craft one yourself, you control the color, size, and style, so it matches your project perfectly instead of settling for whatever the shelf offers.
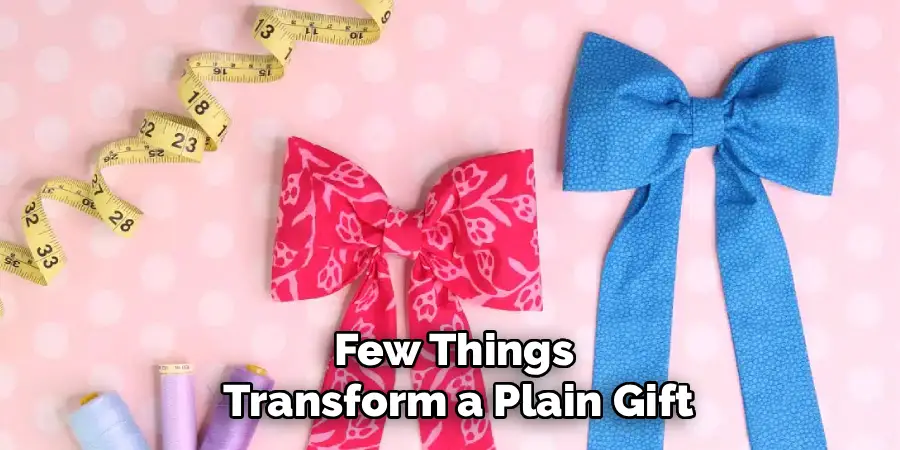
There is also real value in the skill itself. Once you master the basics, you can decorate for birthdays, weddings, seasonal displays, and everyday gifts without extra spending. Each bow you make gets faster and cleaner as your hands learn the motions. That kind of confidence turns a small craft into a genuinely useful talent, and it saves you money every single time you reach for the ribbon spool.
Step-by-Step Guide to How to Make a Large Decorative Bow
Step 1: Gather Your Materials
Start by collecting everything you need so you are not searching mid-project. You will want wired ribbon, which holds its shape far better than soft fabric ribbon, along with sharp scissors and a spool of thin floral wire. Wired ribbon is the secret behind those full, sculptural bows you admire, because the metal edge lets you bend and fluff each loop into place. Choose a ribbon width of at least two inches for a bow that reads as large. Lay your supplies on a clean, flat surface with plenty of room to work, and you are ready to begin.
Step 2: Measure and Cut the Ribbon
Now decide how big you want your finished bow to be. For a generous, eye-catching size, cut a strip of ribbon roughly three to four feet long, and set aside a shorter twelve-inch piece for the center tails. Remember that longer loops create a fuller look, so give yourself a bit extra rather than cutting too short. If this is your first attempt at how to make a large decorative bow, err on the side of more ribbon since you can always trim later. Cut the ends at a slight angle to keep them from fraying and to add a polished finish.
Step 3: Form the First Loop
Hold the ribbon a few inches from one end, pinching it between your thumb and finger. Fold the ribbon over to create a loop about six inches wide, then bring it back to the center pinch point. This first loop sets the size for every loop that follows, so aim for consistency. Give the ribbon a gentle twist at the center each time you return to it, which keeps the pretty side facing outward. Do not worry about perfection here, because the fluffing stage later hides small differences and lets you adjust everything into a balanced shape.
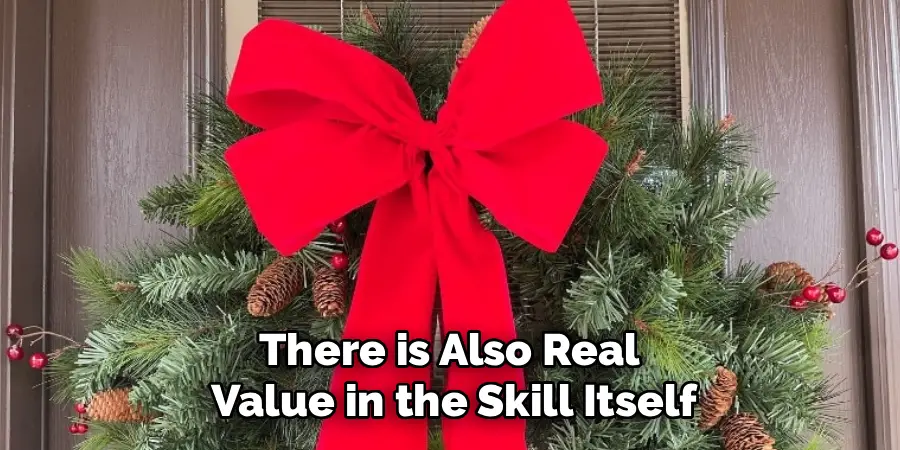
Step 4: Build Additional Loops
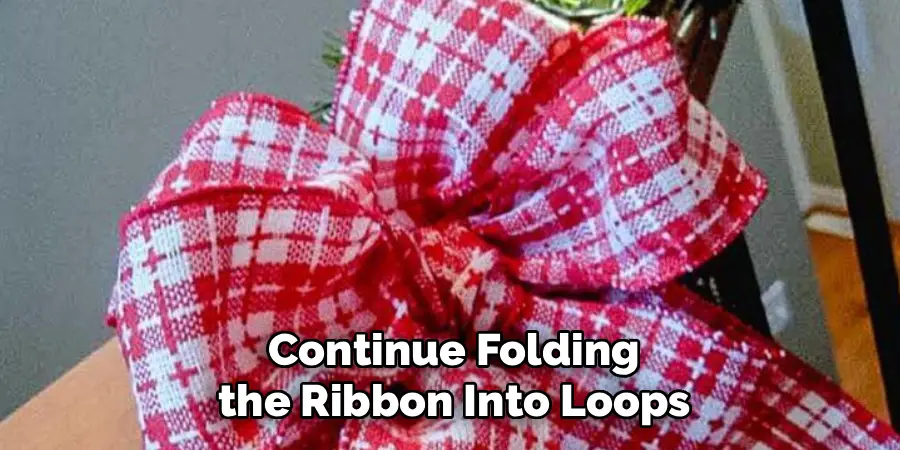
Continue folding the ribbon into loops on alternating sides of your center pinch, twisting at the middle with each pass. Build three or four loops on each side, keeping your grip firm so nothing unravels. Working through how to make a large decorative bow feels most satisfying at this stage, as a shapeless strip suddenly turns into a full, layered form beneath your fingers. Try to keep each loop close to the same size, though slight variation actually adds a natural, hand-crafted charm. Once you have enough loops to look full and rounded, hold everything tightly at the center and get ready to secure it.
Step 5: Secure the Center
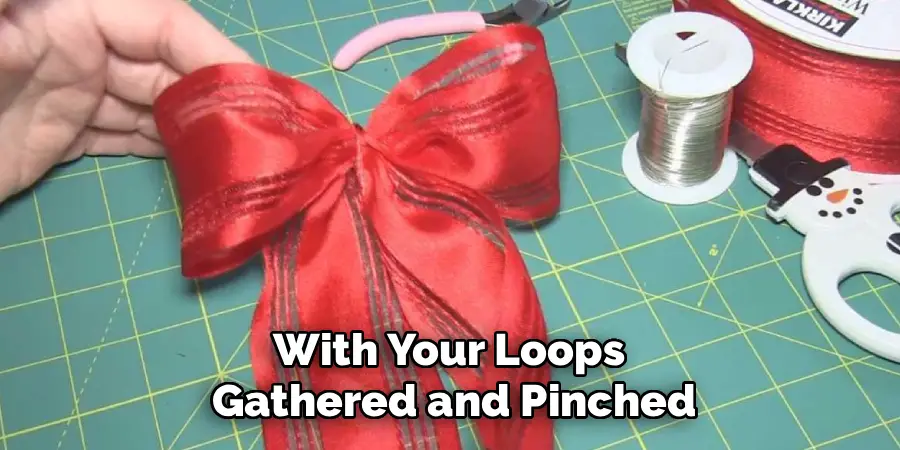
With your loops gathered and pinched, wrap a piece of floral wire tightly around the middle. Twist the wire firmly at the back several times so it locks every loop in place and will not slip loose. Pull the wire snug, because a loose center is the most common reason bows fall flat. Leave the wire tails long for now, since you will use them to attach the bow to your project. Give the whole bundle a gentle squeeze to confirm it feels sturdy, then rotate it in your hands to check that the loops fan out evenly on all sides.
Step 6: Add the Center Knot and Tails
Take that shorter twelve-inch piece you set aside and wrap it around the center to hide the wire. Tuck the ends behind the bow and secure them, creating a clean knot that covers the mechanics of your work. For flowing tails, attach two longer ribbon strips beneath the bow and trim their ends into a V shape or an angled cut. These tails add movement and elegance, especially on wreaths or staircases. Position them so they hang naturally, and adjust their length to suit your display. This finishing detail is what elevates a good bow into a striking one.
Step 7: Fluff and Shape
The final step brings your bow to life. Work around it loop by loop, gently pulling each one outward and up so the shape becomes round and full. Because you used wired ribbon, every loop holds exactly where you position it. Separate any loops that stuck together, and rotate the bow to fill gaps until it looks balanced from every angle. Step back often to check the overall shape, then return and adjust as needed. Take your time here, since a few extra minutes of careful fluffing make the difference between a flat bundle and a professional, showpiece bow.
Frequently Asked Questions
What Type Of Ribbon Works Best For Large Bows?
Wired ribbon is the top choice because the thin metal edge sewn along both sides holds any shape you bend it into. This lets your loops stay full and upright instead of drooping. Satin and grosgrain versions with wired edges both work beautifully. Aim for a width of at least two inches, since wider ribbon creates the bold, generous look that large bows are known for.
How Much Ribbon Do I Need?
For a full, sizeable bow, plan on three to four feet of ribbon for the loops, plus an extra one to two feet if you want flowing tails. The exact amount depends on how big and how full you want the finished piece. It is always smarter to cut a little extra, because you can trim the ends later but you cannot easily add length once you have started forming loops.
Why Does My Bow Keep Falling Flat?
A flat bow usually comes down to two issues, a loose center or non-wired ribbon. If your center wire is not twisted tightly enough, the loops slip and lose their shape. Soft ribbon without wired edges also collapses because it has nothing to hold its form. Tighten your wire firmly at the back and switch to wired ribbon, then fluff each loop into place for a fuller result.
Can Beginners Really Make These At Home?
Absolutely. This craft is very forgiving, and small imperfections actually add handmade charm rather than looking like mistakes. The fluffing stage lets you fix uneven loops, so you do not need perfect folds on your first try. Start with an inexpensive spool of wired ribbon to practice the motions, and you will notice each bow getting cleaner and faster. Most people feel confident after just two or three attempts.
How Do I Attach The Bow To A Wreath Or Gift?
Use the long wire tails you left at the center. Simply thread them through the wreath frame or around the gift, then twist the ends together tightly at the back to hold everything in place. For gifts, you can also tuck the wire under existing ribbon or tape it discreetly. This method keeps your bow secure while staying completely hidden from view.
Conclusion
Creating a beautiful, full bow is far simpler than it first appears, and now you have every step you need to succeed. From gathering wired ribbon and measuring your length, to forming even loops, securing a tight center, and fluffing your creation into a rounded showpiece, each stage builds naturally on the one before it. The real secret is patience during the final shaping, where a few thoughtful adjustments turn ordinary ribbon into something that looks genuinely professional.
Now that you understand how to make a large decorative bow, you can decorate wreaths, gifts, mantels, and celebrations with a personal touch that store-bought versions simply cannot match. Grab a spool of your favorite ribbon and give it a try today, because the more you practice, the faster and more polished your bows will become. Trust the process, enjoy the creativity, and soon you will be the person everyone asks to make bows for their next big occasion.

Rick is a handyman who grew up helping his dad with his business. He learned a lot from him about how to fix things, and also about how to work hard and take care of business. These days, Rick is still into fixing things- only now, he’s doing it for a living.
Rick is always looking for new ways to help people grow and develop. That’s why he started contributing to this blog: to share all his experience and knowledge so that he can help people who are interested in DIY repair.