
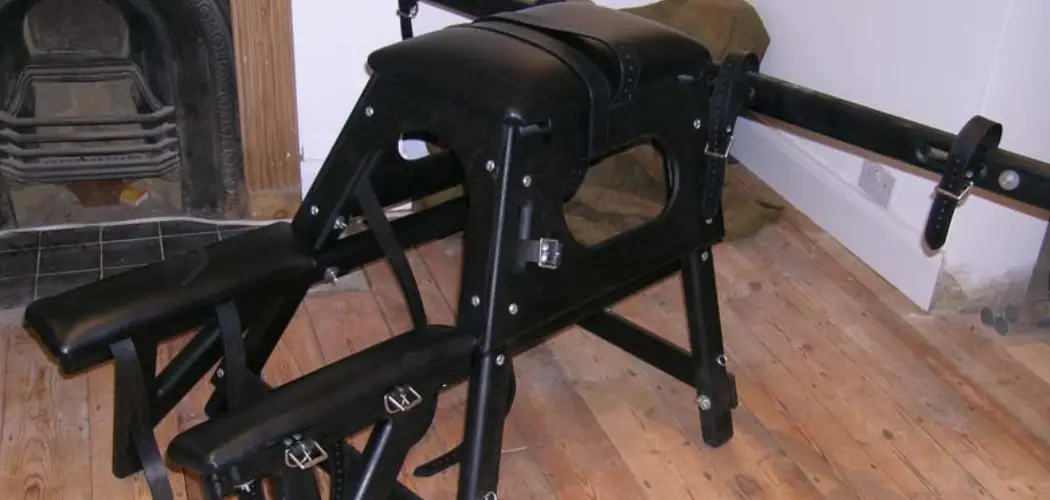
Building your own furniture is a rewarding way to combine craftsmanship with comfort, and learning how to build a spanking bench is no different. This sturdy, padded piece of furniture is designed to support the body safely during play, offering stability and a place to rest the knees, chest, and arms. Whether you’re a hobbyist woodworker or a curious beginner, this project is approachable when you break it into clear, manageable steps.
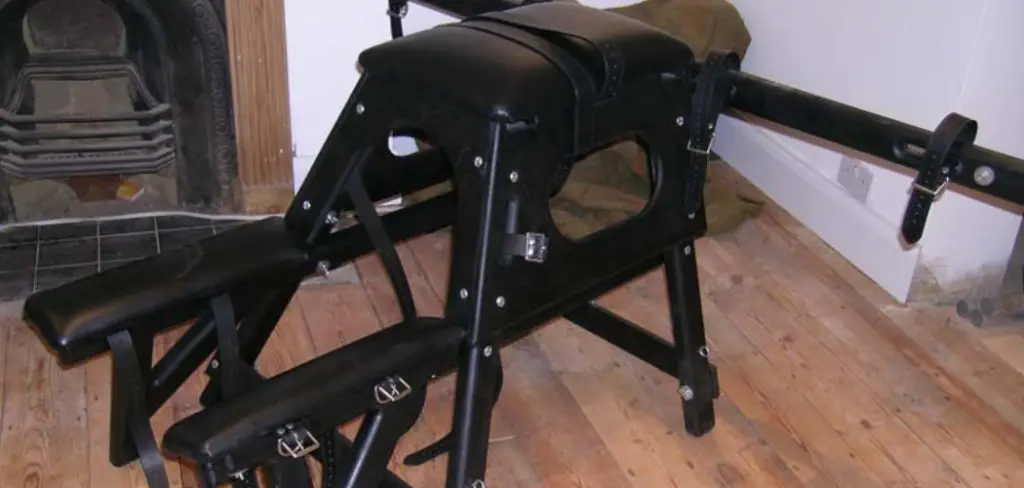
The beauty of making your own bench is full control over the dimensions, padding, and finish. You can tailor every measurement to fit your space and the people who’ll use it. A well-made bench prioritizes safety, comfort, and durability, which is exactly what we’ll focus on here. This guide walks you through tools, materials, assembly, and finishing touches so you feel confident from start to finish. By the end, you’ll have a solid plan and the know-how to create something both functional and built to last.
Why Building A Spanking Bench Matters
Crafting your own bench gives you a level of customization that store-bought options rarely match. You decide the height, width, and padding thickness, ensuring the piece fits your body and your space perfectly. This matters because comfort and proper support reduce strain and make the experience safer for everyone involved.
There’s also a real cost benefit. Quality commercial pieces can be expensive, while a homemade version uses affordable materials and tools you may already own. Beyond savings, building it yourself means you understand exactly how it’s constructed, so you can inspect joints, reinforce weak points, and maintain it over time. That knowledge translates directly into peace of mind. A bench you build with care becomes a durable, trustworthy piece you can rely on for years.
Step-By-Step Guide To How To Build A Spanking Bench
Step 1: Plan Your Design And Measurements
Start by sketching your design and deciding on key measurements. A comfortable height usually sits between 24 and 30 inches, but adjust based on the user’s height and intended position. Map out the main platform, the kneeling rests, and any armrests you want to include.
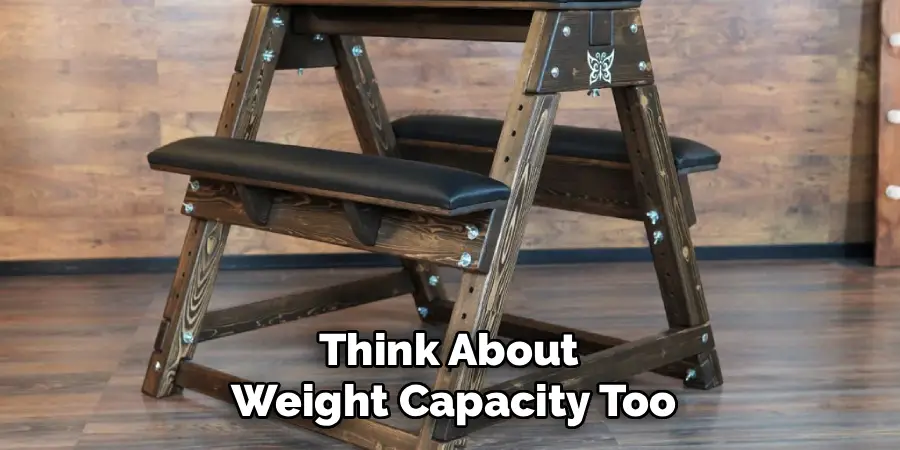
Think about weight capacity too, since this determines the thickness of your wood and the type of joints you’ll use. Write down every dimension before cutting anything. Good planning prevents wasted materials and frustrating mistakes. A clear blueprint also helps you estimate how much lumber, padding, and hardware you’ll need, keeping your budget and timeline on track from the very beginning.
Step 2: Gather Tools And Materials
Collect everything before you begin assembly so the process flows smoothly. You’ll need solid plywood or hardwood for the platform and legs, plus high-density foam and durable upholstery fabric or vinyl for padding. For tools, gather a saw, drill, screws, wood glue, a sander, measuring tape, and clamps.
Choosing quality materials pays off in the long run. Thicker plywood resists flexing under weight, and high-density foam holds its shape far better than cheap padding. If you’re new to woodworking, don’t worry. Most of these tools are beginner-friendly, and many hardware stores will cut larger boards to your specifications, saving you time and effort.
Step 3: Cut The Wood Pieces
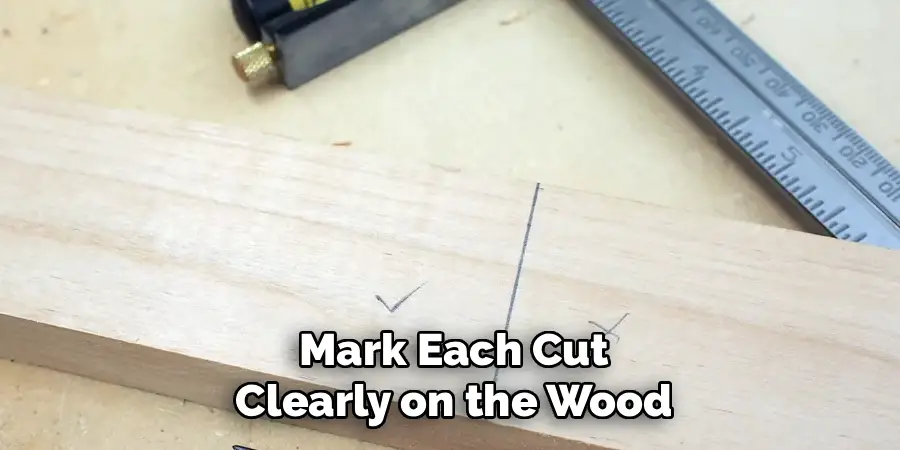
With your measurements ready, mark each cut clearly on the wood using a pencil and square. Take your time here, because accurate cuts are the foundation of a stable bench. Cut the main platform, the four legs, the kneeling supports, and any cross braces you’ve planned.
Always wear safety glasses and keep your fingers clear of the blade. Cut slowly and let the saw do the work rather than forcing it. Once every piece is cut, lay them out and double-check that matching components, like the legs, are identical in length. Sand any rough edges now to make the next assembly steps cleaner and safer.
Step 4: Assemble the Core Structure
Now you’ll assemble the core structure. Begin by attaching the legs to the underside of the main platform using wood glue and screws for a strong hold. Use clamps to keep everything square while the glue sets, and check angles with a carpenter’s square as you go.
Reinforce the joints with corner braces or cross supports, since this is where most of the weight and stress will concentrate. Test the frame for wobble before moving on. If it rocks, recheck that all four legs are even and the joints are tight. A rock-solid frame is essential, so don’t rush this stage. Stability here keeps everyone safe later.
Step 5: Add Kneeling Rests And Supports
Attach the lower platforms that serve as kneeling rests on each side of the main frame. Position them at a height that feels natural and comfortable, typically lower than the central platform. Secure them firmly with screws and glue, mirroring the same reinforced approach you used on the legs.
Comfort and symmetry matter most here. Measure twice to ensure both rests sit at equal heights, which prevents an awkward, uneven feel. If you planned armrests, install them now using the same techniques. Once everything is attached, apply pressure to each surface to confirm it holds steady. Every support should feel secure and ready for padding in the next step.

Step 6: Spanking Bench Cushioning
This stage transforms a wooden frame into a comfortable, finished piece. Cut your high-density foam to match each platform and kneeling rest, leaving no overhang. Attach the foam with a strong adhesive spray, pressing it down evenly so there are no gaps or lumps.
Next, wrap each padded section with your chosen fabric or vinyl. Pull the material taut and staple it to the underside of the wood, folding corners neatly like wrapping a gift. Smooth, even padding feels better and looks professional. Take your time stretching the fabric, since wrinkles are hard to fix once stapled. When finished, every surface should feel firm yet cushioned and inviting to the touch.
Step 7: Sand, Finish, And Inspect
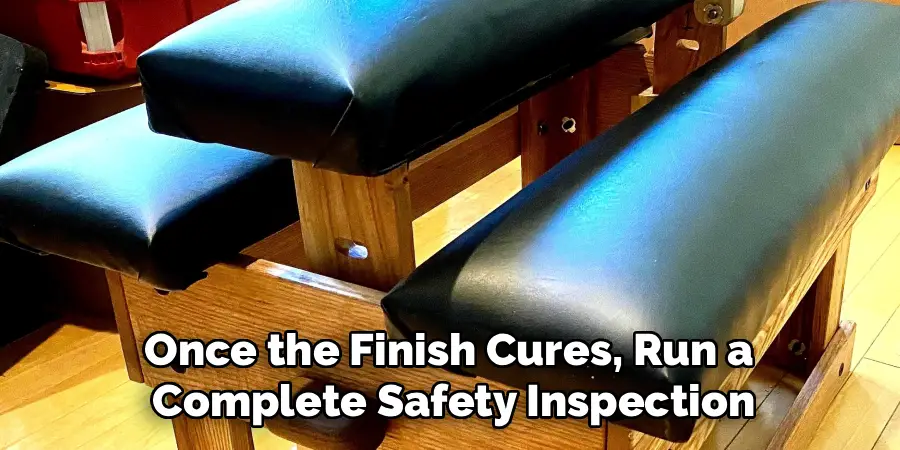
Finish exposed wooden areas by sanding them smooth, starting with coarse grit and moving to fine grit for a polished feel. This removes splinters and prepares the surface for a protective coat. Apply wood stain, paint, or a clear sealant to guard against moisture and wear, letting each layer dry fully.
Once the finish cures, run a complete safety inspection. Tighten every screw, check each joint, and apply firm pressure across all surfaces to confirm the bench holds steady. Look for any sharp edges or loose staples and fix them right away. A thorough final check ensures your finished bench is safe, sturdy, and ready to use.
Frequently Asked Questions
What Type Of Wood Works Best For This Project?
Solid hardwoods like oak or birch plywood are excellent choices because they resist bending under weight and hold screws securely. Avoid thin particleboard, which can crack or sag over time. If you’re on a budget, high-quality plywood at least three-quarters of an inch thick offers a great balance of strength and affordability. Always prioritize sturdy materials for safety and long-term durability.
How Much Weight Should The Bench Support?
A well-built bench should comfortably hold at least 250 to 300 pounds, though designing for more adds a helpful safety margin. The key factors are thick, solid wood, reinforced joints, and properly braced legs. Test your finished piece gradually by applying increasing pressure before regular use. If you notice any flexing or wobble, add extra cross supports to strengthen the structure and ensure reliable performance.
Do I Need Advanced Woodworking Skills To Build One?
Not at all. This project is beginner-friendly and relies on basic skills like measuring, cutting straight lines, and driving screws. If you can use a drill and a saw, you can complete it successfully. Take your time, follow each step carefully, and ask a hardware store to cut larger boards if you’re nervous about precision. Patience matters far more than experience here.
What Padding Material Should I Choose?
High-density foam is the best option because it holds its shape and provides firm, lasting comfort. Pair it with durable upholstery vinyl or fabric that’s easy to wipe clean and resistant to wear. Avoid soft, low-density foam, since it compresses quickly and loses support. Investing in quality padding makes the finished bench far more comfortable and extends how long it stays looking and feeling great.
How Long Does The Entire Project Take?
Most beginners can finish in a single weekend, roughly eight to twelve hours of hands-on work spread across two days. Cutting and assembling the frame takes the most time, while padding and finishing go faster. Allow extra time for glue and finish to dry fully between steps. Rushing leads to mistakes, so plan a relaxed timeline and enjoy the satisfying process of building something yourself.
Conclusion
Now that you know how to build a spanking bench, you have everything needed to create a sturdy, comfortable, and personalized piece of furniture. We’ve covered planning your design, gathering quality materials, cutting and assembling a stable frame, adding supportive padding, and finishing with a careful safety inspection. Each step builds on the last, turning raw lumber into something both functional and built to last.
The biggest takeaways are simple: measure carefully, reinforce every joint, and never skip the final safety check. These habits keep your project safe and reliable for years to come. Don’t feel pressured to rush, since patience produces the best results, especially for beginners. So gather your tools, set aside a free weekend, and start building with confidence. With this guide in hand, you’re fully equipped to craft a bench you’ll be proud of and happy to rely on.

Rick is a handyman who grew up helping his dad with his business. He learned a lot from him about how to fix things, and also about how to work hard and take care of business. These days, Rick is still into fixing things- only now, he’s doing it for a living.
Rick is always looking for new ways to help people grow and develop. That’s why he started contributing to this blog: to share all his experience and knowledge so that he can help people who are interested in DIY repair.