

Plastic pumpkins are one of the easiest craft canvases you can find, and they last for years without rotting on your porch. If you have ever wanted a fun, low-cost project that anyone in the family can join, you are in the right place. Learning how to decorate a plastic pumpkin gives you a reusable piece of decor you can style differently every single season.
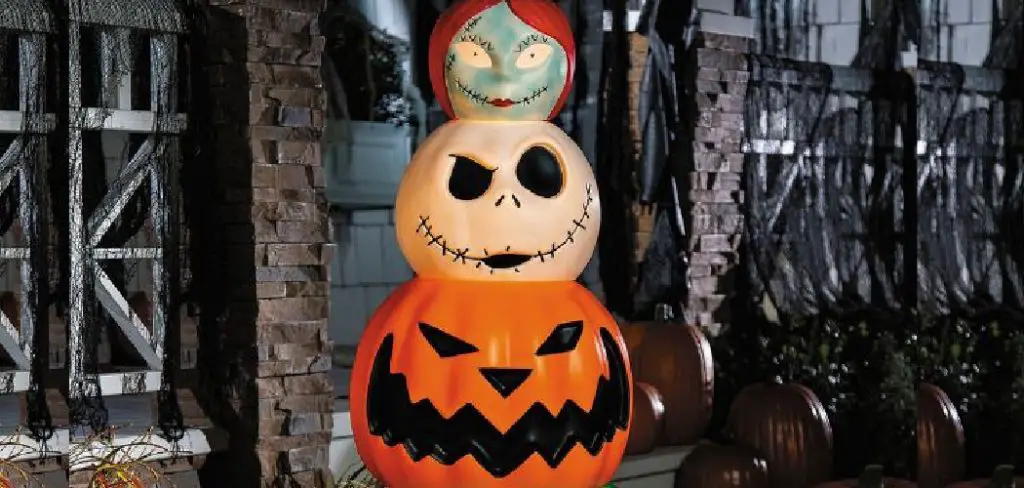
The best part is that you do not need artistic talent or expensive supplies to get started. A few basic tools, a little creativity, and some patience are all it takes to turn a plain plastic pumpkin into something eye-catching. In this guide, you will discover why these pumpkins are worth decorating, a clear seven-step process to follow, and answers to the most common questions beginners ask. Whether you want spooky, elegant, or playful, this beginner-friendly walkthrough will help you build confidence and enjoy every step of the process from start to finish.
Why Decorating a Plastic Pumpkin Matters
Decorating a plastic pumpkin is more than a fun afternoon activity, and it offers real, lasting value. Unlike real pumpkins that soften and spoil within days, plastic versions stay firm for years, which means your effort pays off season after season. You save money, reduce waste, and get to reuse your creation again and again.
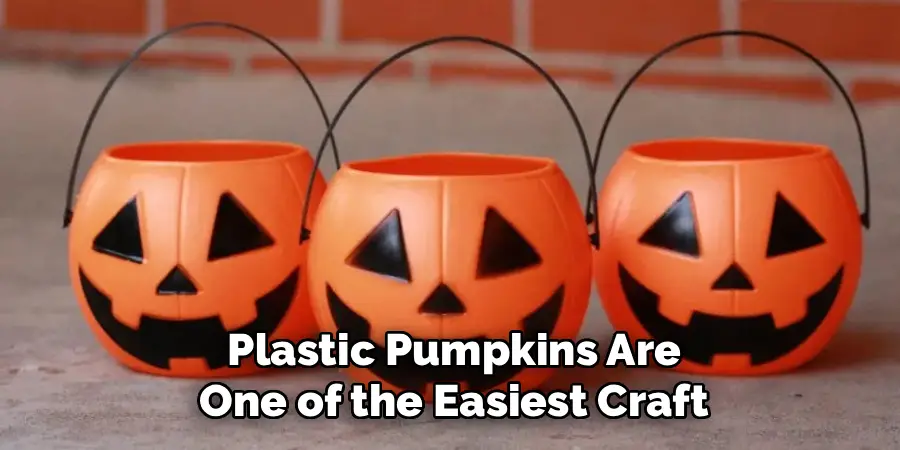
These projects also welcome all skill levels. Kids can glue on glitter while adults handle paint and fine details, making it a great group activity. Plastic pumpkins accept nearly any material, so you can experiment freely without worrying about ruining a costly item. That flexibility encourages creativity, builds confidence, and turns a simple craft into a cherished tradition your whole household can look forward to every year.
Step-by-Step Guide to How to Decorate a Plastic Pumpkin
Follow these seven steps to transform a plain pumpkin into a display piece you will be proud of. Each step builds on the last, so take your time and enjoy the process.
Step 1: Gather Your Supplies
Before you begin, set up a comfortable workspace and collect everything you need in one spot. A basic kit includes acrylic paint, foam brushes, craft glue, painter’s tape, and a few decorative touches like ribbon, glitter, or faux leaves. Lay down newspaper or an old sheet to protect your table from spills.
Having your materials ready keeps the project smooth and stress-free. You will not have to stop halfway to search for a missing brush or bottle. Think about the look you want ahead of time, because that vision helps you choose colors and accents that work together nicely.
Step 2: Clean the Pumpkin Surface
A clean surface makes everything else easier, so never skip this step. Wipe your plastic pumpkin with a damp cloth and a small amount of mild soap to remove dust, oils, and any factory residue. These invisible layers can stop paint and glue from sticking properly, which leads to peeling later.
Once you finish wiping, dry the pumpkin thoroughly with a soft towel. Give it a few extra minutes to air-dry completely before moving on. This tiny bit of prep work protects all your effort down the line and helps your decorations hold firmly, giving you a smoother, more professional-looking result overall.
Step 3: Prime for the Best Way to Decorate a Plastic Pumpkin
Priming is a hidden trick that makes a huge difference, especially on shiny surfaces. Many plastic pumpkins have a glossy finish that repels paint, so applying a thin coat of spray primer or a plastic-friendly base layer helps the color grip. Work in a ventilated area and use light, even passes rather than one heavy coat.

Let the primer dry fully according to the label directions, which usually takes fifteen to thirty minutes. This step gives you a matte, paint-ready surface and prevents streaky, uneven coverage. Skipping it often causes frustration, so treat priming as the foundation that makes every later layer look sharp.
Step 4: Apply Your Base Color
Now the fun really begins as color transforms your pumpkin. Choose a base shade that matches your theme, whether that is classic orange, moody black, elegant white, or a soft pastel. Use a foam brush or small roller and apply thin, even coats instead of one thick layer that might drip.
Patience matters here, so allow each coat to dry before adding the next. Two or three light layers usually give you rich, smooth coverage without clumps. Rotate the pumpkin as you work to reach every curve and groove. When you finish, you will have a clean canvas ready for the creative details that make your design truly yours.
Step 5: Add Designs and Patterns
With your base dry, it is time to bring personality to the surface. You can stencil spooky faces, paint delicate florals, add polka dots, or write a festive word with a fine brush. If freehand feels intimidating, painter’s tape helps you create crisp stripes and clean geometric shapes with almost no effort.
Work slowly and let each element dry before layering more on top to avoid smudging. Metallic paints, paint pens, and small sponges open up even more options for texture and shine. This is the stage where your pumpkin starts to feel unique, so trust your instincts and have fun experimenting with ideas.
Step 6: Attach Embellishments for Plastic Pumpkin
Embellishments add dimension and turn a good pumpkin into a standout piece. Reach for craft glue or a hot glue gun to attach items like ribbon, twine, faux flowers, gemstones, buttons, or seasonal picks. Press each piece firmly and hold it for a few seconds so the bond sets before you move on.
Balance is key, so step back often to check that your accents feel spread out rather than crowded in one spot. A little restraint usually looks more polished than piling on too much. Mix textures and sizes for visual interest, and let all the glue cure fully before handling your finished creation.
Step 7: Seal and Display
The final step protects your hard work so it lasts through the season and beyond. Apply a clear acrylic sealer or a coat of Mod Podge over the painted areas to guard against scratches, moisture, and fading. Spray sealers work well for even coverage, while brush-on options give you more control around delicate embellishments.

Once the sealer dries completely, your pumpkin is ready to shine. Place it on a mantel, porch step, table centerpiece, or shelf where everyone can admire it. Because it is sealed and sturdy, you can store it safely afterward and enjoy your handmade decor for many seasons to come.
Frequently Asked Questions
What Kind Of Paint Works Best On Plastic Pumpkins?
Acrylic paint is the most reliable choice because it dries quickly, comes in endless colors, and adheres well once you prime the surface. For extra durability, look for paints labeled for plastic or multi-surface use. Spray paint also works nicely and gives smooth, even coverage. Whatever you pick, apply thin layers and always seal your finished design for lasting protection.
Do I Really Need To Prime The Surface First?
Priming is not always required, but it strongly improves your results, especially on glossy pumpkins. A primer creates a slightly rough, matte base that helps paint grip instead of sliding or peeling. If your pumpkin already has a matte texture, you may skip it. When in doubt, prime it, since that small step prevents streaks and saves you from frustrating touch-ups later.
How Long Does The Whole Project Take?
Most decorators finish in two to four hours of active work, though drying time between coats stretches things out. If you are painting multiple layers and adding a sealer, plan for a full afternoon or spread the project across two days. Rushing usually leads to smudges, so allow each stage to dry properly. The patience pays off with a cleaner, longer-lasting result.

Can Kids Safely Help With This Craft?
Absolutely, and it makes a wonderful group activity for all ages. Give younger children safe tasks like sticking on stickers, dabbing glitter glue, or placing pre-cut shapes. Save spray primer, hot glue, and sealers for adults, since those tools need supervision. Use washable, non-toxic paints for little hands, and set up a protected workspace so everyone can create freely without worry.
How Do I Store My Decorated Pumpkin After The Season?
Proper storage keeps your creation looking fresh for years. Wipe away any dust with a dry cloth, then wrap the pumpkin loosely in tissue paper or bubble wrap to protect delicate embellishments. Place it in a sturdy box and keep it somewhere cool and dry, away from direct sunlight and heat. Stored this way, your sealed pumpkin will be ready to display again next season.
Conclusion
Decorating a plastic pumpkin is a rewarding project that pays off far beyond a single season. With a clean surface, a solid primer, a smooth base coat, and a few thoughtful embellishments, you can create a reusable piece that reflects your personal style. The seven steps above give you a clear path, so even a first-timer can achieve professional-looking results with confidence.
Now that you know how to decorate a plastic pumpkin, it is time to gather your supplies and start creating. Trust the process, take your time with each layer, and do not be afraid to experiment with colors and textures. Your handmade pumpkin will become a treasured decoration you look forward to displaying year after year, so grab that brush and bring your vision to life today.

Rick is a handyman who grew up helping his dad with his business. He learned a lot from him about how to fix things, and also about how to work hard and take care of business. These days, Rick is still into fixing things- only now, he’s doing it for a living.
Rick is always looking for new ways to help people grow and develop. That’s why he started contributing to this blog: to share all his experience and knowledge so that he can help people who are interested in DIY repair.