
Sealing acrylic paint on walls is important to protect the paint from fading, cracking, and peeling. Sealing your wall also makes it easier to clean and prevents moisture from seeping through the paint. Furthermore, sealing your wall also helps ensure that any artwork or decorations you have added will stay in place for a much longer period of time. By sealing your wall, you can also ensure that the paint remains vibrant and has a consistent finish.
Sealing acrylic paint on walls is an effective way to protect the paint from fading and chipping and make it easier to clean. It also helps to give a more finished and polished look to the painted area. This method is relatively easy and inexpensive compared to other methods, such as varnishing or lacquering. Sealing also helps to prevent any water damage or other damage from occurring. You can find step-by-step instructions on how to seal acrylic paint on wall in this blog article.
How Should You Prepare the Surface Before Applying Sealant to Your Acrylic Paint?
Before applying any sealant to your acrylic paint, it is important to ensure that your wall’s surface is properly prepared. The first step is to clean the wall with a damp cloth and remove any dirt or dust. Once the surface is cleaned, you should use a primer coat on the walls to ensure that the sealant will adhere properly and provide better protection. Make sure to allow the primer to dry completely before applying the sealant.
Additionally, it is also recommended that you use painter’s tape around the edges of your wall to ensure that you don’t get any sealant on surfaces where it doesn’t belong. Once the surface is fully prepared, it is time to apply the sealant. When it comes to choosing a sealant, there are several options available. A popular choice is a polyurethane, which can provide excellent protection against water and other liquids while also providing a glossy finish.
Step-by-Step Processes for How to Seal Acrylic Paint on Wall
Step 1: Inspect and Clean the Wall
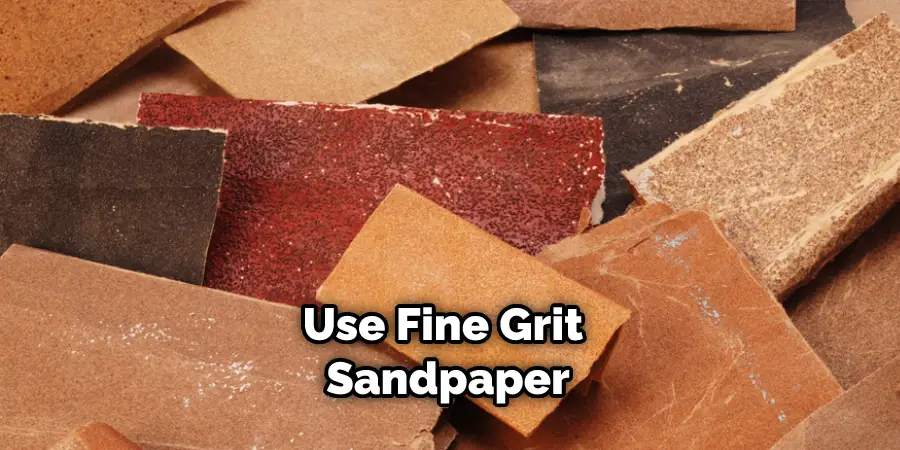
Before starting the sealing process, ensure the wall is clean and free of any dirt, dust, or other debris. Use fine-grit sandpaper to lightly sand the painted surface of the wall. This will create an even base for the sealer to adhere to. Wipe down the wall with a cloth dampened in warm soapy water to remove any remaining dirt. Allow the wall to dry completely before you begin sealing.
Step 2: Select the Sealer
Choose an acrylic-based sealer that is specifically designed for painting on walls. Make sure it is compatible with the paint used on the wall, and read all the instructions before applying.
Step 3: Apply Primer
A thin layer of primer may need to be applied to the wall if it is porous or has been painted with latex paint. The type of acrylic-based primer needed should match the type of paint used on the wall.
Step 4: Apply the Sealer
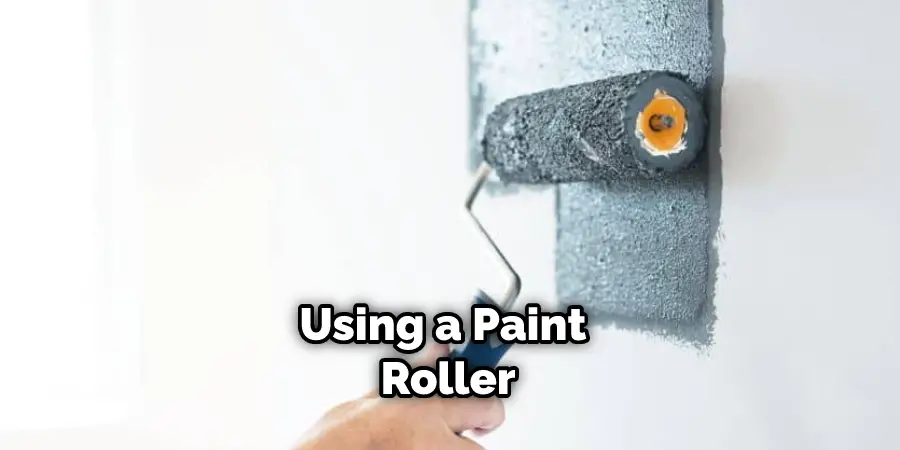
Using a paint roller or brush, apply an even coat of the sealer. Roll or brush in one direction, going over each area twice to ensure full coverage. Allow the sealer to dry completely before applying an additional coat if necessary. After two coats have been applied and dried, the wall is sealed and can be painted over or left as-is.
These steps will help you effectively seal acrylic paint on the wall, creating a durable, long-lasting finish. Be sure to follow all instructions carefully to get the best results.
Tips for How to Seal Acrylic Paint on Wall
- Always wear protective clothing such as a dust mask, eye protection and gloves when working with acrylic paint or sealers.
- Ensure that the surface you are painting is clean, dry, and free of dust, dirt, or any other contaminants before sealing it with an acrylic sealer.
- Ensure that the room in which you are working is well-ventilated and that the windows or doors are open to provide adequate air circulation.
- Apply a primer before painting with acrylic paint to ensure better paint adhesion to the wall surface.
- Always start painting from the top down to prevent dripping and running on your wall surfaces.
- Take frequent breaks to help avoid the long-term effects of breathing in fumes from the acrylic paint or sealer.
- Read and follow all safety instructions on the label of your chosen acrylic paint or sealer before use.
- Dispose of any leftover paint or sealers properly according to local regulations.
Following these simple tips will help ensure your safety while sealing acrylic paint on walls. With proper preparation and precautions, you can ensure a successful painting project with beautiful results.
How Many Coats of Sealant Should You Apply to the Paint on Your Wall?
When sealing acrylic paint on a wall, it is important to apply multiple coats of sealant for the best results. Generally speaking, two or three coats of sealant should be applied to the wall to ensure that the paint does not crack or fade. This can vary depending on the type and brand of sealant being used and the type of paint. For most sealants, the manufacturer will list on the product packaging or website how many coats should be applied for optimal protection.
Before applying a new coat of sealant, ensure that the previous coat is completely dry and free from debris. If not, you may need to apply more than two or three coats to ensure a strong seal. Applying too little sealant can lead to the paint fading, cracking, or chipping over time, so it is important to use enough for complete coverage and protection.
How Can You Avoid Damaging the Sealant When Removing Items From the Wall?
- Start by lightly dampening a cloth with warm water and gently wiping away any dirt or dust from the wall.
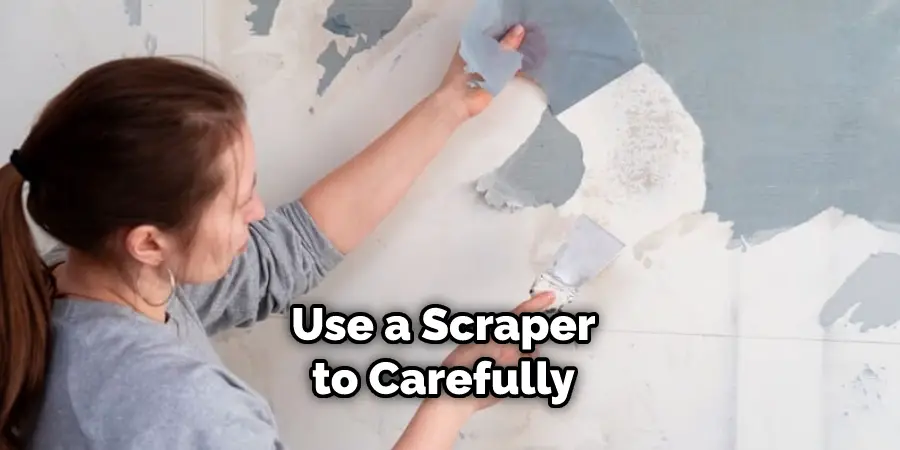
- Use a scraper to carefully remove items from the wall without damaging the sealant. Take care not to scratch or gouge the surface of the acrylic paint.
- If stubborn particles cannot be easily removed, use a gentle chemical remover. Make sure to read the instructions on the product before use and wear gloves and protective gear as recommended.
- Once you have successfully removed all items from the wall, rinse it with clean water and allow it to dry completely before proceeding.
- After the wall has dried, use a soft brush to buff the surface lightly. This will help smooth any rough spots and ensure that the sealant adheres evenly.
- Finally, apply a thin layer of acrylic paint sealer to the wall using an even stroke. Allow the sealant to dry completely before attaching items back onto the wall or painting over it. This will help create a stronger and longer-lasting bond between the sealant and the acrylic paint. With proper care, your wall should remain sealed for many years to come.
Are There Any Special Tools You Need to Use for Sealing Acrylic Paint on a Wall?
Yes, there are a few tools you might need to use when sealing acrylic paint on a wall. Some of the items you will need include a roller or brush for applying the sealer, painter’s tape for protecting trim and other surfaces around your work area, sandpaper for smoothing out any rough edges or imperfections, and rags or cloths for wiping away excess sealer.

When sealing acrylic paint on a wall, it is also important to wear protective gear, such as eyewear and a respirator or face mask. This will help protect your eyes and lungs from any fumes caused by the sealer. When it comes time for you to apply the sealer, make sure you use a quality sealer specifically designed for use on walls.
The type of sealer used will depend on the amount of protection and durability needed for your particular project. If you want to protect the paint from fading due to sunlight or wear and tear, then an acrylic-based sealer is best. For added protection against mildew and mold, you can use a silicone-based sealer.
Conclusion
One disadvantage of sealing acrylic paint on a wall is that it can be difficult to remove. While the sealant may protect the paint and keep it looking vibrant, removing it from the wall can be labor-intensive. This could mean sanding down the walls or repainting them if you want to change your color scheme or designs.
In conclusion, sealing acrylic paint on walls is a straightforward process that can help prevent wear and tear.
Whether you choose to use an aerosol sealant, an all-in-one primer/sealer, or a brush-applied clear coat, the steps are easy to follow and provide long-lasting protection against moisture and wear. If you’re looking for a way to protect your painted walls that is durable and affordable, sealing acrylic paint on walls should be your top choice.
I hope reading this post has helped you learn how to seal acrylic paint on wall. Make sure the safety precautions are carried out in the order listed.
About
Angela is the chief editor of Indoorense. She began her career as an interior designer before applying her strategic and creative passion to lifestyle and home.
She has close to 15 years of experience in creative writing and online content strategy for housekeeping and cleaning,home decorations as well as other efforts.
She loves her job and has the privilege of working with an extraordinary team. She lives with her husband, two sons, and daughter in Petersburg. When she’s not busy working she spent time with her family.