
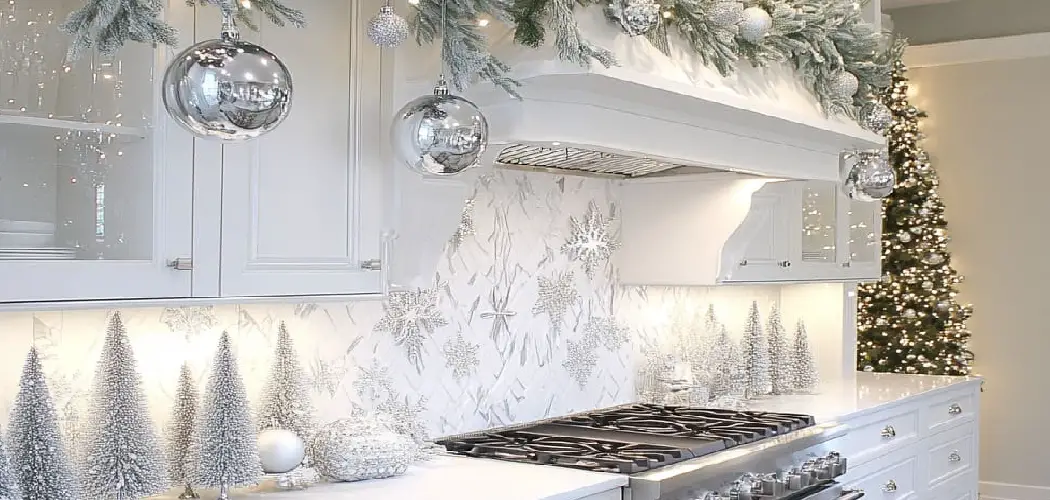
The space above your kitchen cabinets often sits empty and ignored, but the holidays are the perfect time to change that. Learning how to decorate top of kitchen cabinets for christmas turns that forgotten gap into a cheerful display that pulls your whole kitchen together. You don’t need a designer’s eye or a big budget to make it happen, just a few festive pieces and a little creativity. That high ledge gives you room to play with garland, twinkling lights, greenery, and small figurines without crowding your counters.
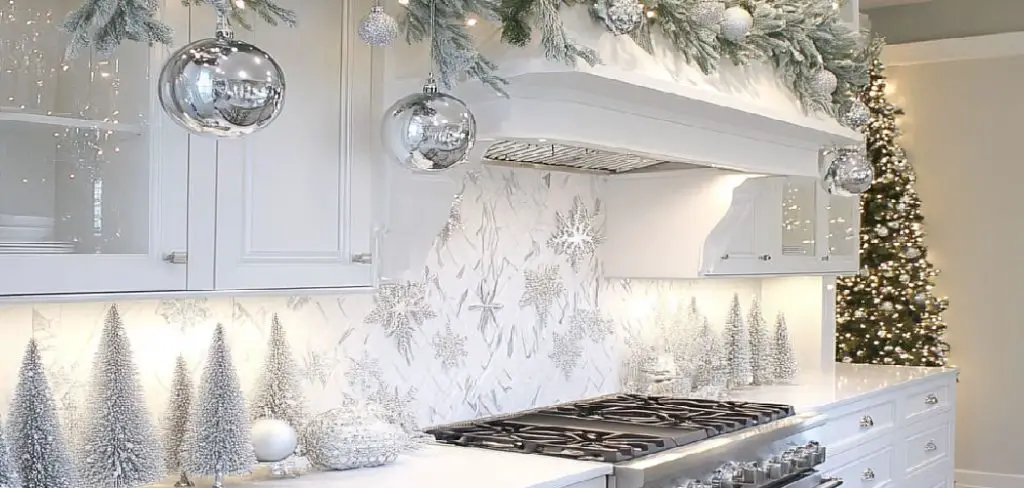
This guide breaks the project into simple, beginner-friendly steps anyone can follow. We’ll walk through cleaning the space, choosing a theme, layering your décor, and keeping everything safe and secure up high. Whether your kitchen is big or small, modern or cozy, these ideas adapt to fit your style. By the end, you’ll have a warm, glowing display that greets family and guests every time they walk in. Let’s bring some holiday magic to that overlooked corner of your home.
Why Decorating the Top of Kitchen Cabinets for Christmas Matters
That blank space above your cabinets is prime real estate during the holidays. Filling it draws the eye upward, makes your ceilings feel taller, and spreads festive cheer beyond the usual spots like the mantel or tree. It’s an easy way to make your whole kitchen feel intentional and celebrated, especially since the kitchen is where so much holiday cooking and gathering happens.
Decorating up high also keeps your counters clear for baking cookies and prepping meals, which matters a lot during a busy season. The display stays safely out of reach of curious kids and pets, too. Best of all, it gives you a fresh canvas to show off your personality, whether you love rustic charm, glittering glam, or classic red and green. A little effort here delivers big, warm-hearted results.
Step-by-Step Guide to How to Decorate Top of Kitchen Cabinets for Christmas
Step 1: Clear and Clean the Space
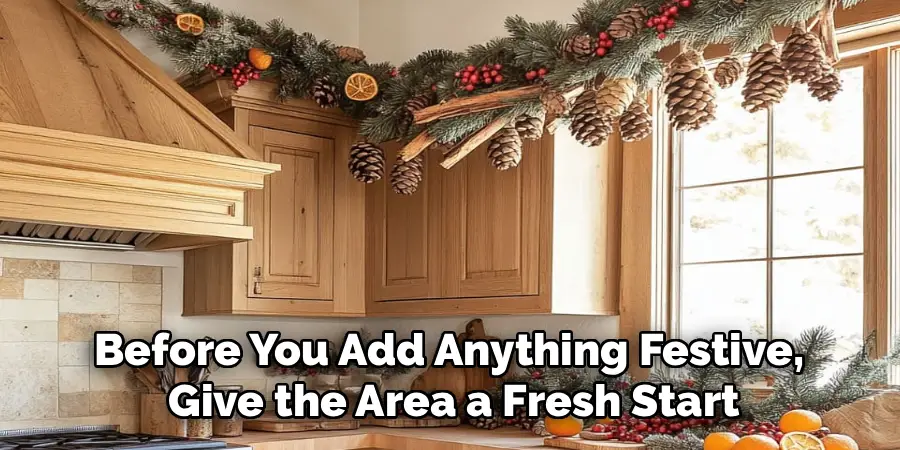
Before you add anything festive, give the area a fresh start. Remove any everyday items sitting up there, like baskets, vases, or dusty cookbooks you forgot about. Grab a step stool and a damp cloth, then wipe down the surface to clear away the grease and dust that build up over time. Kitchens collect a surprising amount of grime up high, so a good clean helps your new décor look its best.
Take a moment to check the depth and length of the ledge while you’re up there. Knowing your measurements helps you plan how much garland or how many pieces you’ll need. A clean, empty space sets the stage for everything that follows.
Step 2: Pick a Festive Theme and Color Palette
Now comes the fun part: choosing your look. Decide on a theme that matches your kitchen and your taste, whether that’s traditional red and green, frosty silver and white, or a cozy farmhouse style with burlap and pinecones. Picking a palette keeps your display from looking cluttered or random, and it ties everything together for a polished feel.
Think about the colors already in your kitchen, like your cabinet finish, backsplash, and wall paint. Choose holiday tones that complement them rather than clash. Sticking to two or three main colors gives you a cohesive look that feels planned and warm, even if you’re mixing several different pieces up there.
Step 3: Start With a Garland Base
Garland forms the foundation of your whole display, so lay it down first. Drape a length of faux pine or eucalyptus garland along the top of the cabinets, letting it trail naturally and dip slightly over the front edge for a soft, flowing look. This green base instantly adds richness and hides the bare surface underneath your other pieces.
Don’t pull the garland too tight or lay it perfectly straight, since a little natural movement looks far more inviting. Fluff out the branches with your hands to make it full and lush. If your ledge is long, you may need two or three garland pieces to cover the whole stretch comfortably.

Step 4: Add Warm Twinkling Lights
Lights bring the magic that makes a holiday display truly glow. Weave a strand of warm white fairy lights through your garland, tucking the wire among the branches so it stays hidden. Battery-operated lights with a timer work wonderfully here, since you won’t have outlets up high, and the timer means they switch on automatically each evening.
Space the lights evenly so the glow looks balanced from one end to the other. Warm white tends to feel cozier than cool blue-white, but pick whatever suits your theme. Once they’re in place, step back and check the effect at night, when that gentle twinkle really shines and fills the room with charm.
Step 5: Decorate Christmas With Layered Accents
With your base and lights ready, build height and interest by layering in décor. Tuck small accents among the garland, like mini bottle-brush trees, frosted pinecones, red berries, or tiny ornaments. Varying the heights keeps the eye moving and stops the display from looking flat. Place taller items toward the back and shorter ones up front so nothing hides behind anything else.
Group items in odd numbers, such as threes or fives, since clusters tend to look more natural than perfectly even rows. Spread your accents across the whole ledge rather than crowding one spot. This layering step is where your display really starts to feel full, festive, and beautifully finished.

Step 6: Include a Few Statement Pieces
Every great display needs a couple of eye-catching focal points to anchor it. Add one or two larger statement items, like a wooden “Joy” or “Merry Christmas” sign, a small lit lantern, a rustic sleigh, or an oversized ornament. These pieces give your décor structure and a clear sense of purpose, drawing attention right where you want it.
Position your statement pieces with a little space between them so each one stands out. If your cabinets stretch across a wide wall, place one near each end to balance the look. Just don’t overdo it, because too many big items compete for attention. A few bold touches go a long way toward a stunning result.
Step 7: Christmas Safely and Finish Up
Once everything is arranged, focus on safety and the final polish. Make sure heavier pieces sit firmly and won’t tip if the cabinet gets bumped. Use small adhesive strips or museum putty to secure delicate or top-heavy items, especially in homes with kids or pets. Keep your light wires tidy and tucked away so nothing dangles dangerously.
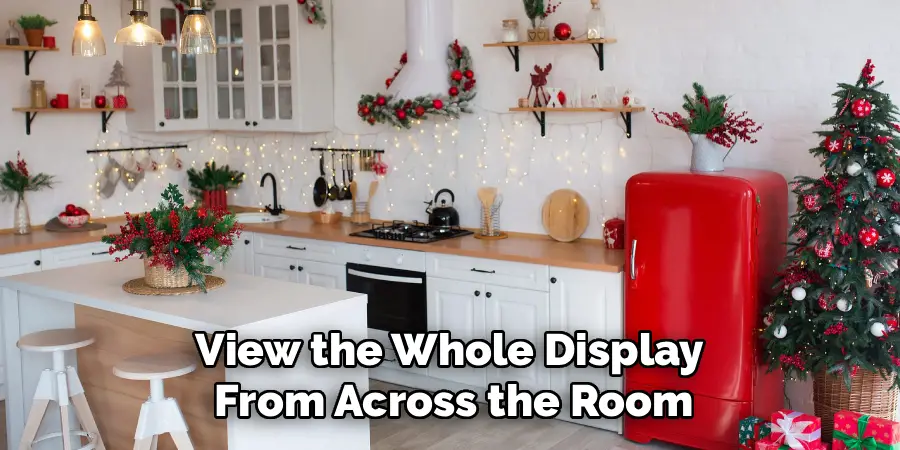
Step back and view the whole display from across the room, then adjust anything that looks crooked or crowded. Fill in any thin spots with extra greenery or berries. Turn on your lights, take one last look, and enjoy the cozy, glowing scene you’ve created. Your kitchen is now ready to welcome the holidays in style.
Frequently Asked Questions
What Do I Need to Get Started With This Project?
You’ll need a few basics to begin: faux garland, warm white battery lights with a timer, and a mix of small accents like ornaments, berries, or bottle-brush trees. Add one or two statement pieces for impact, plus a step stool and a cloth for cleaning. Adhesive strips or putty help secure items safely. Most of these supplies are affordable and easy to find at any craft or home store.
How Much Should I Spend on Cabinet-Top Décor?
You can create a gorgeous display on almost any budget. Many people spend between twenty and fifty dollars, especially when shopping discount stores or reusing pieces from past years. Garland and lights are your main investments, while small accents often cost just a few dollars each. Watch for after-holiday sales to stock up cheaply. With smart shopping, a festive, full look doesn’t have to drain your wallet.
How Do I Keep the Decorations From Getting Dusty?
Since the area sits high and out of reach, dust does collect over the season. To keep things tidy, give your pieces a quick dusting with a soft cloth or a feather duster every week or two. When the holidays end, wipe everything down before storing it in a sealed bin. Faux greenery and ornaments clean easily, so a little upkeep keeps your display fresh and bright all season long.
Will the Decorations Get Damaged by Kitchen Heat or Grease?
Kitchen air carries heat, steam, and grease, which can dull décor over time. To protect your pieces, choose durable, wipeable materials and avoid placing anything fragile directly above the stove. Faux greenery handles kitchen conditions better than fresh, which wilts fast in warm air. A quick wipe-down at season’s end removes any buildup, keeping your decorations in good shape so you can reuse them for many holidays to come.
How Far in Advance Should I Decorate?
Most people set up their holiday displays in late November or early December, often right after Thanksgiving. This timing lets you enjoy the festive look for the full season without feeling rushed. If you love the holidays, feel free to start a bit earlier. Decorating high spaces takes some time on a step stool, so give yourself an unhurried afternoon to clean, arrange, and adjust everything just the way you like.
Conclusion
Transforming that empty ledge into a festive showpiece is easier than you’d expect, and the payoff is a kitchen that feels warm and joyful all season long. By starting with a clean space, choosing a clear theme, layering garland, lights, accents, and a few statement pieces, you build a display that looks thoughtfully designed without much fuss. A little attention to safety and a final polish bring the whole thing together beautifully.
Now that you know how to decorate top of kitchen cabinets for christmas, there’s nothing stopping you from giving it a try. Gather your supplies, grab a step stool, and set aside a cozy afternoon to make some holiday magic. Your kitchen will glow with cheer, and you’ll smile every time you walk in. So go ahead and turn that overlooked spot into the festive highlight of your home this year.

Rick is a handyman who grew up helping his dad with his business. He learned a lot from him about how to fix things, and also about how to work hard and take care of business. These days, Rick is still into fixing things- only now, he’s doing it for a living.
Rick is always looking for new ways to help people grow and develop. That’s why he started contributing to this blog: to share all his experience and knowledge so that he can help people who are interested in DIY repair.