
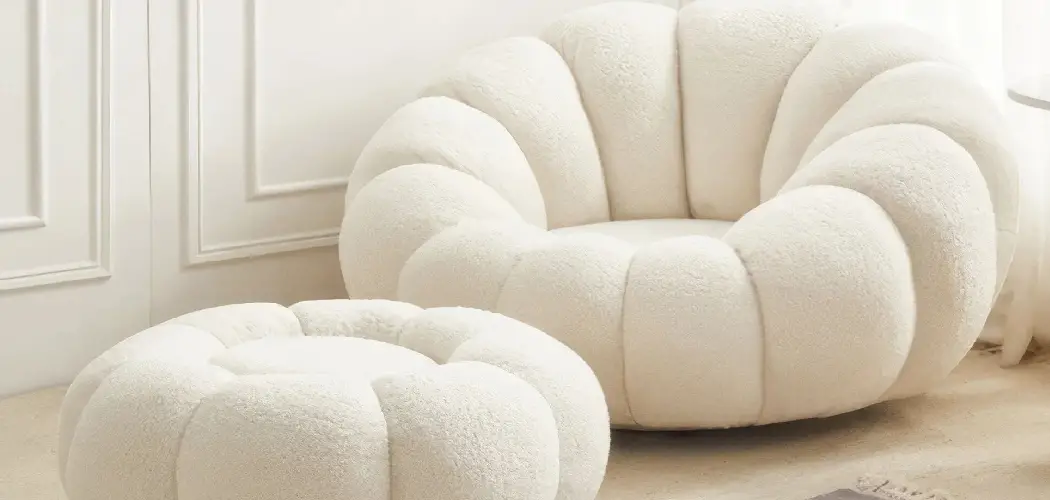
That cozy sherpa chair in your living room invites you to sink in after a long day, but all that soft, fluffy fabric loves to trap dust, crumbs, pet hair, and the odd coffee spill. Over time, your favorite seat can start looking flat, dingy, and a little sad. The good news? Bringing it back to life is easier than you might think.
Learning how to clean sherpa chair fabric takes just a few simple supplies you probably already own and a little patience. Sherpa is a plush, faux-fleece material designed to mimic sheep’s wool, and while it feels luxurious, it needs gentle care to stay soft and bright. In this guide, we’ll walk you through everything step by step, from prepping the chair to drying it properly. Whether you’re tackling a fresh stain or giving your chair a full refresh, you’ll finish feeling confident. Let’s get your comfy seat looking and feeling brand new again.
Why Cleaning a Sherpa Chair Matters
A clean sherpa chair isn’t just about looks, though a fresh, fluffy seat certainly makes your whole room feel brighter. Regular care also protects your investment. Sherpa fabric tends to mat down and look worn when dirt and oils build up in the fibers, so cleaning keeps it soft and extends its life for years.
There’s a health angle too. That plush texture is a magnet for allergens, dust mites, and pet dander, which can trigger sneezing and irritation for sensitive folks. A quick routine clean keeps the air around your favorite chair healthier. You’ll also stop small spills from setting into stubborn stains. A little upkeep now saves you from costly replacements or professional cleaning bills later, making it well worth the small effort.
Step-by-Step Guide to How to Clean Sherpa Chair
Step 1: Gather Your Supplies and Read the Care Tag
Before you dive in, set yourself up for success. Grab a vacuum with an upholstery attachment, a soft-bristled brush, a couple of clean microfiber cloths, a mild liquid detergent or gentle dish soap, and a bowl of lukewarm water. A spray bottle helps too.
Now flip up a cushion and check the manufacturer’s care tag. Those little letter codes matter a lot. A “W” means water-based cleaners are safe, “S” means solvent-only, “WS” allows both, and “X” means vacuum only. Following these instructions protects the fabric and saves you from accidental damage. Skipping this quick check is the most common mistake beginners make.

Step 2: Vacuum Away Loose Dirt and Hair
Start every cleaning session by removing the loose stuff sitting on the surface. Attach the upholstery tool to your vacuum and run it slowly across the entire chair, working in gentle, overlapping passes. Pay close attention to the seams, crevices, and the spots where the backrest meets the seat, since crumbs and pet hair love to hide there.
For stubborn fur that the vacuum won’t grab, lightly drag a rubber glove or a soft brush across the fabric to loosen it first. This step matters more than people realize. Cleaning wet sherpa with embedded dirt only pushes grime deeper, so always vacuum thoroughly before adding any moisture.
Step 3: Spot Treat Stains Quickly
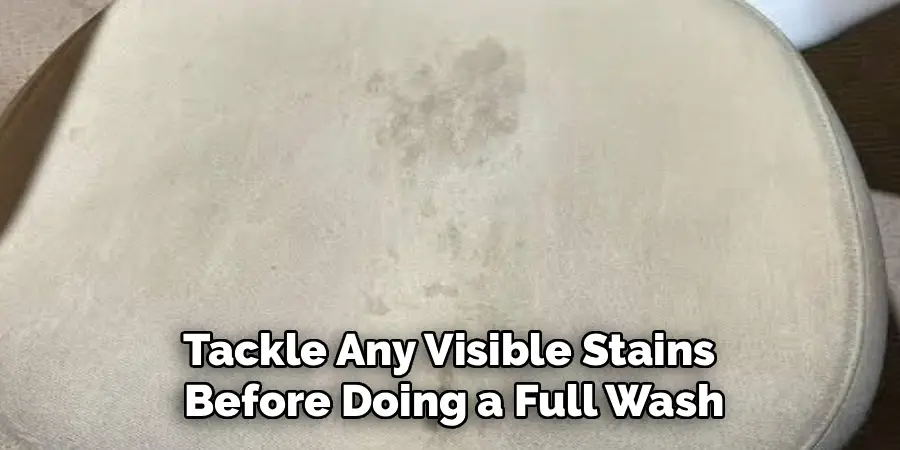
Tackle any visible stains before doing a full wash. Mix a few drops of mild detergent into a bowl of lukewarm water and dip a clean microfiber cloth into the suds, wringing it out until it’s just damp. Gently dab the stained area, working from the outer edge toward the center so you don’t spread the mess wider.
Resist the urge to rub hard, because scrubbing mats the fibers and can push the stain deeper. For greasy marks, a tiny bit of dish soap works wonders. Blot, lift, and repeat patiently until the stain fades. Then dab with a clean, water-only cloth to rinse.
Step 4: Clean Chair Surfaces All Over
Once spots are handled, give the whole chair a gentle overall refresh. Dampen a fresh microfiber cloth in your soapy water solution, wring it well, and wipe the fabric in smooth strokes that follow the direction of the fibers. Work in small sections so no area stays wet for too long.
Keep your cloth barely damp rather than soaking, since sherpa holds water easily and too much moisture leads to long drying times and possible mildew. Rinse your cloth often in clean water to avoid spreading dirt around. This light, even cleaning lifts away the everyday grime that builds up across the entire seating surface.
Step 5: Rinse and Remove Soap Residue
Leftover soap can leave your sherpa feeling crunchy and looking dull, so this rinsing step is essential. Take a separate clean microfiber cloth and dampen it with plain lukewarm water only. Wring it out well, then wipe down every section you just cleaned, following the same gentle, fiber-following motions you used before.
Go over the chair a second time if you notice any sudsy spots remaining. The goal is to lift out all the detergent without re-soaking the fabric. Frequently rinsing your cloth keeps it free of soap. Taking your time here makes a huge difference in how soft and fresh your chair feels once it dries.

Step 6: Dry the Chair Completely
Proper drying keeps your sherpa fluffy and mildew-free. Start by pressing a dry towel over the damp areas to soak up as much moisture as possible. Don’t twist or wring the fabric, just press and lift. Then let the chair air dry in a well-ventilated room, ideally with a window open or a fan pointed its way.
Avoid direct sunlight or high heat, which can yellow or stiffen the fibers over time. If you’re in a hurry, a hairdryer on the cool, low setting helps. Never sit on or cover the chair until it’s fully dry, as trapped dampness invites musty odors and mold.
Step 7: Chair and Restore the Fluff
The final touch brings back that irresistibly soft, fluffy texture sherpa is known for. Once the chair is completely dry, take a soft-bristled brush or a clean, dry microfiber cloth and gently sweep across the fabric in light, circular motions. This lifts and separates the flattened fibers, fluffing them back to life.
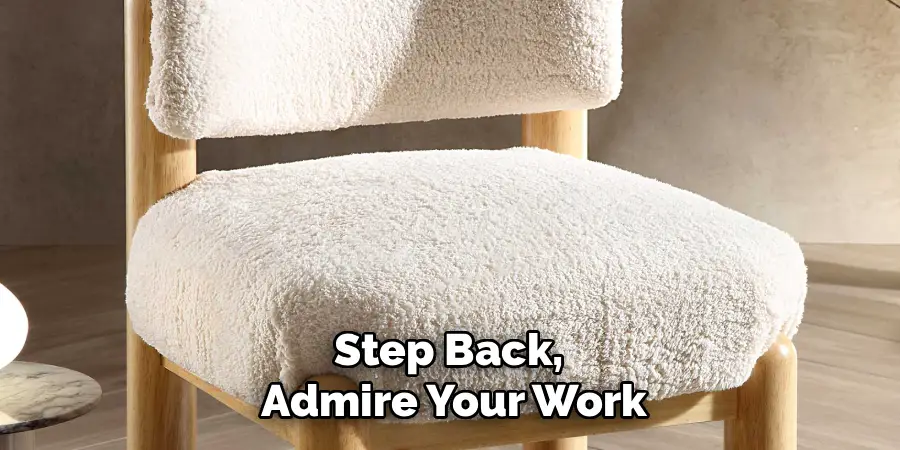
Work over the whole surface, paying extra attention to high-use spots like the seat and armrests, which tend to mat down the most. A quick brush refresh every week or two keeps your chair looking plump and inviting between deeper cleans. Step back, admire your work, and enjoy your beautifully restored seat.
Frequently Asked Questions
How Often Should You Clean a Sherpa Chair?
Vacuum your sherpa chair once a week to keep dust, crumbs, and pet hair from building up in the fibers. Plan a deeper clean with damp cloths and mild detergent every two to three months, or sooner if you have pets or kids. Spot treat spills the moment they happen. Sticking to this simple routine keeps the fabric soft, fresh, and looking great for years.
Can You Machine Wash Sherpa Chair Covers?
It depends on the care tag. If your chair has removable covers labeled with a “W” or machine-washable symbol, you can usually wash them on a gentle, cold cycle with mild detergent. Skip the fabric softener and harsh bleach, as these damage the fibers. Air dry the covers or tumble on the lowest heat. Always check the label first, since some sherpa shrinks or mats in the wash.
What Removes Tough Stains From Sherpa Fabric?
For most stains, a mix of mild dish soap and lukewarm water does the trick. Dab gently from the outside in, never rubbing. Grease responds well to a touch of extra dish soap, while a diluted white vinegar solution helps with odors and lighter marks. For stubborn or set-in stains, a fabric-safe upholstery cleaner works, but always test it on a hidden spot first to avoid discoloration.
Will Cleaning Ruin the Softness of Sherpa?
Not if you clean it correctly. Softness gets ruined by harsh scrubbing, hot water, too much soap, or high heat drying. Stick to gentle dabbing, lukewarm water, and air drying, then brush the fibers once everything is dry. That final brushing step is the secret to restoring the plush, fluffy feel. Treated kindly, your sherpa chair stays just as cozy and soft as the day you bought it.
Is Steam Cleaning Safe for Sherpa Chairs?
Steam cleaning can work, but proceed with caution. Excess heat and moisture may flatten or warp delicate sherpa fibers, so check the care tag first and avoid steaming chairs labeled “S” or “X.” If steam is allowed, use the lowest setting, keep the nozzle moving, and never saturate the fabric. Dry the chair thoroughly afterward and brush the fibers to fluff them back up once everything is completely dry.
Conclusion
Keeping your favorite seat fresh really comes down to a few easy habits: vacuum regularly, treat spills fast, wash gently with mild soap and lukewarm water, rinse away residue, dry thoroughly, and brush the fibers back to their fluffy glory. None of it requires fancy tools or expensive products, just a little patience and a gentle touch. Now that you know how to clean sherpa chair fabric the right way, you can keep that cozy comfort looking and feeling brand new for years to come. So go ahead, gather your supplies, and give your chair the refresh it deserves. Your softest spot in the house will thank you, and you’ll love sinking into a clean, plush seat all over again.

Rick is a handyman who grew up helping his dad with his business. He learned a lot from him about how to fix things, and also about how to work hard and take care of business. These days, Rick is still into fixing things- only now, he’s doing it for a living.
Rick is always looking for new ways to help people grow and develop. That’s why he started contributing to this blog: to share all his experience and knowledge so that he can help people who are interested in DIY repair.