
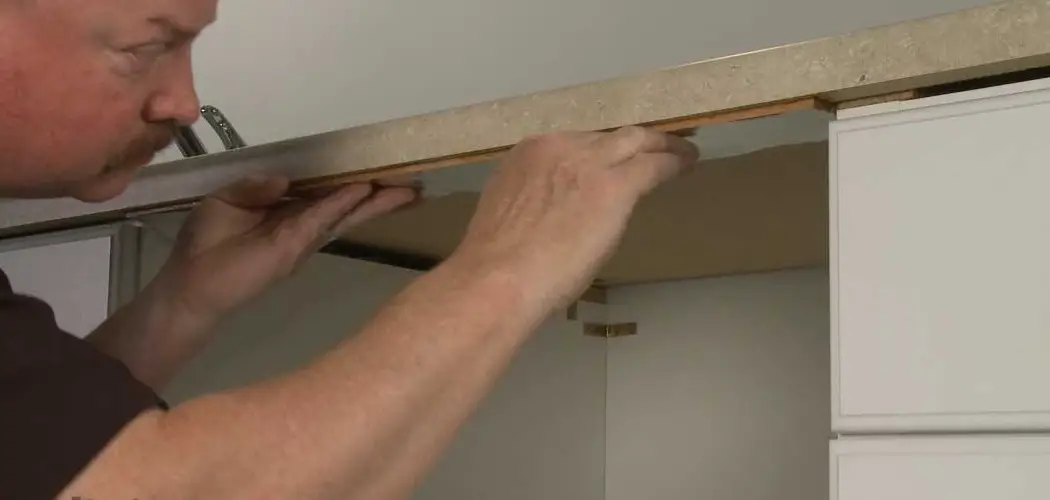
Your dishwasher does a wonderful job cleaning dishes, but every time you crack it open after a cycle, a cloud of hot steam rushes out. That steam doesn’t just disappear into thin air. It drifts upward and sideways, settling right onto the cabinets sitting next to and above your machine. Over months and years, this moisture can warp wood, peel finishes, and leave ugly water stains behind. Knowing how to protect cabinets from dishwasher steam saves you from costly repairs and keeps your kitchen looking fresh for the long haul.
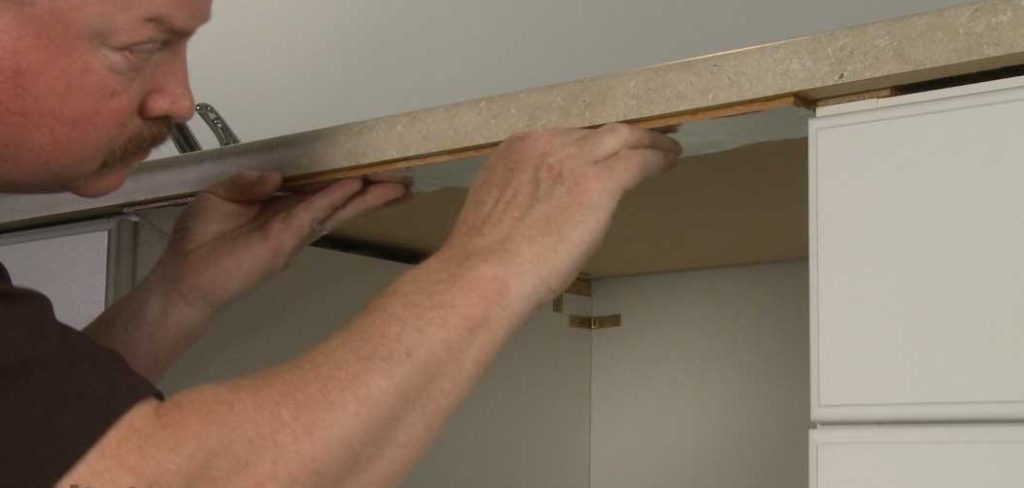
The good news is that guarding your cabinets is simple and affordable. You don’t need to be a handyman or hire a contractor. With a few smart habits and some easy-to-find materials, you can stop steam damage before it starts. This guide walks you through everything in plain, beginner-friendly steps. We’ll cover quick fixes, simple barriers, and routine care that anyone can manage. Let’s keep your kitchen beautiful.
Why Protecting Cabinets From Dishwasher Steam Matters
Cabinets are one of the biggest investments in any kitchen, so guarding them just makes sense. Steam is sneaky because the damage builds up slowly. You might not notice anything for a while, then one day you spot bubbling laminate, swollen wood, or dark stains near the seams. By then, the harm is often permanent and expensive to fix.
Beyond the dollars, protecting your cabinets keeps your whole kitchen healthier and more attractive. Trapped moisture can encourage mold and mildew, which bring musty smells and pose health concerns. A dry, well-sealed cabinet stays sturdy and looks great for decades. Taking small preventive steps now means you avoid sanding, refinishing, or replacing panels later. It’s a tiny bit of effort that pays off in lasting beauty, better air quality, and real peace of mind every single day.
Step-by-Step Guide to How to Protect Cabinets From Dishwasher Steam
Step 1: Inspect Your Current Setup
Start by taking a close look at the cabinets surrounding your dishwasher. Open the machine after a wash cycle and watch where the steam travels. Notice if it hits the underside of the countertop, the side panels, or the cabinet faces nearby. Run your hand along these surfaces to feel for any soft spots, swelling, or peeling that might already be present.
Jot down what you find so you know exactly where to focus your efforts. Pay special attention to seams, edges, and exposed wood, since these areas absorb moisture fastest. Understanding your unique trouble zones helps you choose the right fixes. A few minutes of careful observation now sets you up for smarter, more targeted protection later.

Step 2: Wait Before Opening the Door
One of the easiest habits to learn is simply waiting. When a cycle finishes, resist the urge to fling the door open right away. The interior is packed with hot, wet steam at that moment, and opening immediately sends it billowing straight onto your cabinets. Instead, let the dishwasher sit closed for fifteen to thirty minutes after it beeps.
During this rest period, the steam condenses and cools inside the machine, dramatically reducing how much escapes. Many modern dishwashers even have a delay or auto-open feature designed for this exact purpose. This costs you nothing and requires no tools at all. It’s the single simplest way to learn how to protect cabinets from dishwasher steam with zero expense and instant results.
Step 3: Apply a Steam Barrier Strip
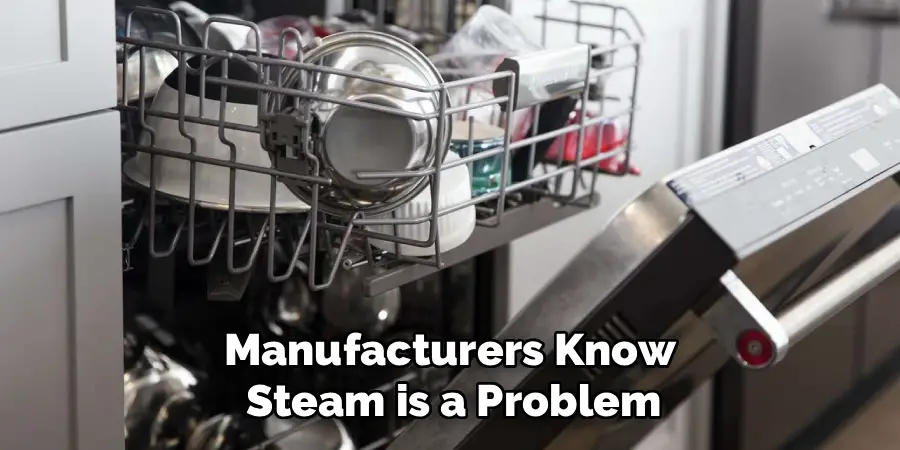
Manufacturers know steam is a problem, which is why many dishwashers come with a thin metal or plastic shield meant to deflect rising moisture. Check whether yours included one, and if it’s missing or damaged, replacement strips are cheap and easy to install. These barriers attach to the underside of your countertop, right above the dishwasher door, and redirect steam away from delicate surfaces.
Installation usually takes just a few minutes with adhesive backing or small screws. Make sure the strip spans the full width of the machine for complete coverage. This humble piece is a frontline defense in how to protect cabinets from dishwasher steam, blocking the upward rush before it ever reaches your wood or laminate.
Step 4: Seal Exposed Edges and Seams
Raw or unfinished cabinet edges soak up moisture like a sponge, so sealing them is crucial. Inspect the sides and bottoms of the cabinets nearest your dishwasher, looking for any spots where the protective finish has worn thin or never existed. Apply a quality waterproof sealant or polyurethane to these vulnerable areas using a small brush.
Work in thin, even coats and let each layer dry fully before adding the next. Focus especially on the seams where panels meet, since water loves to creep into these tiny gaps. A solid seal creates an invisible shield that repels steam and keeps your cabinet structure dry. This one-time effort offers lasting protection and helps your finishes hold up beautifully for years.
Step 5: Use a Pull-Out Towel or Tray Trick
Here’s a clever, low-cost trick that works wonders. After your cycle ends and you’ve waited a bit, crack the door just slightly and slide a folded towel or a shallow tray along the top edge of the open door. The towel catches dripping condensation, while the tray channels moisture downward instead of letting it spread sideways onto nearby panels.
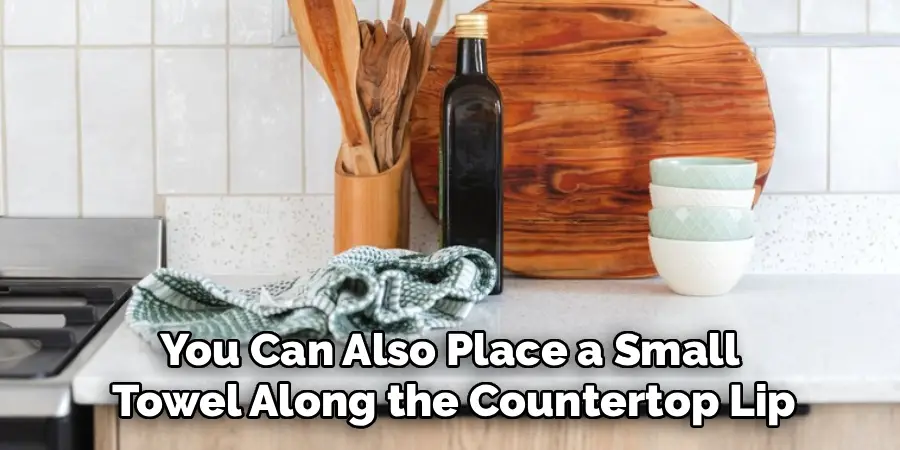
You can also place a small towel along the countertop lip to absorb any stray steam. This approach is perfect for renters or anyone who can’t install permanent barriers. Swap or wring out the towel between cycles to keep it effective. It’s a flexible, gentle method that adds a real layer of defense without any drilling or hardware.
Step 6: Improve Kitchen Ventilation
Steam lingers longer in stuffy, closed-off kitchens, so boosting airflow makes a big difference. Turn on your range hood or exhaust fan while the dishwasher runs and right after it finishes. These fans pull humid air up and out, preventing it from settling on your cabinets. If you don’t have a vent fan nearby, simply opening a window or running a portable fan helps move the moist air along.
Good ventilation also benefits your whole kitchen by reducing overall humidity and discouraging mold growth. Make it a routine to flip on the fan whenever you start a wash cycle. This habit works hand in hand with your other steps, keeping the air drier and your cabinets safer from creeping moisture damage.
Step 7: Maintain and Re-Treat Regularly
Protection isn’t a one-time job, so build in regular check-ups. Every few months, inspect your sealants, barrier strips, and cabinet surfaces for signs of wear. Reapply waterproof finish to any spots that look thin or scratched, and tighten or replace barrier strips that have come loose. Wipe down nearby cabinets after heavy dishwashing days to remove any condensation that slipped through.
Keeping up with this light maintenance ensures your defenses stay strong over time. Set a reminder on your phone so the task doesn’t slip your mind.

Frequently Asked Questions
Can Dishwasher Steam Really Damage Wood Cabinets?
Yes, it absolutely can, and the damage often sneaks up slowly. Repeated exposure to hot, moist steam causes wood to swell, warp, and lose its finish over time. You may notice peeling laminate, dark water stains, or soft, spongy edges near the seams. Sealing exposed surfaces, deflecting steam, and improving airflow all help prevent this gradual but costly harm to your cabinetry.
How Long Should I Wait Before Opening My Dishwasher?
Waiting fifteen to thirty minutes after a cycle ends gives the steam time to cool and condense inside the machine. This dramatically reduces how much moisture escapes onto your cabinets when you finally open the door. Many newer models include an auto-open or delay feature that handles this for you. It’s a free, effortless habit that offers some of the best protection you can get.
Are Steam Barrier Strips Worth Installing?
Definitely. These thin metal or plastic shields attach beneath your countertop and deflect rising steam away from cabinet faces and undersides. They’re inexpensive, easy to install with adhesive or screws, and only take a few minutes to set up. Many dishwashers ship with one already, so check yours first. If it’s missing or worn, a replacement is a small investment that delivers strong, lasting protection.
What Sealant Works Best for Cabinet Edges?
A quality waterproof polyurethane or a clear water-resistant sealant works wonderfully for protecting exposed cabinet edges. Apply it in thin, even coats with a small brush, letting each layer dry completely before adding another. Focus on raw edges, seams, and any spots where the original finish has worn away. This creates a durable, moisture-repelling barrier that keeps your cabinet structure dry and looking fresh for years.
Will Better Ventilation Alone Solve the Problem?
Ventilation helps a lot, but it works best as part of a complete approach. Running your range hood or exhaust fan pulls humid air out and lowers overall kitchen moisture, which protects your cabinets. However, pairing good airflow with steam barriers, sealed edges, and the waiting habit gives you the strongest defense. Relying on ventilation by itself leaves some risk, so combine it with the other simple steps for full coverage.
Conclusion
Keeping your kitchen cabinets safe from moisture doesn’t take much money or skill, just a handful of smart habits and a little routine care. By inspecting your setup, waiting before you open the door, installing a barrier strip, sealing exposed edges, using a towel trick, boosting ventilation, and maintaining everything regularly, you build a powerful shield against gradual damage. Each step is easy enough for any beginner, yet together they make a real difference in how long your cabinets stay beautiful and strong.
Now that you understand how to protect cabinets from dishwasher steam, there’s no reason to wait. Pick one or two steps to tackle this week, then add the rest as you go. Your future self will thank you when your kitchen still looks crisp, dry, and gorgeous years down the road. Grab a towel, flip on that fan, and start protecting your investment today.

Rick is a handyman who grew up helping his dad with his business. He learned a lot from him about how to fix things, and also about how to work hard and take care of business. These days, Rick is still into fixing things- only now, he’s doing it for a living.
Rick is always looking for new ways to help people grow and develop. That’s why he started contributing to this blog: to share all his experience and knowledge so that he can help people who are interested in DIY repair.