
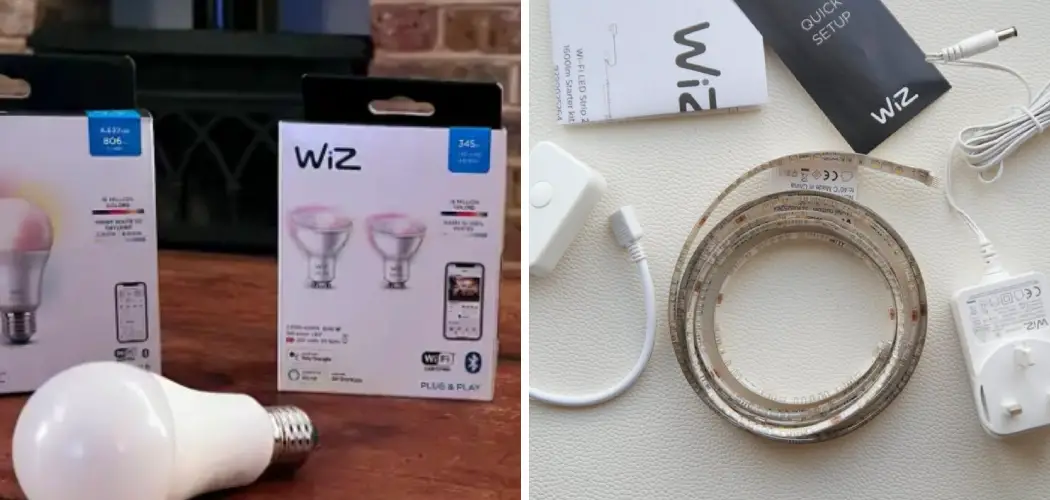
Smart lighting has changed the way we light up our homes, and WiZ bulbs sit right at the heart of that shift. They let you switch colors, dim the room, and set schedules straight from your phone or with a quick voice command. But none of that magic happens until your bulbs are talking to your network. That’s exactly why knowing how to connect wiz lights to wifi is the first thing every new owner needs to master.
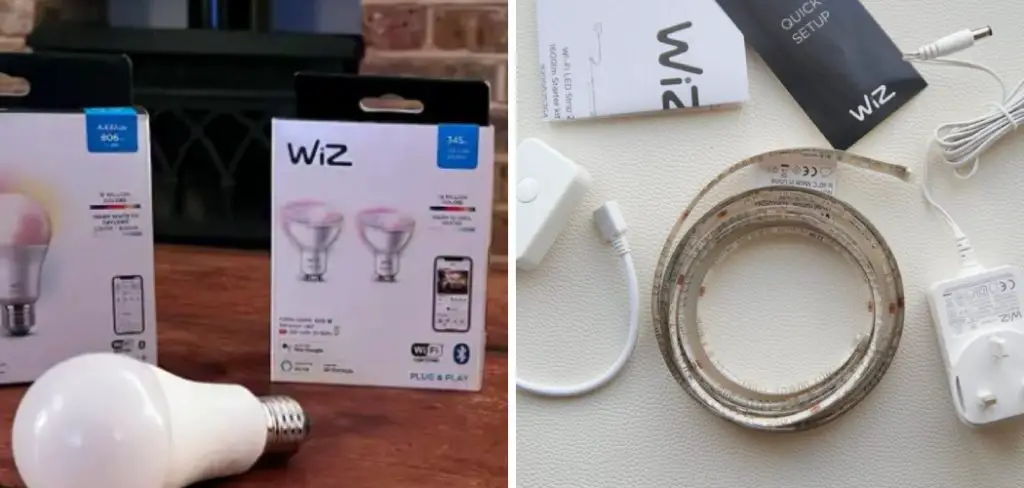
The good news? You don’t need to be tech-savvy to get this done. With a smartphone, a steady wifi signal, and a few free minutes, you’ll have your bulbs glowing under your full control. This guide breaks the whole process into clear, beginner-friendly steps so nothing feels confusing. We’ll walk through downloading the app, pairing your bulbs, choosing the right network, and fixing common hiccups along the way. By the end, you’ll feel confident managing your lights like a pro, ready to build scenes, automations, and routines that fit your daily life perfectly.
Why Connecting Wiz Lights to Wifi Matters
Linking your bulbs to wifi unlocks everything that makes them “smart” in the first place. Without that connection, a WiZ bulb behaves like any ordinary light, limited to a simple on and off. Once it’s online, you gain full control from anywhere, whether you’re curled up on the couch or away on vacation.
A wifi connection also opens the door to scheduling, color changing, and voice control through Alexa or Google Assistant. You can dim the lights for movie night, wake up to a gentle sunrise glow, or have your home appear lived-in while you travel. It saves energy too, since automations turn lights off when you forget. Simply put, the connection transforms a basic bulb into a flexible tool that adapts to your routines and makes everyday life a little easier and more comfortable.
Step-by-Step Guide to How to Connect Wiz Lights to Wifi
Step 1: Download the WiZ App
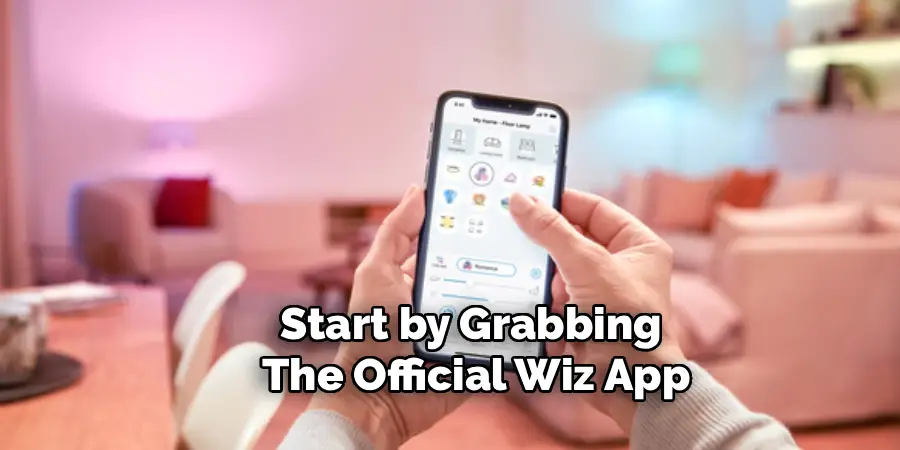
Start by grabbing the official WiZ app, which is free on both the Apple App Store and Google Play. Search for “WiZ” and look for the app published by Signify, the company behind the brand. Once it installs, open it and create a free account using your email address. This account stores your settings and lets you control your lights from any device you log into.
Take a moment to allow the permissions the app requests, especially location and local network access. These permissions help the app discover your bulbs quickly and keep the setup smooth from the very first tap.
Step 2: Power On Your Bulbs
Screw your WiZ bulb into a lamp or fixture, then flip the switch to turn it on. A brand-new bulb should automatically enter pairing mode, signaled by a soft pulsing or breathing light effect. If it doesn’t pulse, toggle the switch off and on a few times in quick succession to reset it into setup mode.
Make sure the fixture stays powered throughout the process, since cutting power mid-setup can interrupt pairing. Keep your phone nearby and within a few feet of the bulb. Being close helps the app find the bulb faster and avoids weak-signal frustration during these early steps.
Step 3: Pick the Right Wifi Network
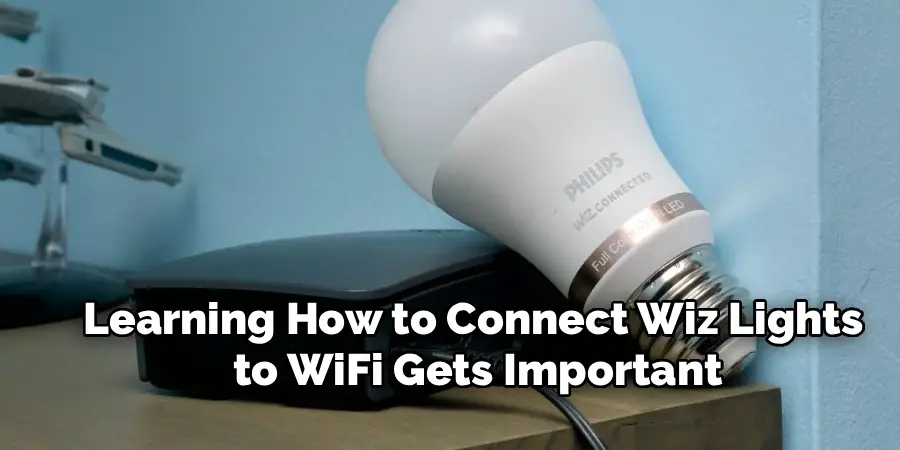
Here’s where learning how to connect wiz lights to wifi gets important, because WiZ bulbs only work on a 2.4GHz network, not 5GHz. Many modern routers broadcast both bands, sometimes under the same name. Open your phone’s wifi settings and confirm you’re joined to the 2.4GHz band before continuing in the app.
If your bands share one name, you may need to log into your router and temporarily separate them, or check your router app for a 2.4GHz toggle. This single detail trips up more beginners than anything else, so double-check it now to save yourself headaches later in the setup.
Step 4: Add a New Device in the App
Back in the WiZ app, tap the plus sign or “Add Device” button, usually found on the home screen. The app will begin scanning for nearby bulbs in pairing mode. When your pulsing bulb appears in the list, tap it to select it and start the connection.
If the app asks you to confirm the light is blinking, watch your bulb and answer honestly so it pairs with the correct device. Should nothing show up after a minute, move closer to the bulb and tap “scan again.” Patience here pays off, and most bulbs appear within a few short seconds.
Step 5: Enter Your Wifi Password
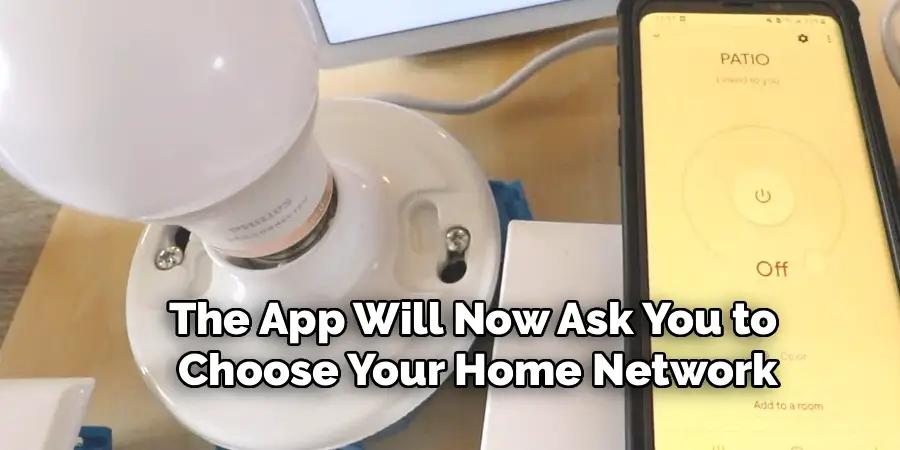
The app will now ask you to choose your home network and type in its password. Enter it carefully, watching for capital letters and special characters, since one wrong key is the most common reason a connection fails. Tap the eye icon if available to reveal the password and confirm it’s correct before submitting.
Once you tap connect, the bulb communicates with your router and joins the network. This usually takes ten to thirty seconds. You’ll see the app confirm success, and the bulb will stop pulsing and glow steadily, telling you it’s officially online and ready for the next step.
Step 6: Name and Organize Your Lights
After the bulb connects, the app invites you to give it a name and assign it to a room, such as “Living Room Lamp” or “Bedroom Ceiling.” Thoughtful naming makes a huge difference once you own several bulbs, because it lets you control each one precisely without confusion.
Grouping lights into rooms also unlocks handy shortcuts, letting you switch off an entire space with a single tap or voice command. Take a minute to organize things logically now. This small bit of housekeeping keeps your setup tidy and saves you time every time you reach for your phone to adjust the mood.
Step 7: Test, Automate, and Link Voice Assistants
With your bulb online, test it by tapping the controls to change colors, dim the brightness, and toggle it on and off. Everything should respond almost instantly. Next, explore schedules and routines so your lights turn on at sunset or wake you gently each morning.
To go further, link the WiZ app to Alexa or Google Assistant through their respective apps, enabling hands-free voice commands. Follow the on-screen prompts to grant access, then try saying a simple command to confirm it works. Once these connections are in place, your smart lighting is fully set up and ready to enjoy.
Frequently Asked Questions
Why Won’t My WiZ Bulb Enter Pairing Mode?
If your bulb isn’t pulsing, it likely needs a manual reset. Quickly flip the light switch off and on three to five times in a row, pausing about a second between each flip. The bulb should then begin breathing or pulsing, signaling it’s ready to pair. Make sure you’re flipping the wall switch and not a smart plug, and that the fixture has steady, uninterrupted power throughout the process.
Can I Use WiZ Bulbs on a 5GHz Network?
No, WiZ bulbs are designed to run only on the 2.4GHz wifi band, which offers better range for smart home devices. If your router combines both bands under one network name, your phone might connect to 5GHz, causing setup to fail. Separate the bands in your router settings or join the 2.4GHz network directly before pairing. This simple check solves most connection problems beginners face.
How Many WiZ Lights Can I Connect at Once?
WiZ doesn’t enforce a strict bulb limit, so you can add quite a few across your home. In practice, your wifi router’s capacity matters most, since every smart device uses a slice of bandwidth. Most home routers comfortably handle dozens of bulbs alongside phones and laptops. If performance slows, consider upgrading your router or adding a mesh system to keep everything responding quickly and reliably.
What Happens to My Lights if the Wifi Goes Down?
When your network drops, you temporarily lose app and voice control over your bulbs. However, the lights still work as regular bulbs through your wall switch, so you’re never left in the dark. Any schedules stored on the bulb may still run, depending on the model. Once your wifi returns, the bulbs reconnect automatically, and full smart control resumes without you needing to repeat the setup.
Do I Need a Hub to Use WiZ Bulbs?
No hub is required, which is one of the biggest perks of choosing WiZ. The bulbs connect directly to your home wifi, so you only need your router and the free app to get started. This keeps costs down and setup simple compared to systems that demand a separate bridge. Just screw in the bulb, open the app, and follow the pairing steps.
Conclusion
Getting your smart bulbs online is the gateway to a more convenient, flexible, and fun home lighting experience. Once you understand how to connect wiz lights to wifi, the rest falls into place naturally, from setting cozy scenes to scheduling routines and adding voice control. The whole process really comes down to a handful of friendly steps: download the app, power up your bulb, join the correct 2.4GHz network, enter your password, and organize everything neatly.
Don’t be afraid to experiment once your lights are connected. Try building a sunrise alarm, a movie-night dimming scene, or an away-from-home routine that keeps your house looking lived in. Each small automation makes daily life a little smoother and your space a little smarter. So grab your phone, follow the steps above, and bring your WiZ lighting to life. With everything set up, you’re ready to enjoy lighting that bends to your schedule, your mood, and your imagination.

Rick is a handyman who grew up helping his dad with his business. He learned a lot from him about how to fix things, and also about how to work hard and take care of business. These days, Rick is still into fixing things- only now, he’s doing it for a living.
Rick is always looking for new ways to help people grow and develop. That’s why he started contributing to this blog: to share all his experience and knowledge so that he can help people who are interested in DIY repair.