
Few things kill a gaming session faster than picking up your controller and seeing it blink red instead of springing to life. That dreaded red light can mean a dead battery, a charging glitch, or something deeper inside the hardware. The good news? You don’t need to be a tech wizard to sort it out.
Knowing how to fix red light on PS4 controller issues can save you a costly replacement and get you back to your games in minutes. Most of the time, the problem comes down to a few simple causes that anyone can troubleshoot at home with no special tools. In this guide, we’ll walk through what that red glow actually means, why it matters, and the exact steps to clear it up. Whether your controller flashes red, glows steady red, or won’t charge at all, you’ll find a friendly, step-by-step fix here. Let’s bring your controller back to life and get you back in the game.
Why Fixing the Red Light on Your PS4 Controller Matters
A red light on your DualShock 4 isn’t just annoying, it’s your controller’s way of telling you something is wrong. Ignoring it can lead to a fully dead controller, lost battery life, or even a permanent connection failure with your console. Sorting it out quickly protects your investment, since a brand-new controller can cost a fair chunk of change.
There’s also the simple matter of enjoyment. Gaming is meant to be smooth and fun, not interrupted by a controller that keeps cutting out mid-match. Fixing the issue early keeps your gear reliable and your sessions uninterrupted. Many red light problems are minor and totally reversible, so addressing them now means you avoid bigger headaches later. A little troubleshooting today saves you money, frustration, and downtime tomorrow.
Step-by-Step Guide to How to Fix Red Light on PS4 Controller
Step 1: Restart Your Controller With the Reset Button
Before diving into anything complicated, start with a simple reset. Flip your controller over and look for a tiny hole near the L2 shoulder button. Inside sits a small reset button you can reach with a paperclip or pin. Press and hold it for about five seconds, then release. This clears minor software glitches that often trigger the red light. Once you’ve reset it, plug the controller into your PS4 with a USB cable and press the PS button to reconnect. Many users find this single trick solves the problem instantly, so it’s always worth trying first before moving on to other solutions.

Step 2: Check Your Charging Cable and Port
A faulty cable is one of the most common reasons your controller refuses to charge and flashes red. Inspect your USB cable closely for fraying, bent connectors, or visible damage. Try a different cable if you have one handy, ideally a quality data cable rather than a cheap charge-only version. Next, examine the controller’s charging port for dust, lint, or debris that might block a solid connection. Gently clean it out with a dry toothpick or a quick puff of compressed air. Then plug the controller directly into the console rather than a third-party hub, since those can deliver weak or unstable power.
Step 3: Charge the Controller Fully
Sometimes the red light simply means the battery has drained completely and needs a proper charge. Connect your controller to the PS4 using a reliable USB cable while the console is turned on or in rest mode. Leave it plugged in for at least an hour, even if the light behaves strangely at first. A deeply drained battery can take a while before it shows any sign of charging. Learning how to fix red light on PS4 controller troubles often starts with simply giving the battery enough time to recover. If the light turns to a slow pulsing orange or amber, that’s a great sign your controller is charging normally again.

Step 4: Connect to a Different USB Source
If your controller still won’t cooperate, the problem might lie with the power source rather than the controller itself. Try plugging it into a different USB port on your PS4, since one port can fail while others work fine. You can also test the controller using a phone wall charger or a computer’s USB port to rule out a console issue. Watch how the light responds with each source. If it charges from a wall adapter but not the console, your PS4’s USB ports may need attention. This quick swap helps you pinpoint exactly where the fault sits, saving you from replacing parts that work perfectly well.
Step 5: Power Cycle Your PS4 Console
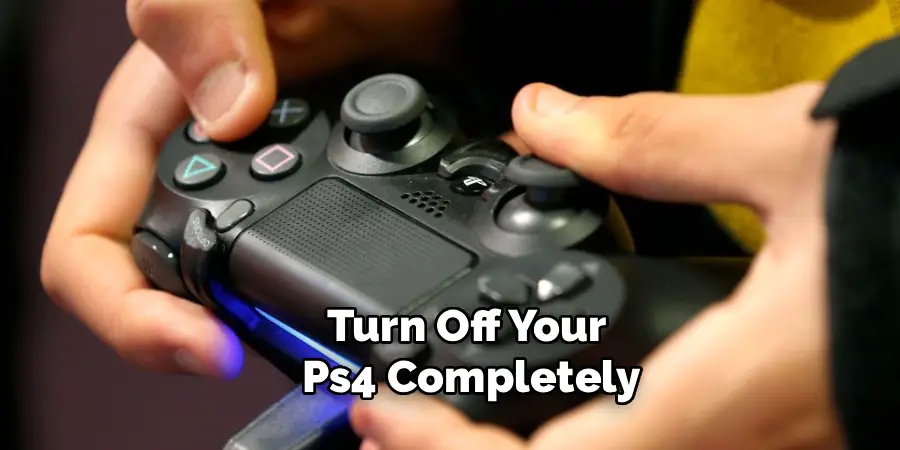
Your console can be the culprit just as easily as your controller. Turn off your PS4 completely, not just into rest mode, and unplug the power cord from the wall. Wait a full two minutes to let any stored power drain away and clear temporary glitches. Plug everything back in, power on the console, then reconnect your controller with a USB cable. This power cycle refreshes the system’s connection settings and often resolves stubborn pairing problems behind that red light. It’s a gentle, risk-free step that costs you nothing but a couple of minutes, and it frequently works when smaller fixes have failed to do the trick.
Step 6: Update or Reinstall System Software
Outdated console software can interfere with how your controller communicates, sometimes showing up as a red light or failed connection. Connect your controller by cable and check for system updates under Settings, then System Software Update. Install anything available and restart your console afterward. If problems persist, booting your PS4 into Safe Mode lets you rebuild the database, which clears corrupted data without deleting your games. Knowing how to fix red light on PS4 controller issues sometimes means looking past the controller to the system running it. A clean, updated console talks to your controller far more reliably and eliminates software conflicts that cause connection trouble.
Step 7: Replace the Battery or Seek Repair
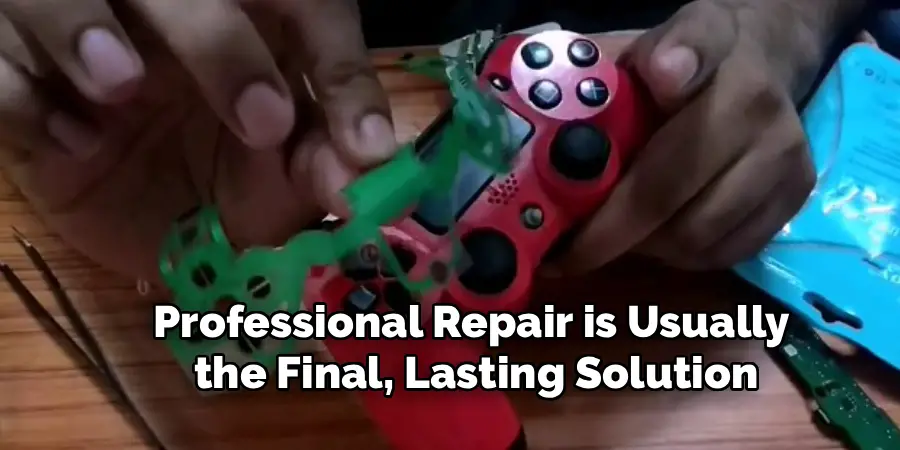
If you’ve tried everything and the red light won’t budge, the internal battery may be worn out. Rechargeable batteries lose capacity over years of use, eventually failing to hold a charge. Replacement battery kits are affordable and come with the tools needed to swap them, though opening the controller takes patience and care. If you’re not comfortable with a screwdriver, a local repair shop can handle it quickly. For controllers still under warranty, contact Sony directly rather than opening the case yourself. At this stage, you’ve ruled out every simple cause, so a fresh battery or professional repair is usually the final, lasting solution.
Frequently Asked Questions
What Does a Red Light on a PS4 Controller Mean?
A red light usually signals a charging or connection problem with your DualShock 4. It often means the battery is critically low, the charging cable is faulty, or the controller has lost its link to the console. In some cases, it points to a software glitch or an aging battery. The light is essentially a warning, prompting you to troubleshoot before the controller stops working entirely.
Why Won’t My PS4 Controller Charge Past the Red Light?
If your controller stays stuck on red and never charges, the issue is often a damaged cable or a clogged charging port. Try a different quality data cable and clean the port with compressed air. A deeply drained battery may also need a long, uninterrupted charge before showing progress. If none of that helps, the internal battery has likely worn out and needs replacing.
Can a Software Glitch Cause the Red Light Problem?
Yes, software glitches are a surprisingly common cause. Outdated console firmware or corrupted system data can disrupt how your controller pairs and charges, sometimes triggering a red light. Updating your PS4 software and rebuilding the database through Safe Mode often clears these hidden issues. A simple controller reset using the small button on the back can also fix minor software hiccups in seconds.
How Long Should I Charge a Drained PS4 Controller?
A fully drained controller should charge for at least two hours to reach a complete battery level. If the controller was extremely low, it may not show any light activity for the first few minutes. Be patient and leave it connected to a working USB source. Once charging properly, the light typically pulses amber, then turns off when the battery is full and ready to use.
When Should I Replace My PS4 Controller Battery?
Consider replacing the battery when your controller charges slowly, dies quickly, or constantly shows a red light despite trying every other fix. Batteries naturally degrade after a few years of regular use. Affordable replacement kits make the swap easy if you’re comfortable with small electronics. If your controller is still under warranty, contact Sony instead of opening it yourself to keep your coverage intact.
Conclusion
A red light on your controller might feel like the end of your gaming night, but it’s almost always a quick, fixable issue. From a simple reset button press to checking your cable, charging the battery fully, power cycling your console, and updating your software, most solutions take just minutes and cost nothing. When all else fails, a fresh battery or a quick repair brings your controller back to full health. Now that you understand how to fix red light on PS4 controller problems from start to finish, you can troubleshoot with confidence instead of panic.
Don’t let a blinking light keep you on the sidelines. Grab a USB cable, work through these steps one by one, and you’ll likely have your controller charging and connecting again before you know it. Your next gaming session is waiting, so go bring that controller back to life and get back to playing.

Rick is a handyman who grew up helping his dad with his business. He learned a lot from him about how to fix things, and also about how to work hard and take care of business. These days, Rick is still into fixing things- only now, he’s doing it for a living.
Rick is always looking for new ways to help people grow and develop. That’s why he started contributing to this blog: to share all his experience and knowledge so that he can help people who are interested in DIY repair.