
Want to add a warm, stylish glow to your room without drilling into the ceiling? A wall-mounted pendant light might be exactly what you need. These fixtures hang from a bracket or hook on your wall, giving you the cozy charm of a hanging light in spots where ceiling wiring isn’t an option. They work beautifully beside beds, over reading nooks, or in corners that feel a little flat.

Learning how to hang a pendant light from a wall is easier than most beginners expect. You don’t need to be an electrician or own a fancy toolbox. With a few common tools, a steady hand, and a bit of patience, you can mount a gorgeous fixture in an afternoon. This guide breaks the whole project into clear, simple steps so you feel confident from start to finish. We’ll cover planning the spot, gathering your gear, mounting securely, and getting everything wired up safely. By the end, you’ll have a beautiful light that brightens your space and shows off your style.
Why Hanging a Pendant Light From a Wall Matters
Mounting a pendant on the wall opens up design freedom that ceiling fixtures simply can’t match. You can place soft, focused light exactly where you want it, whether that’s over a bedside table, beside a cozy armchair, or along a hallway that needs more personality. It’s a smart choice for renters too, since wall brackets and plug-in options often mean less permanent work.
There’s a practical side as well. Wall-mounted pendants free up table and floor space, getting rid of bulky lamps that crowd your surfaces. They also add height and visual interest, drawing the eye and making rooms feel more finished. Done well, this small upgrade boosts both function and charm, giving your home a custom, designer feel for a fraction of the cost of hiring a professional.
Step-by-Step Guide to How to Hang a Pendant Light From a Wall
Step 1: Plan and Mark Your Spot
Start by deciding exactly where you want the light to hang. Hold the fixture against the wall, or use a piece of tape to mark the rough position, then step back and check how it looks from different angles. Think about the height, since a pendant beside a bed should sit lower than one in a hallway. Once you’re happy, grab a pencil and mark the spot where the bracket or hook will go. A level helps you keep everything straight. Taking a few extra minutes here saves you from crooked results and unwanted extra holes later on.

Step 2: Gather the Right Tools and Materials
Before you start drilling, get everything within reach so you aren’t running around mid-project. You’ll want a drill, the correct drill bits, wall anchors, screws, a screwdriver, a level, and a pencil. If your fixture is hardwired, add a voltage tester and wire connectors to the list. Most pendant lights come with a mounting kit, so check the box and read the instructions to see what’s included. Having the right gear ready makes the entire process smoother and far less frustrating. It also keeps you safe, since the proper anchors prevent a heavy fixture from pulling loose down the road.
Step 3: Turn Off the Power
If your pendant connects to existing wiring, safety has to come first. Head to your breaker box and switch off the power to the area where you’re working. Don’t just trust the light switch, because wires can still carry current even when a switch is off. Use a voltage tester on the wires to confirm there’s no electricity flowing before you touch anything. This single step protects you from a dangerous shock and gives you peace of mind. If your light is a simple plug-in style, you can skip the wiring worry, but it’s still smart to keep the cord unplugged while you mount the fixture.

Step 4: Install the Wall Anchor and Bracket
Now you’re ready to learn how to hang a pendant light from a wall securely, starting with a solid anchor. Drill a hole at your marked spot, matching the bit size to your anchor. Tap the anchor in gently until it sits flush with the wall, then position your mounting bracket over it. Drive the screws through the bracket and into the anchor until everything feels firm and won’t wobble. If you happened to hit a stud, even better, since that gives you extra holding strength. A rock-solid bracket is the foundation of the whole job, so don’t rush this part or settle for anything loose.
Step 5: Connect the Wiring
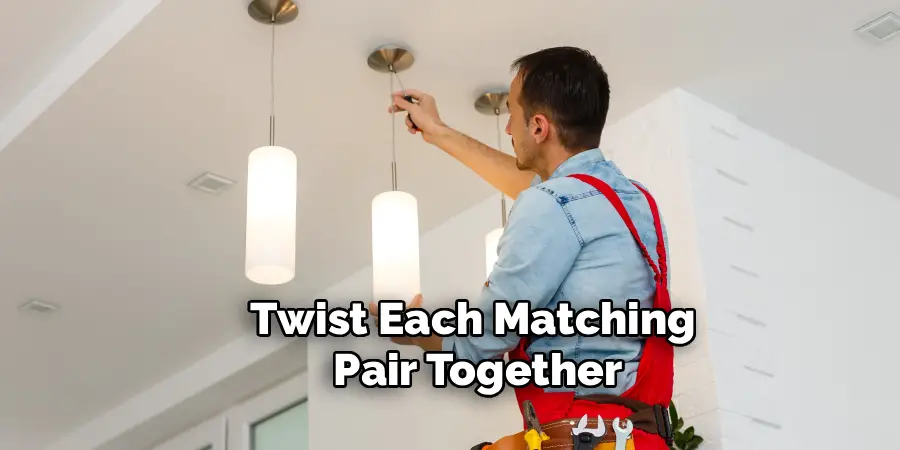
For hardwired fixtures, this is the step that worries beginners most, but it’s manageable when you go slowly. Match the wires by color: black to black, white to white, and the green or bare copper wire to the ground. Twist each matching pair together and secure them with a wire connector, giving a gentle tug to make sure nothing slips out. Tuck the connected wires neatly into the electrical box so they aren’t crowded or pinched. If your pendant plugs into an outlet instead, simply route the cord along the wall using cord clips for a clean, tidy finish that hides the slack.
Step 6: Attach and Secure the Pendant
With the bracket mounted and wiring handled, it’s time to hang the actual fixture. Lift the pendant carefully and connect it to the bracket according to your kit’s instructions, which usually means slipping it onto a hook or fastening it with a decorative cap or screws. Adjust the cord or chain length so the light hangs at the height you planned earlier. Knowing how to hang a pendant light from a wall the right way means double-checking that the fixture sits level and feels firmly attached. Give it a light, gentle nudge to confirm it’s stable before you move on to the final step.
Step 7: Test and Adjust
The exciting moment has arrived. Head back to your breaker box and switch the power on, or plug in your fixture if it’s a corded style. Flip the switch and watch your new pendant glow to life. Check that the bulb lights up properly and that the fixture stays steady without any flickering. Step back and look at the height and angle one more time, making small adjustments to the cord or chain until it feels just right. If anything seems off, turn the power back off before tweaking. Once you’re satisfied, sit back and enjoy the cozy ambiance you created.

Frequently Asked Questions
Can I Hang a Pendant Light Without an Electrician?
Yes, many people do this themselves successfully. Plug-in pendant lights are especially beginner-friendly, since they simply connect to a wall outlet with no wiring required. Hardwired fixtures take more care, but they’re still doable if you turn off the power, use a voltage tester, and follow the instructions closely. If you ever feel unsure about the electrical side, calling a professional is a wise and safe choice.
What Type of Wall Anchor Should I Use?
The right anchor depends on your wall and the weight of your fixture. For lightweight pendants on drywall, plastic expansion anchors usually work fine. Heavier fixtures need stronger support, like toggle bolts or molly bolts, which spread the load and grip securely. If you can mount directly into a wooden stud, that offers the best hold of all. Always check your fixture’s weight and match your anchor accordingly to prevent it from pulling loose.
How High Should a Wall Pendant Hang?
Height depends on where you’re placing the light and its purpose. Beside a bed, a pendant often sits around bedside-table height, roughly 24 to 30 inches above the surface, making it easy to read by. In hallways or living areas, you’ll want it higher so people don’t bump their heads. The best approach is to hold the fixture in place, step back, and adjust until the position looks balanced and feels comfortable for the space.
Do I Need to Find a Stud to Mount a Pendant?
Not always, but it helps. Mounting into a stud gives you the strongest, most reliable hold, which matters for heavier fixtures. If no stud lines up with your chosen spot, quality wall anchors rated for your fixture’s weight will do the job well. Use a stud finder to check first, then decide. For light pendants, drywall anchors are usually plenty, but never skip proper support for anything heavy.
Can I Convert a Plug-In Pendant to Hardwired?
You can, though it requires more electrical work and confidence. Converting means removing the plug, accessing your home’s wiring, and connecting the fixture directly to an electrical box. This involves matching wires correctly and ensuring everything meets safety standards. Many homeowners prefer to hire an electrician for this task, since improper wiring poses real risks. If you’re experienced and cautious, it’s possible, but always shut off the power first.
Conclusion
Adding a wall-mounted pendant is one of the most satisfying upgrades you can tackle on your own. With a clear plan, the right tools, and a little patience, you’ve seen that the whole project breaks down into manageable steps. From marking your spot and securing a sturdy bracket to connecting the wiring and testing your fixture, each stage builds toward a result you’ll be proud of. Safety stays the priority throughout, so always cut the power before touching any wires.
Now that you understand how to hang a pendant light from a wall, there’s nothing stopping you from transforming a dull corner into a warm, inviting focal point. Gather your gear, take your time, and trust the process. Whether you choose a simple plug-in style or a hardwired fixture, your new light will add charm, function, and a personal touch to your space. Go ahead and give your room the glow it deserves.

Rick is a handyman who grew up helping his dad with his business. He learned a lot from him about how to fix things, and also about how to work hard and take care of business. These days, Rick is still into fixing things- only now, he’s doing it for a living.
Rick is always looking for new ways to help people grow and develop. That’s why he started contributing to this blog: to share all his experience and knowledge so that he can help people who are interested in DIY repair.