
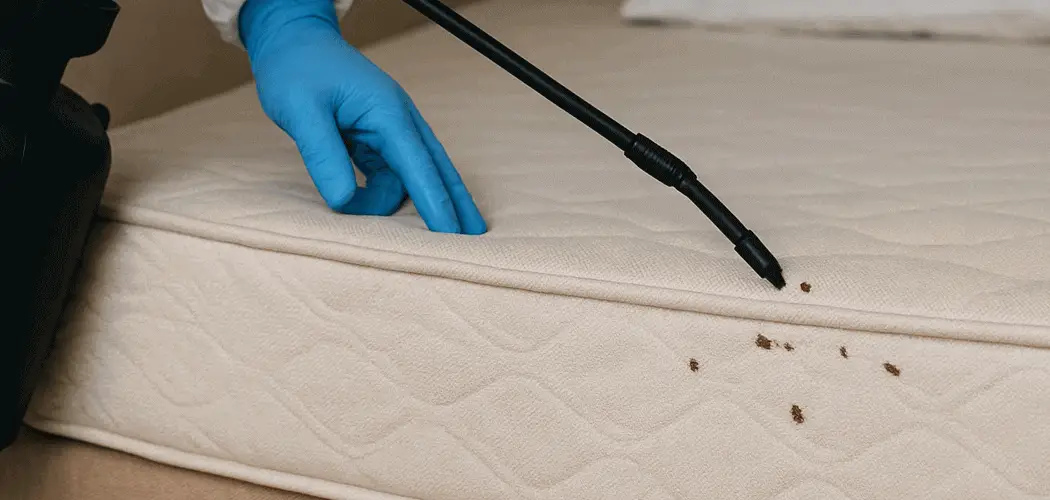
Finding a beautiful couch or dresser at a yard sale feels like a win, until you spot tiny bugs hiding in the seams. Used furniture can carry bed bugs, and those little hitchhikers spread fast once they reach your home. That’s why knowing how to treat used furniture for bed bugs before it crosses your doorstep is so important. The good news? You don’t need to be an exterminator to handle this. With a careful eye and a few simple methods, you can clear out any unwanted guests and enjoy your bargain find with peace of mind.
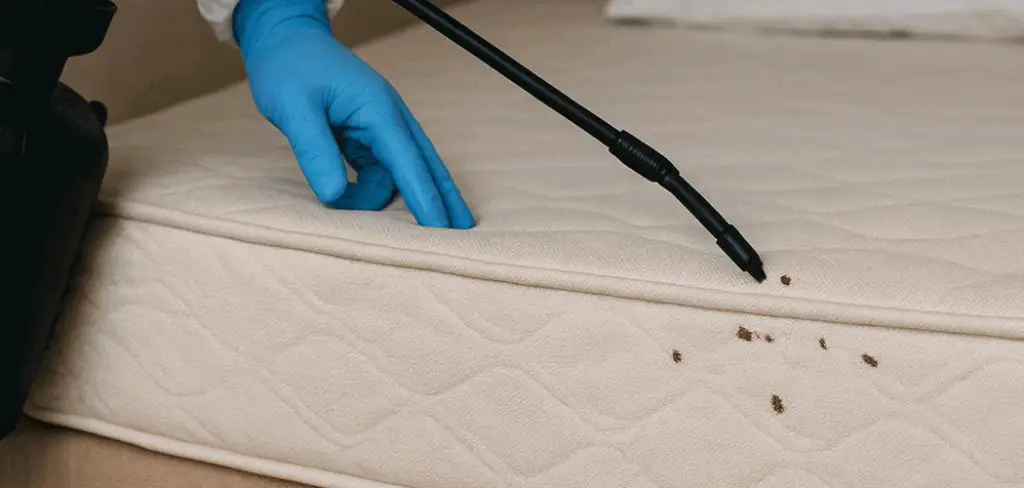
Bed bugs are sneaky, flat, and reddish-brown, often no bigger than an apple seed. They tuck into cracks, fabric folds, and joints where you’d never think to look. Left untreated, a single piece of furniture can trigger a full-blown infestation that’s costly and stressful to fix. This guide walks you through every step, from inspection to final cleanup, in plain language anyone can follow.
Why Treating Used Furniture for Bed Bugs Matters
Treating secondhand pieces protects your home, your wallet, and your sleep. A bed bug infestation can spread from one chair to your mattress, walls, and clothing within weeks, and professional extermination often costs hundreds or even thousands of dollars. Catching the problem early saves you from that headache entirely.
Beyond the money, there’s your comfort and health to think about. Bed bug bites cause itchy welts, allergic reactions, and plenty of sleepless nights worrying about what’s crawling nearby. Treating used furniture also stops you from accidentally sharing the pests with friends, family, or neighbors. When you take a little time upfront, you turn a risky purchase into a safe, smart addition to your space. That small effort delivers big peace of mind and keeps your whole household protected for the long run.
Step-by-Step Guide to How to Treat Used Furniture for Bed Bugs
Step 1: Inspect the Furniture Outdoors First
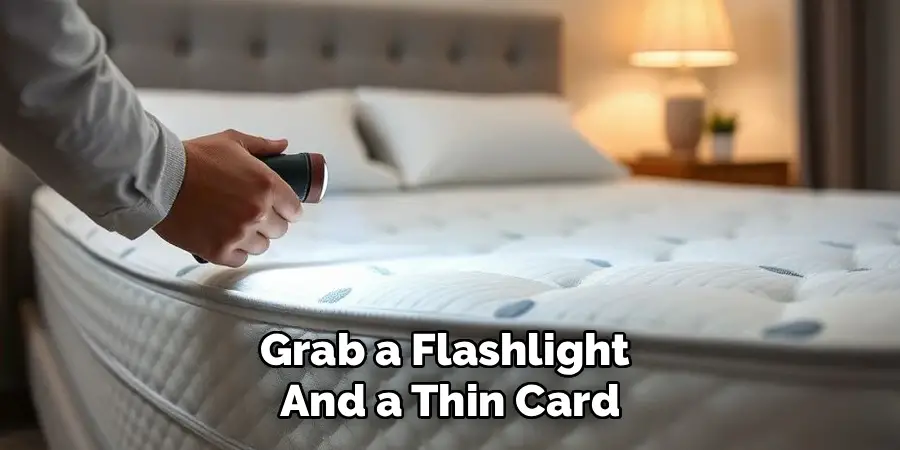
Before you bring anything inside, set the piece down in your driveway, garage, or yard. This keeps any hidden bugs from escaping into your home while you work. Grab a flashlight and a thin card, then start examining every surface closely. Look for live bugs, tiny white eggs, dark fecal spots, or shed skins. Pay special attention to seams, tufts, zippers, and the underside of the frame.
Run the card along cracks and joints to flush out anything hiding deep inside. Take your time here, since a thorough inspection tells you exactly what you’re dealing with. If you spot signs of activity, don’t panic, because the next steps will handle them.
Step 2: Vacuum Every Crack and Crevice
Once you’ve inspected the piece, reach for a vacuum with a strong hose attachment. Slowly run the nozzle over every seam, fold, button, and joint where bed bugs love to hide. Press firmly into tight spaces and crevices, since eggs cling stubbornly to fabric and wood. Move methodically across the entire surface so you don’t miss a single spot.
When you finish, immediately remove the vacuum bag or empty the canister into a sealed plastic bag. Tie it tightly and place it in an outdoor trash bin right away. This stops any captured bugs from crawling back out. Vacuuming won’t solve everything alone, but it dramatically reduces the population before you move on.
Step 3: Apply Heat to Treat Used Furniture for Bed Bugs
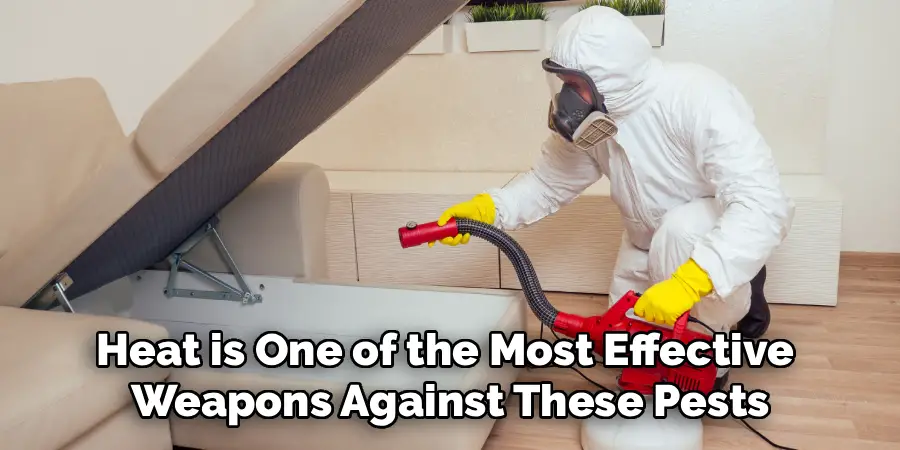
Heat is one of the most effective weapons against these pests, since bed bugs and their eggs die at temperatures above 120°F. For smaller items, a portable garment steamer works wonders. Slowly pass the steam nozzle over fabric surfaces, seams, and crevices, holding it close enough for the heat to penetrate deep. Move steadily so the heat soaks into every layer.
For cushions, pillows, or removable fabric pieces, toss them in a clothes dryer on the highest setting for at least 30 minutes. This kills bugs at every life stage. When learning how to treat used furniture for bed bugs, heat treatment often becomes your strongest and safest first line of defense.
Step 4: Use a Targeted Bed Bug Spray
After steaming, apply a spray made specifically for bed bugs to reach anything heat missed. Choose an EPA-registered product and read the label carefully before you start. Spray directly into seams, joints, cracks, and the underside of the frame, focusing on spots where bugs gather. Avoid soaking fabric you’ll sit or sleep on unless the label clearly says it’s safe.
Work in a well-ventilated area and wear gloves to protect your skin. Many sprays leave a residual layer that keeps killing bugs for days or even weeks. Let the piece dry fully before touching it again. Combining spray with heat gives you a powerful one-two punch against any survivors.
Step 5: Scrub and Clean Hard Surfaces
Wooden, metal, or plastic parts need attention too, since eggs and bugs cling to smooth surfaces and tiny gaps. Mix warm water with a little dish soap, then scrub every hard surface with a stiff brush. Work the bristles into grooves, carved details, and screw holes where pests hide. The scrubbing action dislodges eggs that sprays and steam might not reach.
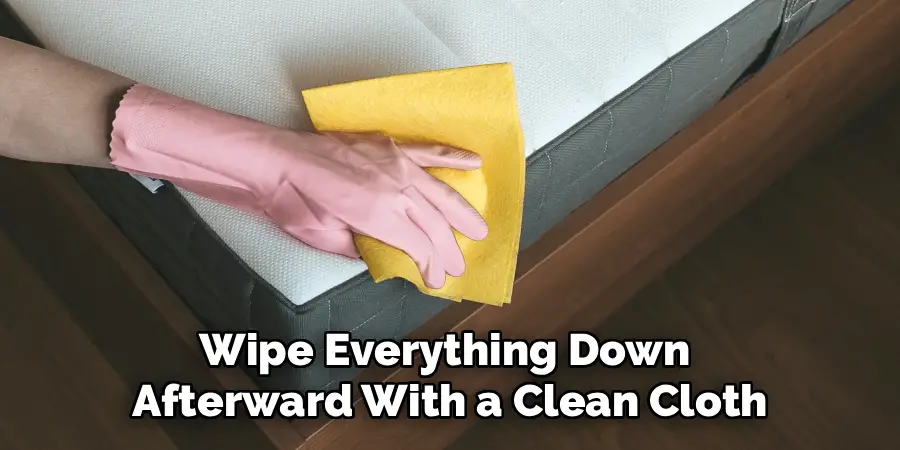
Wipe everything down afterward with a clean cloth, then let it dry completely. For extra protection, you can follow up with rubbing alcohol on a rag, which kills bugs on contact and evaporates quickly. This deep clean leaves your furniture fresh and far less hospitable to any lingering invaders.
Step 6: Seal and Isolate the Piece
After treating the furniture, you’ll want to confirm the bugs are truly gone before trusting it indoors. Wrap the piece tightly in a large plastic cover or heavy-duty bags, sealing every edge with tape. This traps any survivors and starves them, since bed bugs can’t feed through the barrier. Leave the wrapping in place for several days to a couple of weeks.
Set the sealed item somewhere away from your living spaces, like a garage or shed. Check it periodically for new signs of activity. If you spot fresh bugs or spots, repeat your heat and spray treatments. This isolation period acts as your safety net, giving you confidence before the final step.
Step 7: Re-Inspect Before Bringing It Inside
Your last move is a careful second inspection before the furniture enters your home for good. Unwrap the piece outdoors and grab your flashlight again. Examine all the same hiding spots you checked at the start, looking for any live bugs, eggs, or fresh droppings. If everything looks clean and you’ve seen no activity during isolation, you’re in great shape.
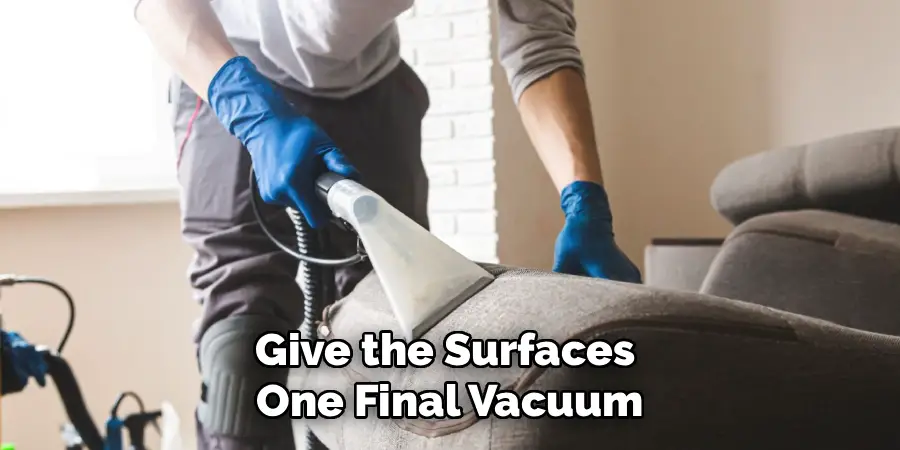
Give the surfaces one final vacuum and wipe-down for good measure. Once you’re confident it’s pest-free, carry it inside and place it where you like. Keep an eye on it over the coming weeks, just to be safe. A clean re-inspection means your hard work paid off and your home stays protected.
Frequently Asked Questions
Can Bed Bugs Live in Wooden Furniture?
Yes, bed bugs absolutely hide in wooden furniture. While they prefer soft, fabric-covered spots, they happily tuck into cracks, joints, screw holes, and carved details in wood. These gaps offer dark, tight shelter close to where people sit or sleep. That’s why scrubbing hard surfaces and treating crevices matters just as much as cleaning cushions. Always inspect wooden pieces carefully before bringing them home.
Does Freezing Kill Bed Bugs on Furniture?
Freezing can kill bed bugs, but it requires consistent cold below 0°F for at least four days. Small items fit in a chest freezer, though large furniture rarely does. The temperature must stay steady throughout, since brief cold snaps won’t finish the job. For most people, heat treatment proves faster and more practical. Still, freezing offers a chemical-free option for smaller objects when you have the space and time.
How Long Does It Take to Get Rid of Bed Bugs?
The timeline depends on the infestation size and your methods. A single treated piece might be clear within a few days using heat and spray, while a heavier infestation can take several weeks. The isolation period adds extra time but confirms success. Repeating treatments and inspecting regularly speeds things along. Patience and thoroughness matter most, since rushing often leaves a few survivors that restart the problem.
Is It Safe to Buy Used Furniture at All?
Buying secondhand is perfectly safe when you stay cautious. Inspect every piece closely before purchasing, and avoid items showing live bugs, dark spots, or shed skins. Treat anything you bring home outdoors before it enters your living space. Plenty of people score great deals on used furniture without any issues. The key is simply taking the time to check and clean carefully rather than trusting luck.
Do I Need a Professional Exterminator?
For a single piece of furniture, you can usually handle treatment yourself with heat, sprays, and careful cleaning. However, if bugs have already spread into your mattress, walls, or multiple rooms, calling a professional makes sense. Experts use specialized heat equipment and treatments that reach every corner. When the problem feels too big to manage alone, professional help saves time, stress, and often money in the long run.
Conclusion
Bringing home secondhand furniture doesn’t have to mean inviting pests into your space. By inspecting carefully, vacuuming thoroughly, applying heat and targeted sprays, scrubbing hard surfaces, and isolating each piece before a final check, you can clear out bed bugs and enjoy your find worry-free. Each step builds on the last, so working through them in order gives you the best results and the strongest protection for your home.
Now that you understand how to treat used furniture for bed bugs, you have the confidence to shop smart and act fast. Don’t let the fear of tiny insects stop you from scoring great deals. Grab your flashlight, set aside an afternoon, and tackle that next bargain piece with care. Your effort today keeps your home clean, your sleep peaceful, and your wallet happy for years to come.

Rick is a handyman who grew up helping his dad with his business. He learned a lot from him about how to fix things, and also about how to work hard and take care of business. These days, Rick is still into fixing things- only now, he’s doing it for a living.
Rick is always looking for new ways to help people grow and develop. That’s why he started contributing to this blog: to share all his experience and knowledge so that he can help people who are interested in DIY repair.