
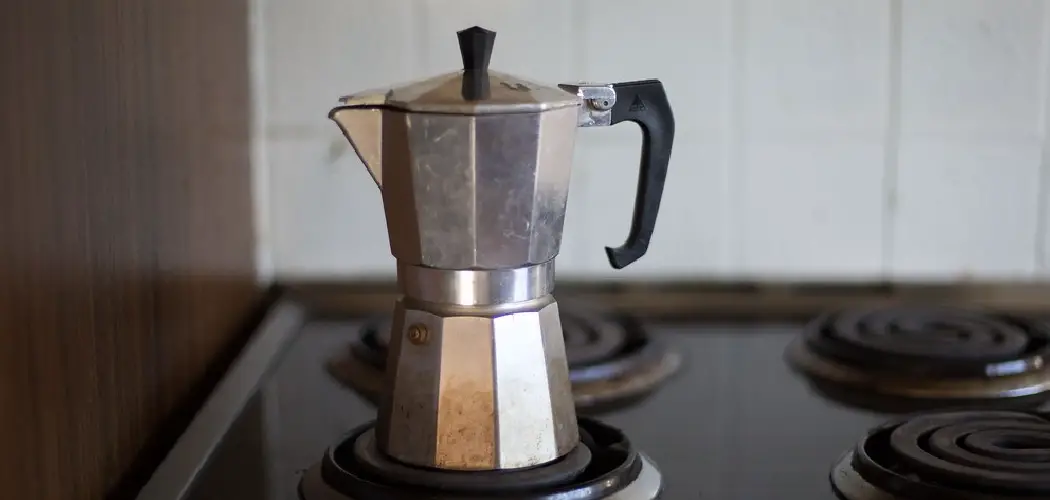
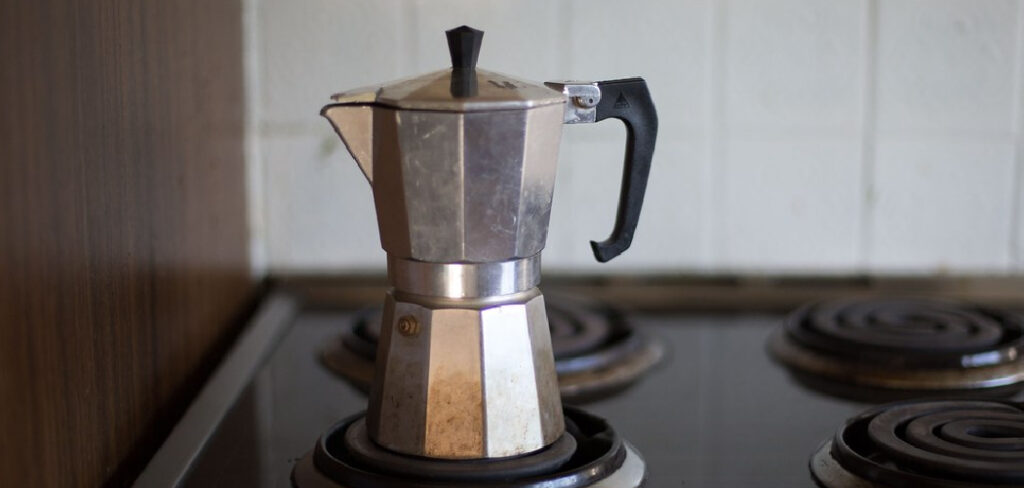
Deep cleaning a Moka pot is important to ensure that the coffee brewed in it tastes as good as possible. It also helps to prevent any buildup of residue or moisture from affecting the taste and quality of your coffee. This can be especially true with older Moka pots, which may have more build-up than newer ones.
Deep cleaning your Moka pot will not only help to keep it clean but also make sure that you get the finest cup of coffee each time. The advantages of deep cleaning a Moka pot are numerous. First and foremost, ensuring that your coffee maker is in the best condition possible for making the perfect cup of espresso is important.
Deep cleaning a Moka pot can help remove any built-up residue from past espresso shots and any oils or other debris that may have been left behind from the brewing process. This helps ensure a fresh cup each time and an even extraction of coffee grounds for a consistent espresso shot. You can find step-by-step instructions on how to deep clean moka pot in this blog article.
How Often Should You Deep Clean Your Moka Pot?
Regular cleaning of your Moka pot is important to maintain its hygiene and ensure maximum flavor from each cup of coffee. How often you should deep clean your Moka pot depends on how frequently you use it, but at a minimum, you should aim to do a deep clean once every month or two.
The best way to deep clean a Moka pot is to disassemble it into its individual components and soak them overnight in warm, soapy water. After soaking, the parts can be scrubbed with a soft brush and rinsed thoroughly with hot water before drying them off and reassembling the pot. If your Moka pot has been neglected for an extended period of time, it’s a good idea to use a descaling solution or a mild acid like vinegar to help remove stubborn deposits.
Step-by-Step Processes for How to Deep Clean Moka Pot
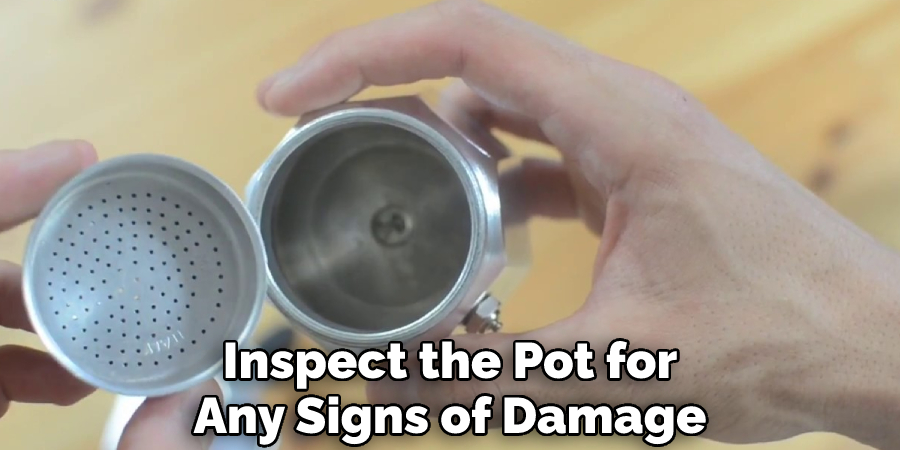
Step 1: Inspect the Moka Pot
Before deep cleaning your Moka Pot, it is important to inspect the pot for any signs of damage. Check for cracks, scratches, or discoloration on the surface. If you find any deep scratches and corrosion, it is best to replace the Moka Pot before attempting to clean it.
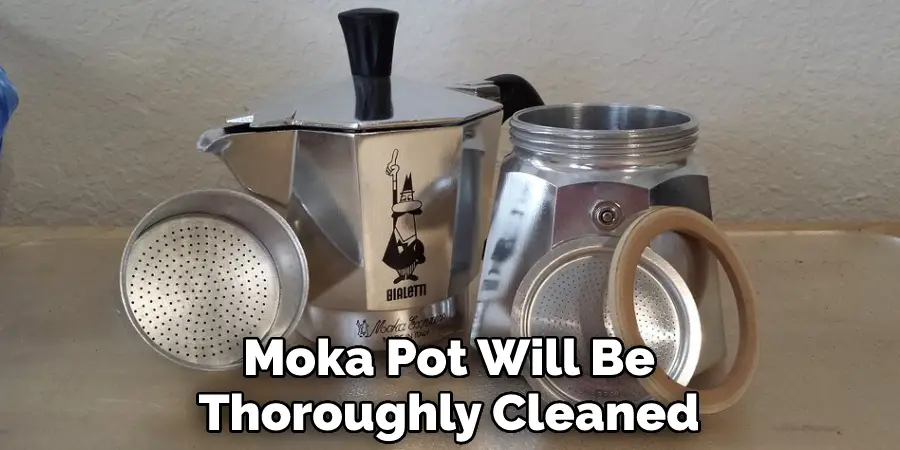
Step 2: Disassemble Your Moka Pot
Once you have inspected the Moka Pot and found no signs of damage, it is time to disassemble the pot. This includes removing all parts, such as the filter basket, funnel, and gasket. Take extra care when doing so, as these components are delicate. Before cleaning your Moka Pot deep, getting rid of any coffee grounds is important. This can be done by shaking the components and using a spoon or brush to remove the remaining grounds from the pot.
Step 3: Wash All Components with Soap and Water
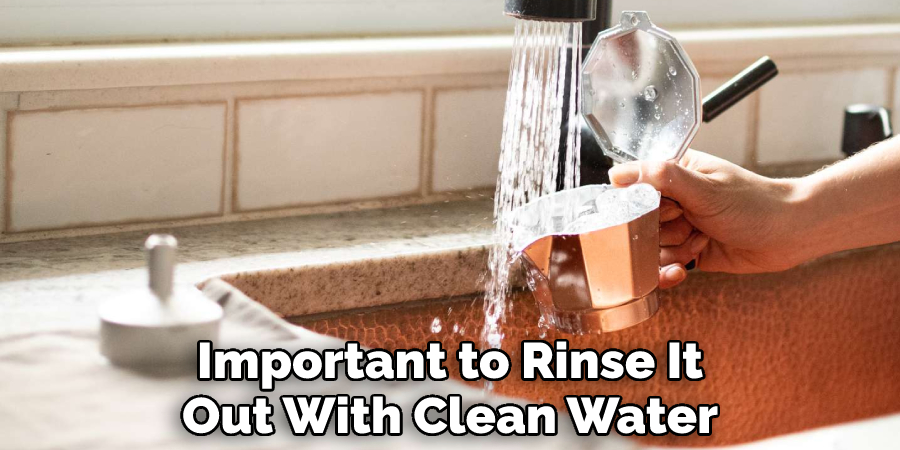
Once all of the grounds have been removed, it is time to start the deep cleaning process. Start by washing all of the components in warm, soapy water. Use a soft brush or sponge to get into any hard-to-reach areas and remove any built-up residue. After washing the components, be sure to rinse them thoroughly with clean water. This will help ensure that all of the soap has been removed and that no residue is left behind.
Step 4: Dry All Components with a Clean Towel
After rinsing the components, use a clean towel to dry them off. Be sure to pay extra attention to areas such as the filter basket, as this is where the most residue can accumulate. Once all of the components have been washed and dried, it is time to clean the inside of the Moka Pot deep. To do this, use an old toothbrush or similar brush to scrub away any residue on the interior walls of the pot.
Step 5: Rinse Inside of the Moka Pot with Water
After scrubbing the inside of your Moka Pot, it is important to rinse it out with clean water. This will help ensure that any residue has been removed and that the pot is ready for use. After rinsing the pot, use a clean towel to dry it. Be sure to pay extra attention to areas such as the filter basket and gasket, as these are where most of the residue can accumulate.
Step 6: Reassemble the Moka Pot
The final step in deep cleaning your Moka Pot is to reassemble all of the components. Make sure that everything is placed back together correctly so that the pot works properly when you go to make your next cup of coffee. Once you have completed these ten steps, your Moka Pot should be clean, ready to use, and safe for drinking.
7 Safety Tips for How to Deep Clean Moka Pot
- Make sure to unplug your Moka pot before starting the deep cleaning process.
- Wear protective gloves and safety goggles when handling chemical cleaners or caustic substances.
- Don’t use hard tools such as knives, scrapers, wire brushes, or scouring pads on your Moka pot, as they can damage its surface.
- Be careful when cleaning the inner parts of the Moka pot to avoid getting burned.
- Always use a non-abrasive cloth or sponge and mild detergents when scrubbing your Moka pot, and rinse with clean water after finishing to prevent any residue from staying behind.
- Do not use harsh chemicals such as bleach or abrasive cleaners when cleaning your Moka pot, as they can damage it.
- Make sure to dry the Moka pot with a soft cloth after it is cleaned to prevent any water spots from forming.
Following these seven safety tips will help you deep clean your Moka pot without causing any damage.
How Can You Prevent Rust on Your Moka Pot?
- After each use, ensure you rinse the Moka Pot with water and let it dry completely before storing.
- Clean the pot regularly with a soft cloth or sponge and mild detergent.
- Do not leave the Moka Pot in standing water for extended periods of time, as this can cause rusting.
- Avoid putting the pot on wet surfaces, such as a kitchen countertop or sink.
- Make sure that the Moka Pot is completely dry before storing it away.

- If your Moka Pot has begun to rust, you can use Bar Keeper’s Friend or another metal-safe cleaner and a soft cloth or sponge to remove the rust.
- After cleaning, make sure that you dry the Moka Pot completely to avoid further rusting.
- You can also apply a food-safe mineral oil to the surface of your pot after it is completely clean and dry to help protect it against rusting.
- If rust does appear, cleaning and drying the pot before using it again is important. This will keep your Moka Pot in top condition.
How Should You Store Your Moka Pot After Deep Cleaning?
Once you have finished deep cleaning your Moka pot, it’s important to store it properly so that it remains in good condition. Before putting away the pot, make sure to dry each component thoroughly with a clean cloth or paper towel. Once everything is dry, be sure to reassemble the Moka pot and store it in a cool, dry place. It’s also a good idea to avoid storing the Moka pot where it is exposed to extreme temperatures, such as near an oven or in direct sunlight.
You should also keep your Moka pot away from any other cooking utensils that may have residual food particles on them, as these can contaminate the Moka pot and cause it to develop odors and tastes. Finally, store the Moka pot in an airtight container or bag to help prevent any dust or dirt from getting inside. If you follow these simple tips, your Moka pot should remain in good condition for years to come.
How Do You Ensure All Your Moka Pot Components Are Free of Bacteria and Germs After Cleaning?
Once you have cleaned your Moka pot, it is important to ensure that all the components of your Moka pot are free of bacteria and germs. To do this, you can disinfect the components before reassembling them. You can use a solution of one part white vinegar and two parts water to disinfect the exterior surfaces. Simply use a cloth dampened with this solution and wipe down all of the exterior surfaces.
For deeper cleaning, you can use a small brush to scrub away any residue that may have been missed during the initial cleaning process. Scrubbing helps to remove stubborn buildup and reduces the chance of bacteria or mold collecting on the surfaces. After scrubbing, you can use a soft cloth dampened with vinegar to wipe away any residue. To ensure that all the components have been adequately disinfected, let them dry naturally or use a paper towel to wipe away any excess moisture. By following these steps, your Moka pot will be thoroughly cleaned and disinfected, helping to maintain its longevity.
Conclusion
In conclusion, deep cleaning a Moka pot is an easy and straightforward process that can help ensure the longevity of your vessel. To get started, you’ll need to disassemble the pot and soak all parts in warm water with soap or baking soda for at least an hour.
Then, you should use a soft brush or cloth to scrub away any built-up residue. Finally, use a clean cloth to dry the pieces and reassemble your Moka pot before returning it to its rightful place in your kitchen. I hope reading this post has helped you learn how to deep clean moka pot. Make sure the safety precautions are carried out in the order listed.
About
Angela is the chief editor of Indoorense. She began her career as an interior designer before applying her strategic and creative passion to lifestyle and home.
She has close to 15 years of experience in creative writing and online content strategy for housekeeping and cleaning,home decorations as well as other efforts.
She loves her job and has the privilege of working with an extraordinary team. She lives with her husband, two sons, and daughter in Petersburg. When she’s not busy working she spent time with her family.