

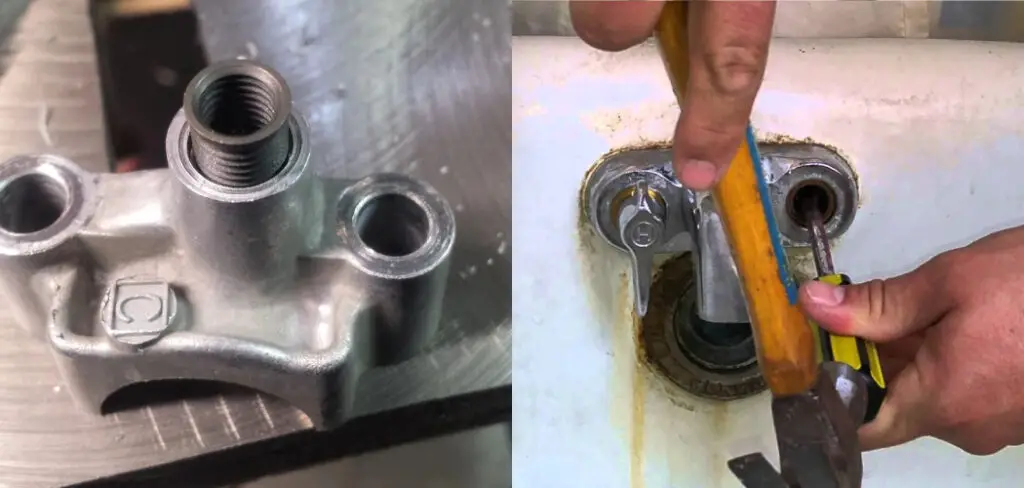
If you’ve ever tried to fix a stripped faucet, you know how frustrating it can be. Luckily, there is a way to fix the problem without calling a plumber. When your faucet starts to leak, it can be annoying and costly to fix. One of the most common causes of leaks is stripped faucet threads.
Fortunately, there are a few ways to fix this issue. This blog post will discuss how to fix stripped faucet threads using a pipe wrench, pliers, or a crescent wrench. We will also discuss how to avoid stripping faucet threads in the first place.
10 Ways on How to Fix Stripped Faucet Threads
1. Replace the Faucet Cartridge:
The number one reason faucet threads become stripped is a faulty faucet cartridge. To fix this, you will need to replace the faucet cartridge. This can be done by shutting off the water supply to the faucet, removing the handle, and then unscrewing the cartridge from the faucet body. Once the old cartridge has been removed, simply screw in the new one and reassemble the faucet.
2. Use Teflon Tape:
If you don’t want to replace the entire cartridge, then you can try using Teflon tape to fix the stripped threads. Simply wrapping the tape around the threads a few times should do the trick. When using Teflon tape, be sure to wrap it in the direction of the thread to stay in place. Ensure that your final layer of tape goes in the same direction as the thread, or you risk it coming undone and causing a leak.
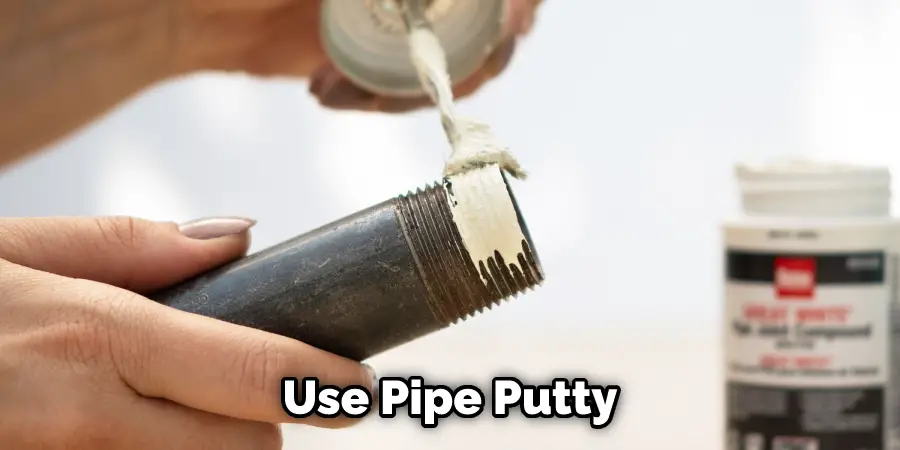
3. Use Pipe Putty:
Another temporary fix for stripped faucet threads is to use pipe putty. This can be found at most hardware stores and is relatively easy to use. Simply apply the putty around the threads and screw the handle back on. Using pipe putty can be a bit messy, so be sure to have some rags handy to clean up any excess. But it will do the job in a pinch.
4. Use a Thread Repair Kit:
If you’re looking for a more permanent solution, you may consider using a thread repair kit. These kits have everything you need to fix the stripped threads, including a tap and die set. Thread repair kin can be a bit tricky to use, so it’s important to follow the instructions carefully. But if used correctly, they can be a great way to fix the problem for good. That’s why it’s always a good idea to keep a kit on hand, just in case.
5. Replace the Faucet Stem:
Another option is to replace the faucet stem. This repair is more involved, but it will definitely fix the problem. To do this, you’ll need to shut off the water supply, remove the handle, unscrew the stem, and then screw in the new one. Thus you will need to have a replacement stem on hand before starting this repair. So, a replacement stem will help you to fix the stripped threads.
6. Use JB Weld:
If you’re really in a bind and can’t seem to fix the stripped threads any other way, then you can try using JB Weld. This is a strong epoxy that can be used to repair just about anything. Simply apply the epoxy around the threads and screw the handle back on. When you screw the handle back on, you need to be extra careful not to strip the threads again. But if used correctly, JB Weld can be a great way to fix the problem.
7. Use Plumber’s Putty:
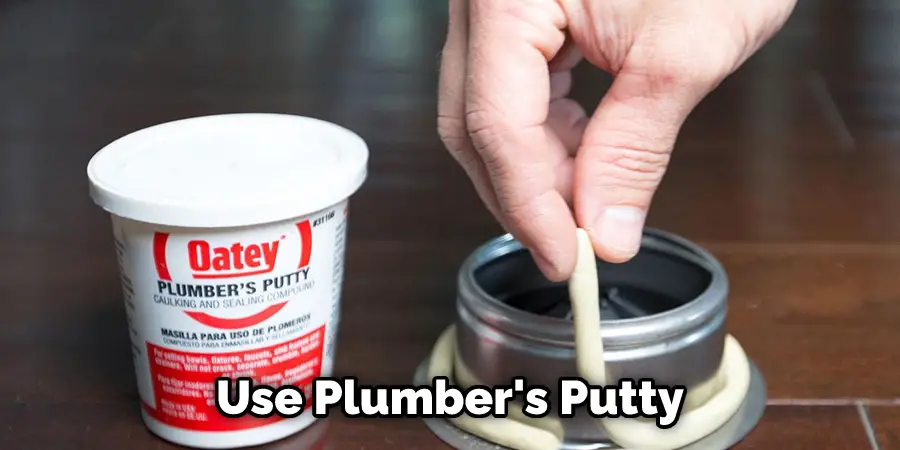
Another option for fixing stripped faucet threads is to use a plumber’s putty. This can be found at most hardware stores and is relatively easy to use. Simply apply the putty around the threads and screw the handle back on. This option for fixing stripped faucet will help you Thread is not as messy as using pipe putty, but it’s not as permanent either. So, if you’re looking for a quick fix, then a plumber’s putty may be the way to go.
8. Use a Thread Insert:
If you’re looking for a more permanent solution, you may consider using a threaded insert. This small metal insert can be screwed into the stripped threads. This will provide a new surface for the handle to screw onto, and it will definitely fix the problem. Moreover, it will make sure that the problem doesn’t occur again in the future. That is why this is considered to be the best solution for stripped faucet threads.
9. Use Loctite:
Another option for fixing stripped faucet threads is to use Loctite. This is a strong adhesive that can be used to repair just about anything. Simply apply the adhesive around the threads and screw the handle back on. But when you use Loctite, make sure that you use the proper type. There are different types of Loctite, so you want to ensure that you get the one meant for metal.
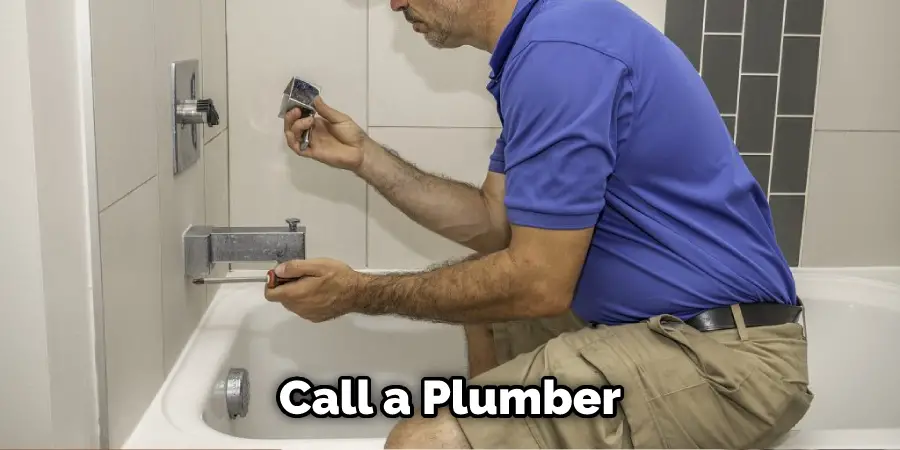
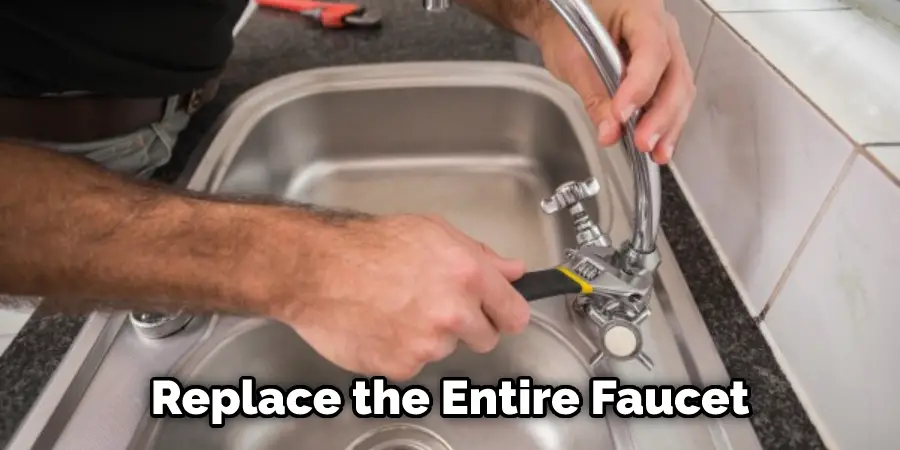
10. Call a Plumber:
If you’ve tried everything else and still can’t seem to fix the problem, then your last resort is to call a plumber. This is the most expensive option, but it will get the job done right. This is the most time-saving method as well since you won’t have to spend hours figuring out how to fix the problem yourself.
So if you’re really stuck, then give this option a try. Hiring a professional is always the best bet when it comes to fixing something as important as your home’s plumbing. A plumber will have the right tools and experience to do the job quickly and efficiently.
Few Tips to Prevent Damage on Stripped Faucet Threads:
1. Use a lubricant.
A little lubricant can go a long way in terms of faucet thread protection. Try using a silicone-based or Teflon-based lubricant on the threads before screwing on the handle. This will help to create a barrier between the metal and prevent stripping.
2. Be careful with tools.
Don’t over-tighten or use too much force when you’re tightening or loosening the faucet handle. The wrong tools can also cause damage to the threads. Make sure you’re using the right size wrench or socket and that it’s not stripped itself.
3. Inspect the threads regularly.
Take a close look at them every now and then to ensure they’re in good condition. If you see any damage, take care of it immediately so it doesn’t get worse.
4. Replace damaged parts.
If the damage is severe, you may need to replace the entire faucet or just the damaged parts. This is usually a job for a professional, so don’t hesitate to call in a plumber if you’re not comfortable doing it yourself.
5. Use Teflon tape.
If you’re still having trouble, try using Teflon tape on the threads. This will help to create a seal and prevent stripping in the future.
With a little care and attention, you can avoid stripped faucet threads and keep your faucet in good working order for years to come.
Can You Tap Stripped Threads?
If your faucet is stripped, it means the threads are damaged and no longer grip the valve seat properly. This can be caused by over-tightening, corrosion, or simply wear and tear. Thankfully, there are a few ways to fix stripped threads to get your faucet working like new again.
One method is to use a thread tap. This tool will clean out the damaged threads and create new, clean threads for the valve seat to grip. Be sure to follow the directions on the thread tap carefully, as over-tapping can damage the faucet further.
If you don’t have a thread tap or aren’t comfortable using one, you can also try using a thread sealant. This will fill in the damaged threads and create a smooth, sealed surface for the valve seat to grip. Just be sure to use a product that is compatible with metal and follow the directions carefully.
Final Words
If the faucet threads are stripped, you will need to use a faucet repair kit to fix the problem. The kit includes a faucet wrench and a tap. The wrench removes the old valve from the faucet, and the tap is used to repair the threads on the faucet.
First, remove the handle from the faucet by unscrewing it to use the kit. Then, use the wrench to unscrew the valve from the faucet. Be careful not to damage the threads on the faucet. Once the valve is removed, use the tap to repair the threads on the faucet. Be sure to follow the instructions that come with the kit.
We hope you have found this guide on how to fix stripped faucet threads helpful. If you have any further questions, please feel free to contact us. We would be happy to assist you.