
Turning plain paper and string into a floating spectacle sounds tricky, but it is easier than you think. Hot air balloon decorations bring a playful, whimsical charm to birthdays, baby showers, nurseries, and travel-themed parties. They add height, color, and a sense of adventure that flat decorations simply cannot match. Learning how to make hot air balloon decorations gives you full control over size, color, and style, so your space feels personal rather than store-bought.
This guide walks you through everything at a beginner-friendly pace. You do not need fancy tools or crafting experience to get a beautiful result. With a few common supplies and a little patience, you can build eye-catching pieces that guests will remember long after the event ends. We will cover why these decorations work so well, then move into a clear step-by-step process. By the end, you will feel confident enough to design your own versions and adapt each idea to fit your theme, budget, and available time.
Why Hot Air Balloon Decorations Matter
Hot air balloon decorations do more than fill empty space. They draw the eye upward, making rooms feel taller and more magical. That vertical interest is perfect for photo backdrops, dessert tables, and entryways where you want a strong first impression.
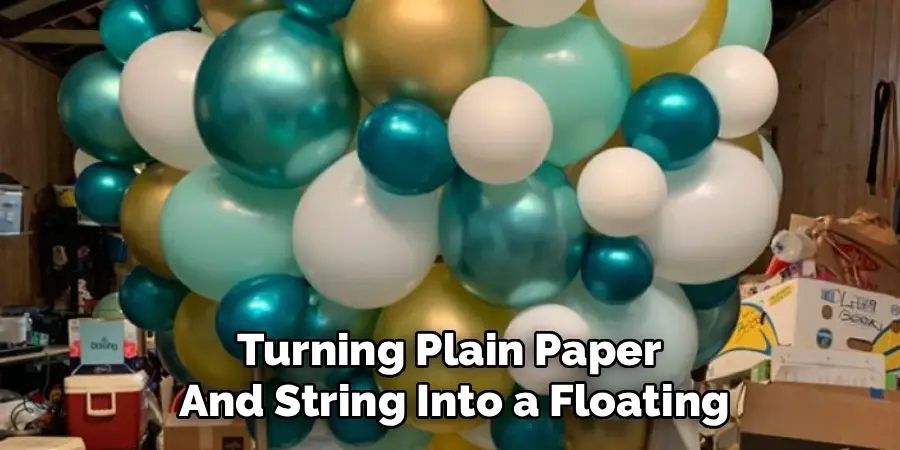
They also fit almost any occasion. Soften the colors for a nursery, brighten them for a birthday, or add maps and clouds for a travel theme. Because you build them yourself, you save money and cut down on waste by reusing supplies you already own. Best of all, they invite creativity. You control every detail, so the finished piece reflects your style and celebrates the moment in a way generic decor never could.
Step-by-Step Guide to How to Make Hot Air Balloon Decorations
Below is a simple, repeatable method anyone can follow. Take your time with each stage, and feel free to adjust sizes and colors to match your event.
Step 1: Gather Your Supplies
Start by collecting everything before you begin, so you never stop mid-project to hunt for a missing item. You will need a round paper lantern or a balloon, colored paper or crepe streamers, string or fishing line, a small basket or cup, glue, scissors, and tape. Choose colors that match your theme early on.
Keep your workspace clear and well lit. Lay out your materials in the order you plan to use them. This little bit of prep makes the whole process smoother and helps beginners avoid common mistakes. A tidy start almost always leads to a cleaner, more polished finish.
Step 2: Prepare the Balloon Base
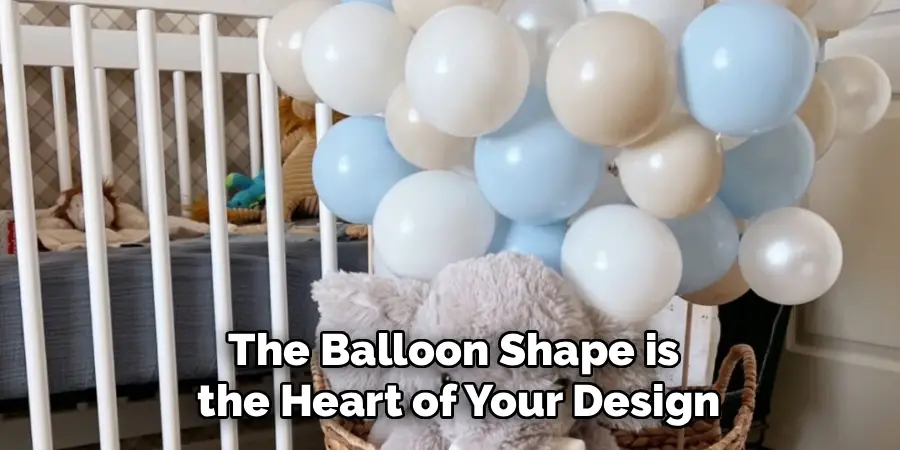
The balloon shape is the heart of your design, so give it your full attention. Paper lanterns work best because they hold their shape and last far longer than inflated balloons. If you use a real balloon, inflate it to a medium size for a rounder, more classic look. Attach a small loop of string to the top for hanging later.
Check that the base sits evenly and does not lean to one side. A balanced shape reads as more professional and photographs beautifully. If you spot a dent or wrinkle, smooth it out now, since fixing problems early saves frustration once the decorative layers go on.
Step 3: Add Colorful Details
This is where your hot air balloon decorations start to show personality. Cut colored paper into vertical strips or triangles and glue them evenly around the lantern to mimic the panels on a real balloon. Alternating two or three shades creates a striking, layered effect that catches the light.
Work slowly and space each strip with care, because even gaps keep the pattern looking intentional. If you prefer a softer style, wrap crepe streamers around the base instead. Press each piece firmly so nothing peels later. Small, consistent details here separate a homemade craft from a truly stunning centerpiece guests will admire.
Step 4: Build the Hanging Basket
Every balloon needs a basket, and this part adds instant charm. A small paper cup, berry basket, or even a folded cardstock box works perfectly. Paint or wrap it in a color that complements your panels above. If you want a woven look, glue thin strips of brown paper in a crisscross pattern around the outside.
Punch four small holes near the top rim, spaced evenly apart. These holes anchor the strings that connect the basket to the balloon. Keep the basket lightweight, since a heavy one will pull the whole piece down and ruin the floating illusion you worked so hard to create.
Step 5: Connect the Basket to the Balloon
Now you join the two main parts into one finished form. Cut four equal lengths of string, then thread one through each hole in the basket and tie a secure knot. Gather the loose ends at the top and attach them to the base of the balloon with tape or glue, keeping the strings taut and even.
Even spacing matters here, so measure twice before you fix anything in place. If one string hangs longer, the basket tilts and the whole design looks off. When done well, this step is what makes your hot air balloon decorations look ready for takeoff.
Step 6: Add Finishing Touches
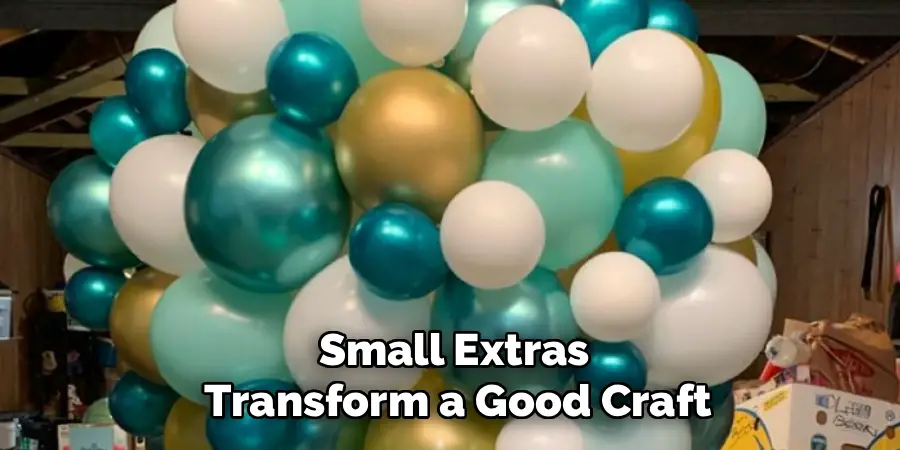
Small extras transform a good craft into a memorable one. Glue tiny paper clouds, stars, or flags around the balloon, or tuck faux flowers and greenery into the basket for a garden feel. Ribbons trailing from the bottom add movement and softness that guests love.
Match these accents to your color palette so the piece feels unified rather than busy. Step back often to check the overall balance, since it is easy to overdo details when you are close up. A restrained, thoughtful finish usually looks more elegant than one crowded with too many competing elements.
Step 7: Hang and Display
The final step brings your creation to life. Use fishing line for a nearly invisible hang, giving the illusion that the balloon truly floats. Attach it to a ceiling hook, curtain rod, or sturdy branch, and vary the heights if you are displaying several together for a dreamy, layered scene.
Test the weight gently before you walk away, because a secure hang protects both your craft and your guests. Adjust the position until it hangs straight and faces the room. Once it settles into place, step back and enjoy the charming, airy display you built entirely by hand.
Frequently Asked Questions
What Materials Work Best For Beginners?
Paper lanterns are the easiest starting point because they hold their shape and last a long time. Pair them with colored cardstock, crepe streamers, glue, string, and a small cup for the basket. These supplies are affordable and easy to find at any craft store. Beginners often find lanterns far more forgiving than real balloons, which can deflate or pop during assembly.
How Long Does This Craft Take To Make?
A single balloon usually takes about one to two hours, including drying time for glue. Your speed depends on how detailed you want the panels and accents to be. If you are making several for a party, set aside an afternoon and work in stages. Preparing all your supplies first, then building in batches, keeps the process efficient and far less stressful.
Can I Make These Decorations Sturdy Enough To Reuse?
Yes, and choosing the right base makes all the difference. Paper lanterns and cardstock hold up well when stored flat or hung in a dry spot away from direct sunlight. Avoid real balloons if you want longevity, since they shrink over time. With gentle handling and careful storage, a well-built piece can decorate several events across many months.
What Colors Should I Choose For My Theme?
Match your colors to the occasion for the strongest effect. Soft pastels suit nurseries and baby showers, while bright primaries pop at children’s birthdays. Travel themes shine with maps, kraft paper, and muted earth tones. Sticking to two or three main shades keeps the design cohesive. When in doubt, pull colors directly from your invitations or tableware for an instantly coordinated look.
How Do I Hang Them Safely Indoors?
Use clear fishing line and a rated ceiling hook or an existing fixture like a curtain rod. Keep the piece lightweight so it never strains its support. Test the hold with a gentle tug before leaving it unattended. Hang decorations away from foot traffic, open flames, and heating vents. These simple precautions protect both your craft and everyone enjoying the space below it.
Conclusion
Building your own floating decor is a rewarding project that pays off in charm, savings, and pride. You have seen how a paper lantern, some colored strips, and a little string can turn into a showpiece that lifts any room. The seven steps break the process into manageable stages, so even a first-timer can follow along and finish with confidence.
Now that you know how to make hot air balloon decorations, gather your supplies and start experimenting with colors, sizes, and accents that fit your celebration. Do not be afraid to make each piece your own, since the small personal touches are what guests remember most. Try one balloon first, then scale up to a whole floating display. With practice, you will craft decorations that feel professional, personal, and genuinely magical.

Rick is a handyman who grew up helping his dad with his business. He learned a lot from him about how to fix things, and also about how to work hard and take care of business. These days, Rick is still into fixing things- only now, he’s doing it for a living.
Rick is always looking for new ways to help people grow and develop. That’s why he started contributing to this blog: to share all his experience and knowledge so that he can help people who are interested in DIY repair.