

That dark oak table might have served you well for years, but maybe it now feels heavy, dated, or just out of step with your brighter, fresher decor. The good news is you don’t have to replace it. A coat or two of white paint can completely transform a tired piece into a clean, modern centerpiece that lights up your whole room. Learning how to paint oak table white is a beginner-friendly project that costs little and rewards you with a stunning result.

You don’t need a workshop full of tools or years of experience either. With a bit of patience and the right steps, you can turn that old oak into something you’ll be proud to show off. Oak does have one quirk, though. Its open grain tends to show through paint if you skip a few key steps, so we’ll walk you through how to handle that. By the end of this guide, you’ll feel confident enough to grab a brush and get started. Let’s give your table the bright new life it deserves.
Why Painting an Oak Table White Matters
A white table does more than look pretty. It instantly brightens a space, making even a small or dim room feel larger and more open. White reflects light beautifully, so your dining area or kitchen nook gains a fresh, airy charm that dark wood simply can’t offer.
Painting also saves you money and reduces waste. Instead of spending a fortune on a brand-new table, you breathe new life into a solid piece you already own. Oak is incredibly durable, so the bones of your table will last for decades. A crisp white finish suits nearly any style, from farmhouse to modern, and it pairs easily with changing decor. Best of all, the project builds your confidence and gives you a satisfying, hands-on result you can enjoy every single day.
Step-by-Step Guide to How to Paint Oak Table White
Step 1: Clean the Table Thoroughly
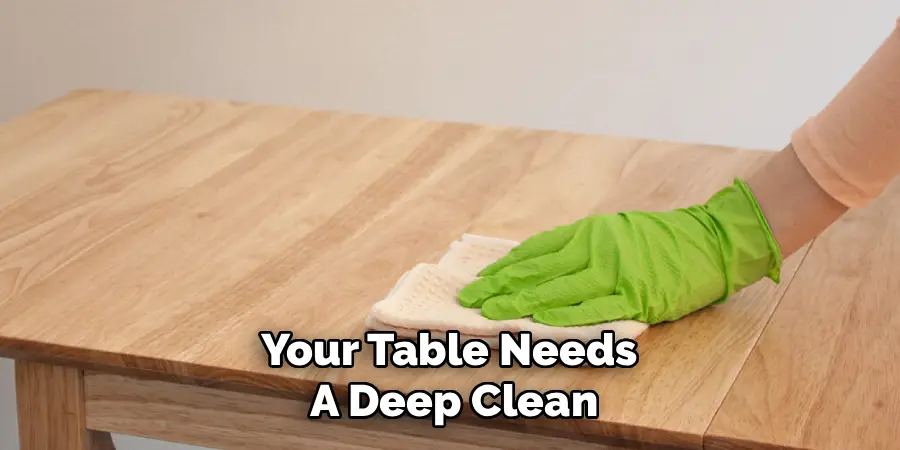
Before any paint touches the surface, your table needs a deep clean. Years of use leave behind grease, dust, and sticky residue that paint refuses to grip. Mix warm water with a little dish soap or use a degreaser, then wipe down every inch with a soft cloth. Pay extra attention to the tabletop, where spills and oils collect most. Once it’s clean, rinse with a damp cloth to remove soap film, then dry it completely. Skipping this step leads to peeling and patchy results later, so take your time here. A clean surface is the foundation of a smooth, lasting finish.
Step 2: Sand the Surface for Better Grip
Oak has a glossy factory finish that paint struggles to bond with, so light sanding is essential. Grab medium-grit sandpaper, around 120 grit, and gently scuff the entire surface until the shine dulls. You aren’t stripping the wood down to bare oak; you simply want to rough it up enough for primer to stick. Work in the direction of the grain to avoid scratches. When you finish, wipe away every speck of dust with a tack cloth or a damp rag. Lingering grit will ruin your smooth coat. This step might feel tedious, but it makes the difference between a finish that lasts and one that flakes.
Step 3: Fill the Open Grain
Oak’s biggest challenge is its deep, open grain, which can show through paint as tiny lines and pits. If you want a flawless, glassy look, fill the grain first. Apply a thin layer of wood grain filler with a putty knife, pressing it into the surface, then scrape away the excess. Let it dry fully before sanding it smooth with fine-grit paper. Knowing how to paint oak table white the right way means deciding whether you want that ultra-smooth modern finish or a more textured, rustic feel. If you love seeing the grain, you can skip this step and embrace the character instead.

Step 4: Apply a Quality Primer
Primer is the secret weapon for painting oak. It blocks tannins in the wood that can bleed through and leave yellow stains on your crisp white paint. Choose a stain-blocking primer, preferably oil-based or shellac-based, for the best protection. Apply a thin, even coat with a brush or foam roller, working along the grain. Don’t rush to cover everything in one heavy pass; thin layers dry better and look smoother. Let the primer cure according to the label, usually a few hours. Once dry, lightly sand again with fine-grit paper and wipe clean. This base coat sets you up for a bright, even color.
Step 5: Paint Your First White Coat
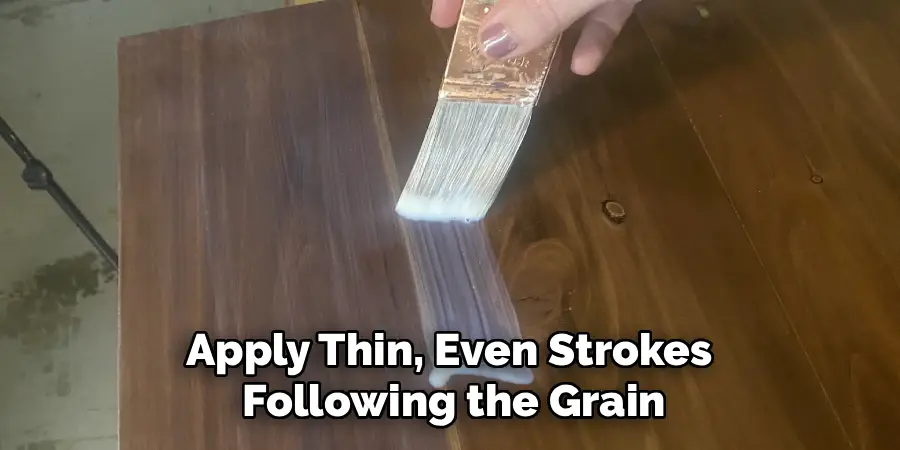
Now for the fun part. Stir your white paint well and load your brush or foam roller lightly. A good furniture paint, such as chalk paint, satin enamel, or acrylic, gives a durable finish that holds up to daily use. Apply thin, even strokes following the grain, and resist the urge to glob it on. The first coat will likely look streaky and uneven, and that’s completely normal. The whole point of how to paint oak table white successfully is building color gradually through multiple thin layers. Let this first coat dry fully, often two to four hours, before you even think about touching it again.
Step 6: Add a Second Coat for Full Coverage
One coat almost never delivers solid white, especially over oak. After your first layer dries completely, lightly sand any rough spots or drips with fine-grit paper, then wipe the surface clean. Apply your second coat the same careful way, using thin strokes that follow the grain. This layer should look noticeably more even and opaque. If you still see patches or the wood peeking through, don’t worry. A third thin coat is perfectly fine and often needed for a deep, uniform finish. Patience truly pays off here, so let each coat dry fully before adding another for the best results.
Step 7: Seal and Protect the Finish
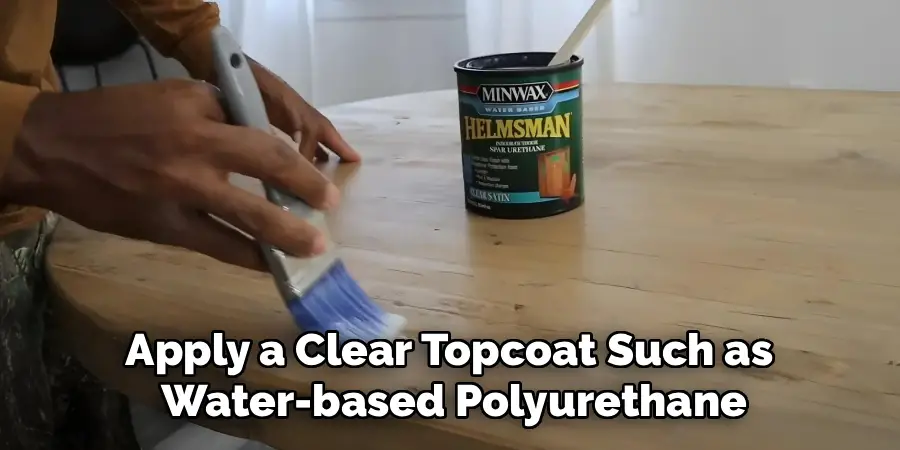
White paint shows scuffs and stains easily, so sealing your table is a must, especially for a surface that sees daily meals. Once your final paint coat cures, apply a clear topcoat such as water-based polyurethane or polycrylic, which won’t yellow over time like oil-based options can. Use a clean brush or foam applicator and spread thin, even layers. Two or three coats give the strongest protection, with light sanding between each. Allow proper drying time, then let the whole table cure for a few days before heavy use. This final step locks in your hard work and keeps your bright finish looking fresh for years.
Frequently Asked Questions
Do I Really Need to Sand Oak Before Painting?
Yes, sanding is strongly recommended. Oak comes with a slick factory finish that prevents paint and primer from bonding well. A light scuff with 120-grit sandpaper dulls the shine and gives the surface enough texture to grip. You don’t need to sand down to bare wood, just enough to rough it up. Skipping this step is the most common reason painted finishes peel or flake within months.
What Kind of Paint Works Best for an Oak Table?
Durable furniture paints work best, including chalk paint, satin or semi-gloss enamel, and quality acrylic latex. These hold up to daily wear and resist chipping when sealed properly. Chalk paint is beginner-friendly and adheres well, while enamel offers a tougher, smoother finish. Whatever you choose, always pair it with a stain-blocking primer and a protective topcoat. That combination ensures your white finish stays bright, even, and long-lasting through years of use.
How Do I Stop Wood Grain From Showing Through?
To hide oak’s open grain, apply a wood grain filler before priming. Spread a thin layer with a putty knife, scrape off the excess, let it dry, then sand it smooth. This creates a flat surface that paint glides over evenly. If you prefer a rustic, textured look, you can skip the filler and let the natural grain peek through, which many people actually love for added character.
How Long Should I Wait Between Coats?
Drying time depends on your paint and room conditions, but most furniture paints need two to four hours between coats. Humidity and temperature affect this, so always check the label and allow extra time in damp weather. Rushing leads to streaks, peeling, and uneven color. After your final coat, let the table cure for several days before regular use so the finish fully hardens and resists scratches.
Can I Paint Over a Sealed or Varnished Oak Table?
Absolutely, you just need proper prep. Clean the surface well, then sand the glossy varnish until it’s dull so primer can adhere. Always use a stain-blocking primer, since sealed oak can still bleed tannins through your paint. Once primed, apply your white coats as usual. With the right cleaning, sanding, and priming steps, even a heavily varnished table takes paint beautifully and ends up looking brand new.
Conclusion
Transforming a dark, dated oak table into a bright, fresh piece is far simpler than it looks. The whole process comes down to good preparation and patience: clean the surface, sand it well, fill the grain if you want a smooth look, prime to block stains, then build up thin white coats before sealing everything in. Each step protects your effort and brings you closer to a finish you’ll love.
Now that you understand how to paint oak table white from start to end, you have everything you need to tackle this project with confidence. Don’t let that old table sit unused or unloved any longer. Grab your sandpaper, pick up a quality primer and paint, and set aside a weekend to give it a stunning makeover. The result will brighten your space and prove just how much you can do with a little time and care.

Rick is a handyman who grew up helping his dad with his business. He learned a lot from him about how to fix things, and also about how to work hard and take care of business. These days, Rick is still into fixing things- only now, he’s doing it for a living.
Rick is always looking for new ways to help people grow and develop. That’s why he started contributing to this blog: to share all his experience and knowledge so that he can help people who are interested in DIY repair.