
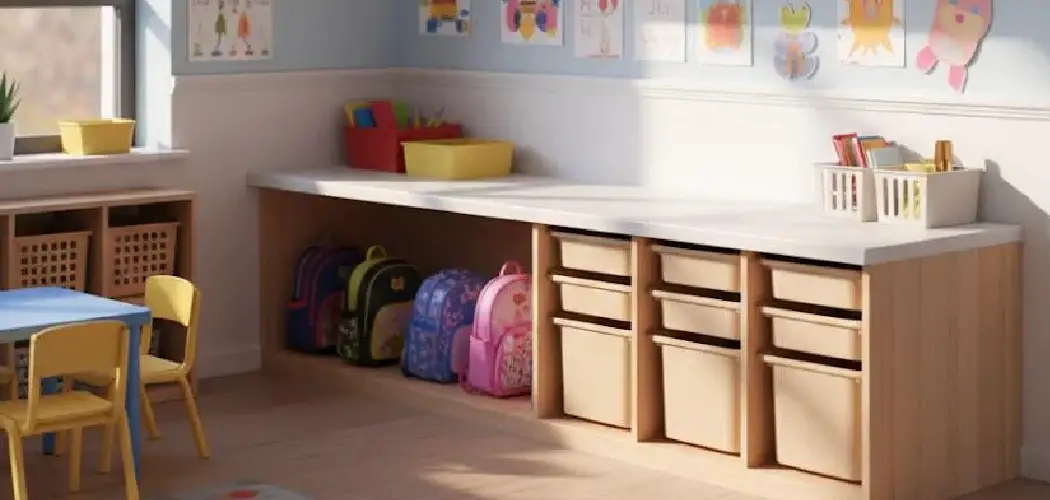
That plain white IKEA Trofast storage unit is a household favorite for good reason. It’s affordable, sturdy, and brilliant for taming toy chaos or organizing craft supplies. But let’s be honest, the basic look can feel a little flat against your carefully styled room. The good news is that a coat of paint changes everything.
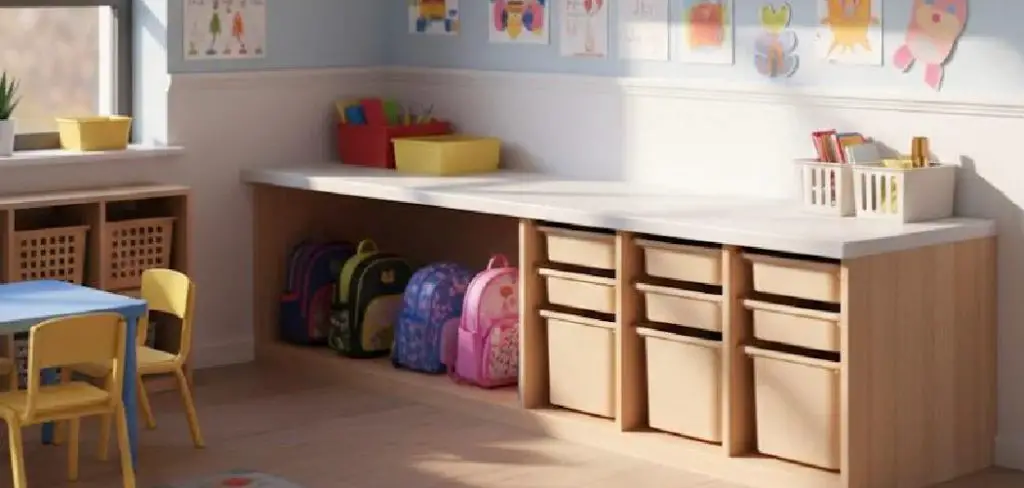
Learning how to paint IKEA Trofast lets you turn a budget piece into something that feels custom-made, all without spending a fortune. Whether you want a soft pastel for a nursery, a bold pop of color for a playroom, or a sleek neutral for a home office, the project is more approachable than you might think. You don’t need fancy tools or years of DIY experience. With the right prep, a steady hand, and a little patience, you can finish this in a weekend. This guide walks you through each step in plain language, answers common questions, and helps you avoid the mistakes beginners often make. Let’s give your Trofast the upgrade it deserves.
Why Painting Ikea Trofast Is Worth It
Painting your Trofast isn’t just about looks, though a fresh color certainly makes a difference. It’s a smart way to extend the life of furniture you already own. Instead of replacing a unit that’s still perfectly functional, you refresh it for the price of a small can of paint. That’s a win for your wallet and the planet.
A custom finish also helps the piece blend seamlessly into your space rather than screaming “flat-pack.” You gain full control over the style, matching it to your walls, theme, or mood. Painted surfaces are often easier to wipe clean too, which matters in busy kids’ rooms. Best of all, completing the project yourself delivers a real sense of accomplishment and a piece that feels genuinely yours.
Step-by-Step Guide to How To Paint Ikea Trofast
Step 1: Gather Your Tools and Choose a Workspace
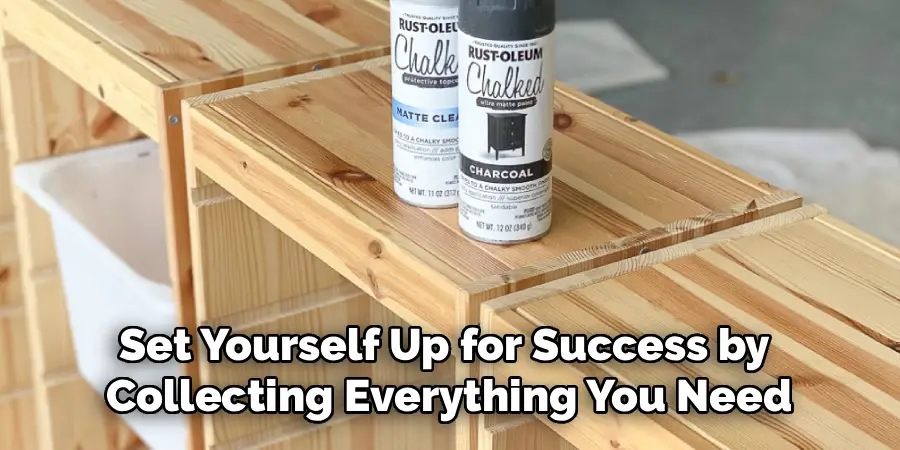
Before any painting begins, set yourself up for success by collecting everything you need. You’ll want sandpaper or a sanding block, a quality primer made for slick surfaces, your chosen paint, a small foam roller, an angled brush, painter’s tape, and a few clean cloths. Having it all in one spot saves frustrating trips mid-project.
Next, pick a well-ventilated workspace where overspray and fumes won’t be an issue. A garage, balcony, or covered patio works beautifully. Lay down a drop cloth or old newspaper to protect the floor. If you’re working indoors, open windows and run a fan. A tidy, prepared space genuinely makes the whole job smoother and far more enjoyable.
Step 2: Disassemble and Clean the Unit
The Trofast frame is made from a smooth laminate that paint struggles to grip, so preparation is everything. Start by removing the plastic or wooden bins and setting them aside. If your model has any removable parts or hardware, take those off too and store the screws in a labeled bag so nothing goes missing later.
Once the frame is bare, give every surface a thorough clean. Mix warm water with a little dish soap and wipe down the entire unit to lift away dust, grease, and sticky fingerprints. This step matters more than people expect, because paint won’t bond well to a dirty surface. Let the frame dry completely before moving on.
Step 3: Sand for a Surface That Grips
Here’s where many beginners rush, but slowing down pays off. The factory laminate is far too glossy for paint to stick reliably, so a light sanding creates the texture your primer needs to hold on. Use a fine-grit sandpaper, around 150 to 220 grit, and work over the entire frame with gentle, even pressure.
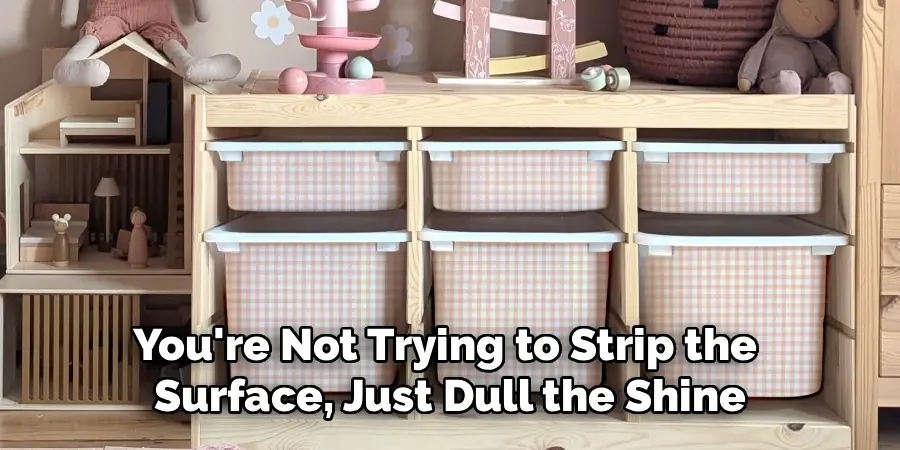
You’re not trying to strip the surface, just dull the shine and rough it up slightly. Pay attention to flat panels and visible edges, since these get the most wear later. When you’re done, wipe away all the fine dust with a slightly damp cloth and let it dry. A clean, lightly scuffed surface is the secret to a finish that lasts.
Step 4: Prime the Frame for Successfully
Priming is the step that separates a peeling disaster from a professional-looking finish, and it’s central to how to paint IKEA Trofast the right way. Choose a bonding primer specifically designed for laminate or slick plastic surfaces. These grip where regular paint can’t, giving you a dependable base.
Apply a thin, even coat using your foam roller for the large flat areas and the angled brush for corners and tight spots. Resist the urge to slap it on thick, as thin coats dry better and resist drips. Let the primer cure fully according to the label instructions, usually a few hours. Once dry, run your hand over it. A smooth, uniform layer means you’re ready for color.
Step 5: Apply Your First Coat of Color
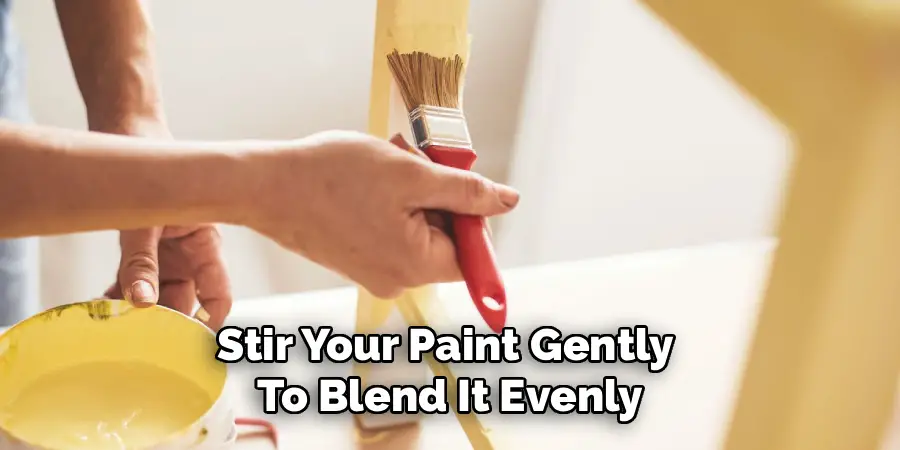
Now comes the fun and rewarding part. Stir your paint gently to blend it evenly, then load your foam roller lightly. Roll the paint onto the broad surfaces using smooth, overlapping strokes, working in one direction to keep the texture consistent. Use your angled brush to reach edges, grooves, and corners the roller can’t cover neatly.
The golden rule here is patience over speed. Apply a thin first coat rather than trying to achieve full coverage in one go. It may look streaky or patchy at this stage, and that’s completely normal. Thin layers dry faster, level out better, and prevent unsightly drips. Once this coat feels dry to the touch, you’re ready to build it up.
Step 6: Add a Second Coat for Evenly
A single coat rarely delivers rich, even color, which is why a second pass is essential when figuring out how to paint IKEA Trofast for a polished result. Before you start, lightly inspect the first coat for any rough spots or bumps. A super-fine sanding between coats, followed by a quick wipe-down, creates an even smoother finish.
Apply the second coat exactly as you did the first, using light, overlapping strokes and the same one-direction technique. This layer should look noticeably richer and more uniform. If you still see faint patches once it dries, a third thin coat is perfectly fine.
Step 7: Seal, Cure, and Reassemble
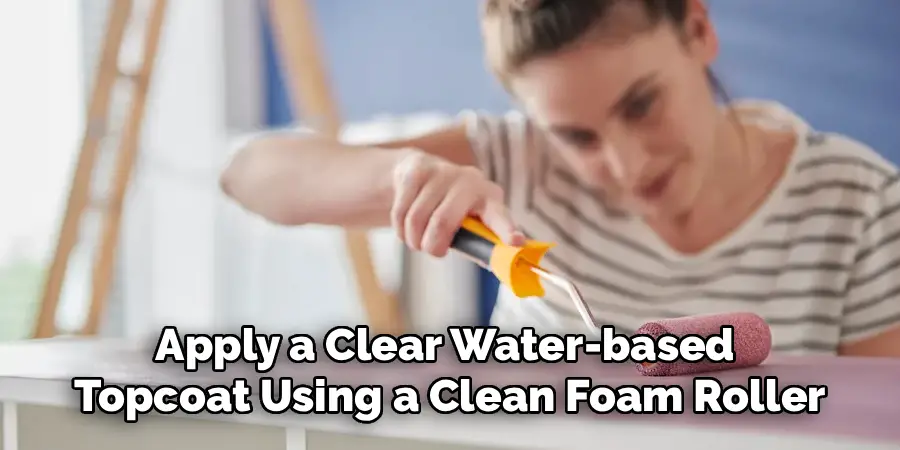
Sealing protects all your effort from scratches, scuffs, and sticky little hands. Once your final color coat is fully dry, apply a clear water-based topcoat using a clean foam roller. A satin or matte finish hides imperfections well, while a gloss adds durability and shine. Apply it thinly and evenly, just as you did with the paint.
After sealing, the hardest part is waiting. Let the unit cure for the full time recommended on the product label, often a few days, before heavy use. Curing hardens the finish so it resists daily knocks. Once it’s ready, reattach any hardware, slide the bins back in, and place your refreshed Trofast proudly in its new home.
Frequently Asked Questions
Do I Really Need to Sand the Trofast First?
Yes, sanding is one of the most important steps you can’t skip. The Trofast frame has a smooth, glossy laminate coating that paint and primer struggle to grip. A light scuff with fine-grit sandpaper creates the slight texture needed for the primer to bond properly. Skip it, and your beautiful new finish may chip or peel within weeks, undoing all your effort.
What Type of Paint Works Best on Laminate Furniture?
For laminate surfaces like the Trofast, a good-quality acrylic or water-based furniture paint works wonderfully over a bonding primer. These options are durable, low-odor, and easy to clean up with water. Chalk paint is another beginner-friendly choice that grips well and forgives minor mistakes. Whatever you choose, pairing it with the right primer matters far more than the brand itself for long-lasting results.
Can I Paint the Plastic Trofast Bins Too?
You can, though plastic bins need extra care since they flex and handle frequent use. Use a spray paint formulated specifically for plastic, applied in several thin coats with proper curing time between each. Keep in mind that bins endure constant pulling and bumping, so paint may wear faster here than on the frame. Sealing them with a clear coat helps the color last longer.
How Long Should I Wait Before Using the Unit?
While paint may feel dry to the touch within an hour, it needs much longer to fully harden, or cure. For the best durability, wait at least three to seven days before subjecting the unit to heavy daily use. This curing window lets the finish toughen so it resists scratches and dents. Rushing this stage is the most common reason painted furniture shows early wear.
What If the Paint Looks Streaky After Drying?
Streaks usually mean the coat was applied too thickly or too quickly. The fix is simple and reassuring: let the layer dry completely, lightly sand the streaky areas with fine sandpaper, wipe away the dust, and apply another thin, even coat. Always work in one direction with a light touch. Two or three thin coats will always beat one heavy coat for a smooth, flawless finish.
Conclusion
Transforming a plain storage unit into a piece you genuinely love is well within your reach, even if you’ve never tackled a DIY project before. The secret to how to paint IKEA Trofast successfully comes down to preparation and patience. Clean thoroughly, sand to create grip, prime with a bonding product, and build your color in thin, even coats rather than rushing toward full coverage. Sealing and proper curing then lock in a finish that survives everyday life.
Each step builds on the last, turning what feels like a daunting task into a satisfying weekend win. Don’t be afraid to make it your own, whether that means a calming neutral, a cheerful brights, or a bold statement shade. Gather your supplies, set aside a little time, and give that Trofast the makeover it’s been waiting for. Once you see the results, you’ll wonder why you didn’t start sooner, and you’ll likely be eyeing your next piece to refresh.

Rick is a handyman who grew up helping his dad with his business. He learned a lot from him about how to fix things, and also about how to work hard and take care of business. These days, Rick is still into fixing things- only now, he’s doing it for a living.
Rick is always looking for new ways to help people grow and develop. That’s why he started contributing to this blog: to share all his experience and knowledge so that he can help people who are interested in DIY repair.