
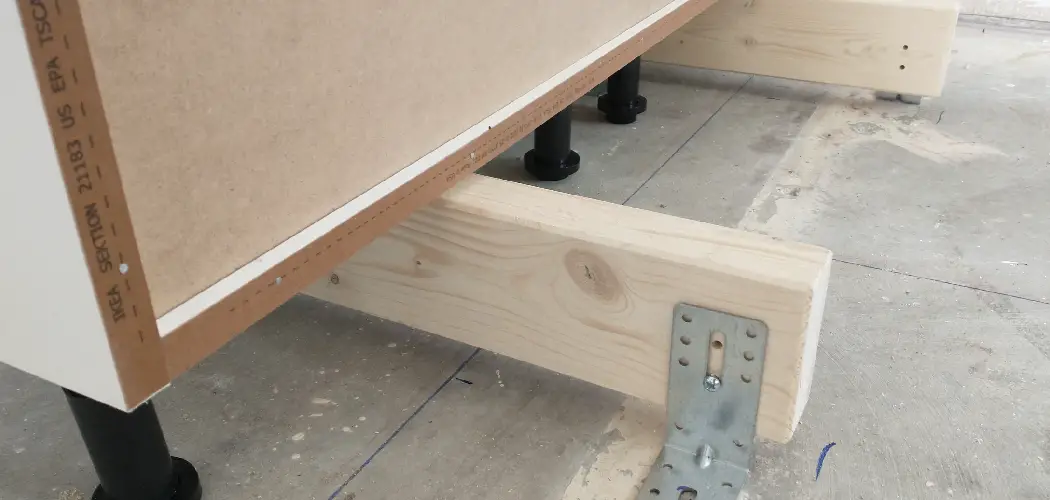
Have you ever spotted a flat-bottomed cabinet sitting awkwardly on the floor and thought it needed a little lift? Adding legs to a cabinet is one of the simplest upgrades you can make, and it transforms both the look and function of almost any piece. Whether you want to raise a kitchen base unit, give an old dresser a fresh feel, or protect a wooden cabinet from a damp floor, legs do the job beautifully.
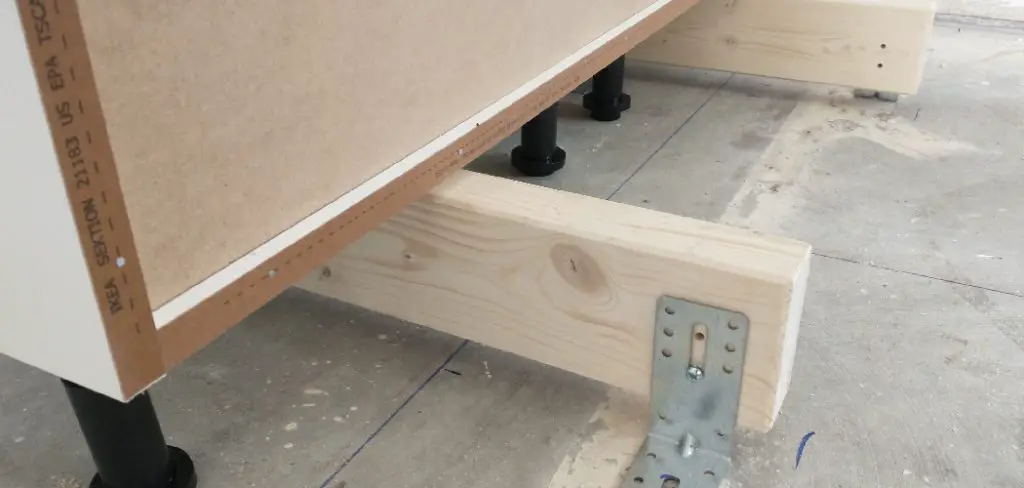
Learning how to add legs to a cabinet is a beginner-friendly project that needs only basic tools, a free afternoon, and a bit of patience. You don’t need years of woodworking skill to get great results. This guide walks you through each step in plain language, so you feel confident from measuring to the final reveal. We’ll cover why legs matter, the exact process to follow, and answers to the questions people ask most. By the end, you’ll have everything you need to lift your furniture and your space at the same time.
Why Adding Legs to a Cabinet Matters
Legs do far more than change how a cabinet looks. They lift it off the floor, which protects the base from moisture, scuffs, and spills that can cause warping or rot over time. That extra height also makes cleaning underneath a breeze, helping you reach dust and crumbs that usually hide out of sight. From a style angle, the right legs instantly update a tired piece, giving it a modern, mid-century, or rustic vibe depending on what you choose. Legs can even improve airflow around electronics or appliances stored inside. Best of all, this small change adds real value with very little cost. You get a more practical, better-looking, and longer-lasting cabinet, all from one afternoon of straightforward work.
Step-by-Step Guide to How To Add Legs to a Cabinet
Step 1: Gather Your Tools and Materials
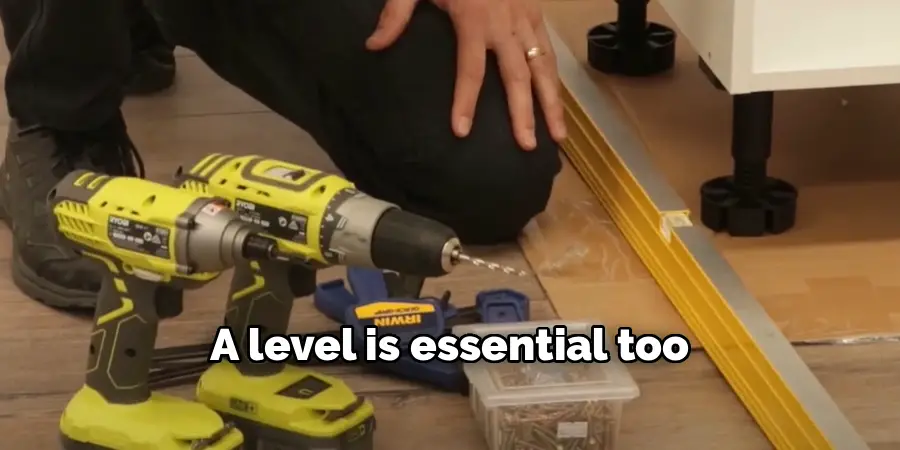
Before you start, set yourself up for success by collecting everything in one spot. You’ll want your chosen legs, mounting plates or brackets if they need them, a drill with the right bits, a screwdriver, a measuring tape, and a pencil. A level is essential too, since it keeps your cabinet from wobbling later.
Take a moment to inspect your legs and hardware to confirm they match your cabinet’s weight and size. Heavier pieces need sturdier legs and stronger fixings. Having the right gear ready means you won’t have to pause halfway through, and a smooth, uninterrupted start sets the tone for the whole project.
Step 2: Measure and Mark Placement
Accurate measuring is the heart of a steady, professional-looking result. Flip your cabinet upside down on a soft surface so you can work comfortably on the base. Use your measuring tape to find an equal distance from each corner, since even spacing keeps the weight balanced and the cabinet stable.
Mark each spot clearly with your pencil, then double-check your marks before going further. A common beginner mistake is rushing this stage and ending up with uneven legs. Measure twice, mark once, as the old saying goes. When you understand how to add legs to a cabinet correctly, you quickly learn that careful placement now prevents frustrating wobbles and adjustments down the line.
Step 3: Choose the Right Mounting Method
There’s more than one way to attach legs, so pick the method that suits your cabinet and your comfort level. Mounting plates are the most beginner-friendly option. You screw a small metal plate to the base, then twist the leg into place, which makes future removal easy too.
Direct screwing works well for solid wood legs, while angled brackets give a stylish splayed look. Consider the cabinet’s material before deciding, because particleboard needs extra care to hold screws securely. Taking a minute to match the method to your piece ensures a strong, lasting hold. The right approach here protects your hard work and keeps everything firmly in place for years.

Step 4: Drill Pilot Holes
Pilot holes are small starter holes that guide your screws and stop the wood from splitting. Line up your mounting plate or leg over your pencil marks, then drill carefully using a bit slightly smaller than your screws. Going slow keeps your holes clean and straight.
Pay attention to depth, especially on thinner cabinet bases, so you don’t drill all the way through and damage the surface inside. If you’re working with particleboard, a touch of wood glue in the hole adds extra grip for the screws. This small, careful step makes the actual attachment far easier and gives your legs the secure foundation they need to carry weight safely.
Step 5: Attach the Legs Securely
Now comes the satisfying part where your cabinet starts to take shape. Position each mounting plate over its pilot holes and drive the screws in firmly with your drill or screwdriver. Keep them snug but avoid overtightening, which can strip the wood or crack the plate.
Once all plates are fixed, twist or screw each leg into place. Knowing how to add legs to a cabinet the right way means checking that every leg sits flush and tight against the base. Give each one a gentle wiggle to confirm there’s no movement. A firm, rattle-free fit at this stage means your finished cabinet will feel solid and dependable the moment you flip it upright.

Step 6: Check for Level and Stability
With all four legs attached, carefully turn the cabinet right side up onto a flat floor. Place your level on top and check it from front to back and side to side. Any tilt means one or more legs need a small adjustment, which is completely normal for a first attempt.
Most adjustable legs have a screw mechanism you can twist up or down to fine-tune the height. For fixed legs, a felt pad or shim under the short leg evens things out. Press down on each corner to test for rocking. A stable, level cabinet feels sturdy and looks polished, so take your time getting this balance just right.
Step 7: Add Finishing Touches
You’re almost done, and these final details make all the difference. Attach felt or rubber pads to the bottom of each leg to protect your floors from scratches and to reduce sliding. If your legs are raw wood, a coat of paint, stain, or varnish ties them into your cabinet’s style and adds protection.
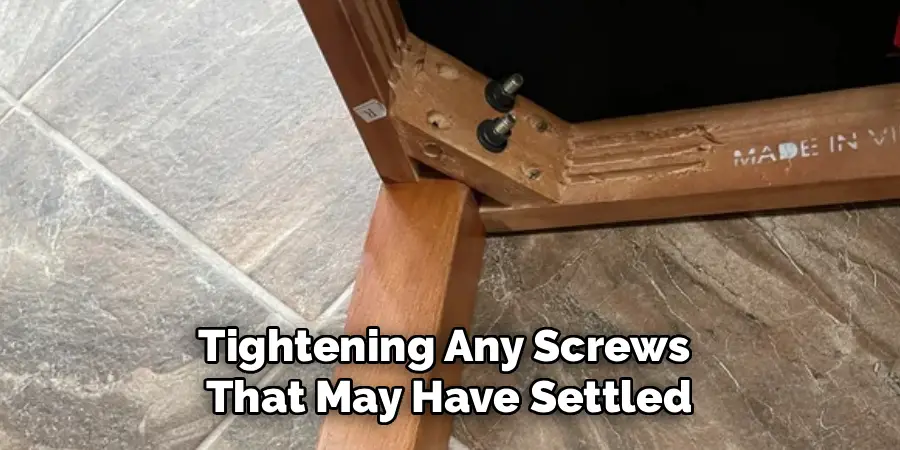
Wipe everything down, then load your cabinet and place it in its new home. Stand back and admire how a simple set of legs has lifted both the height and the character of your furniture. Give the piece a final once-over after a day of use, tightening any screws that may have settled. Enjoy your refreshed, elevated cabinet.
Frequently Asked Questions
What Type of Legs Work Best for a Cabinet?
The best legs depend on your cabinet’s weight, style, and use. Tapered wooden legs suit lighter, decorative pieces, while metal hairpin legs add a modern touch with solid support. For heavy units, choose thick, sturdy legs rated for the load. Adjustable legs are ideal for uneven floors. Always match the leg material and strength to your cabinet so it stays balanced, stable, and looking great.
Can I Add Legs to a Particleboard Cabinet?
Yes, you can, though particleboard needs a little extra care since it holds screws less firmly than solid wood. Use mounting plates to spread the weight over a wider area, and add wood glue to your pilot holes for stronger grip. Avoid overtightening screws, which can crumble the material. With these precautions, particleboard cabinets handle legs well and stay secure for everyday use.
How Tall Should Cabinet Legs Be?
Leg height comes down to function and personal taste. For kitchen base units, around four inches matches standard counter heights. Decorative cabinets look stylish with six to eight inch legs, while shorter two to three inch legs give a subtle lift. Consider how you’ll use the piece and how much clearance you want underneath. When unsure, hold legs against the cabinet first to picture the final look.
Do I Need Special Tools for This Project?
Not at all, which is what makes this such a beginner-friendly upgrade. A drill, screwdriver, measuring tape, pencil, and a level cover most jobs. These tools are affordable and likely already in your home. Depending on your legs, you might need specific screws or mounting plates, usually included in leg kits. With this simple toolkit, you’re fully equipped to complete the project confidently.
Will Adding Legs Damage My Cabinet?
When done carefully, adding legs strengthens rather than harms your cabinet. The key is drilling pilot holes to prevent splitting and choosing screws that match your base thickness. Measure accurately, avoid overtightening, and pick a mounting method suited to your material. Done right, the process is safe and reversible, especially with mounting plates. Take your time, and your cabinet will come out sturdier and more functional than before.
Conclusion
Giving your furniture a lift is a rewarding project that pays off in both looks and lasting durability. The secret lies in working step by step: gather your tools, measure carefully, choose the right mounting method, drill pilot holes, attach securely, check for level, and add those finishing touches. Each stage builds on the last, turning a simple idea into a piece you’ll be proud of.
Remember that careful measuring and a steady hand make all the difference between a wobbly result and a rock-solid one. Now that you understand how to add legs to a cabinet from start to finish, you have everything you need to tackle the job with confidence. Gather your supplies, set aside an afternoon, and give your cabinet the lift it deserves. You’ll be amazed at how such a small change can completely transform a piece, and your space will feel fresher and more polished for it.

Rick is a handyman who grew up helping his dad with his business. He learned a lot from him about how to fix things, and also about how to work hard and take care of business. These days, Rick is still into fixing things- only now, he’s doing it for a living.
Rick is always looking for new ways to help people grow and develop. That’s why he started contributing to this blog: to share all his experience and knowledge so that he can help people who are interested in DIY repair.