
Swollen wood furniture is one of those frustrating problems that seems to appear overnight. A favorite drawer suddenly sticks. A cabinet door refuses to close. A tabletop feels puffy or warped to the touch. The culprit is almost always moisture, which seeps into the wood fibers and causes them to expand. The good news? You don’t need to be a professional carpenter to bring your pieces back to life. Learning how to fix swollen wood furniture is a skill anyone can pick up with a little patience and the right approach.
In this guide, we’ll walk you through everything step by step, in plain language, so you feel confident no matter your experience level. You’ll discover why swelling happens, how to dry out the wood safely, and which simple repairs make the biggest difference. Whether you’re rescuing a vintage dresser or a budget-friendly side table, these methods work across all kinds of furniture. By the end, you’ll have practical tools to protect your pieces and prevent future damage. Let’s get your furniture looking and working like new again.
Why Fixing Swollen Wood Furniture Matters
Ignoring swollen wood doesn’t just affect how your furniture looks. It can lead to lasting structural damage, cracked joints, peeling finishes, and even mold growth if moisture lingers. Acting early saves you money and keeps treasured pieces out of the landfill.
There’s real value here, too. Restoring furniture yourself is far cheaper than buying new, and it’s better for the environment. You also preserve the character and craftsmanship of older pieces that simply aren’t made the same way today. Beyond the practical perks, there’s satisfaction in solving the problem with your own hands. With a clear plan and a bit of confidence, you can extend the life of your furniture by years, keeping it both functional and beautiful for everyday use.
Step-by-Step Guide to How To Fix Swollen Wood Furniture
Step 1: Identify the Source of Moisture
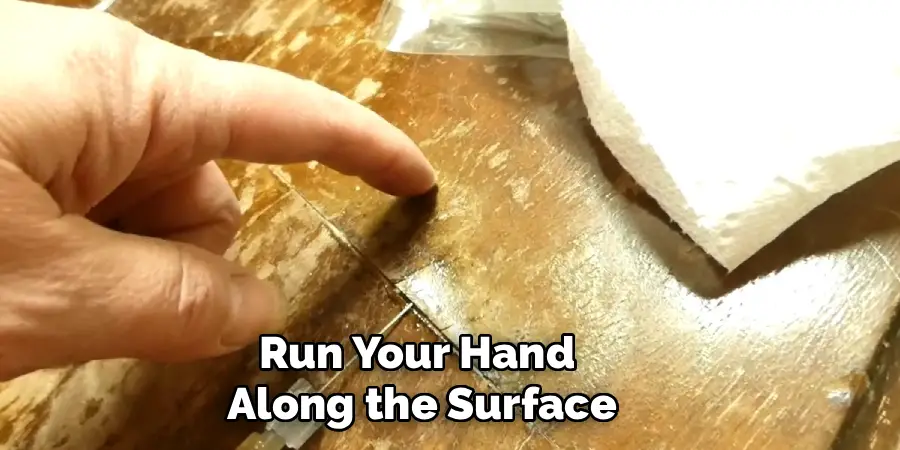
Before you fix anything, you need to play detective. Swelling almost always points to a moisture problem, so your first job is finding where it’s coming from. Check for nearby leaks, spilled liquids, high humidity, or condensation from windows and vents. Run your hand along the surface to feel which areas are damp or puffy compared to the rest.
Once you locate the source, address it right away. There’s no point repairing wood if it’s just going to swell again. Move the furniture away from damp walls, fix any plumbing drips, or add a dehumidifier to the room. Stopping the moisture at its root sets you up for lasting success.
Step 2: Dry the Wood Slowly and Completely
Now it’s time to dry things out, and patience really matters here. Rushing this stage with high heat can crack or split the wood, undoing all your hard work. Move the piece to a warm, well-ventilated room with low humidity. A fan pointed at the affected area helps air circulate and speeds things along gently.
Give it time, sometimes several days, depending on how severe the swelling is. You can place silica gel packets or a small dehumidifier nearby to pull out trapped moisture. Knowing how to fix swollen wood furniture really comes down to letting the material dry naturally, so resist the urge to blast it with a hairdryer on full heat.
Step 3: Apply Gentle Heat for Stubborn Areas
If patient air-drying isn’t enough, controlled heat can help coax out deeper moisture. Set a hairdryer to its lowest warm setting and hold it about six inches from the surface. Keep it moving constantly so no single spot overheats. This gentle warmth encourages trapped water to evaporate without scorching the finish.
For larger or thicker areas, an iron with a clean cloth barrier works well. Place a dry towel over the swollen section and press the warm iron on top in short, steady passes. Check your progress frequently and let the wood cool between rounds. Slow, careful heat protects the wood while shrinking those puffy fibers back down.
Step 4: Sand Down Raised or Rough Spots
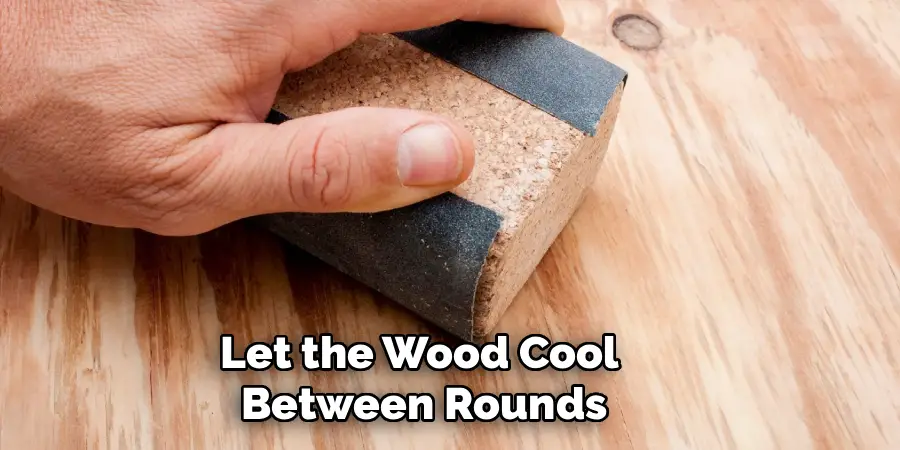
After drying, some areas may feel rough, raised, or uneven where the grain lifted. This is where light sanding restores a smooth surface. Start with a medium-grit sandpaper, around 120, and work gently along the direction of the grain. Sanding against the grain creates scratches that are hard to fix later.
Take your time and check your progress often with your fingertips. Once the worst bumps are level, switch to a finer grit, like 220, for a polished finish. Wipe away dust with a slightly damp cloth so you can see your true results. The goal is a flat, even surface that’s ready for refinishing, not removing too much material.
Step 5: Reglue Loose Joints and Seams
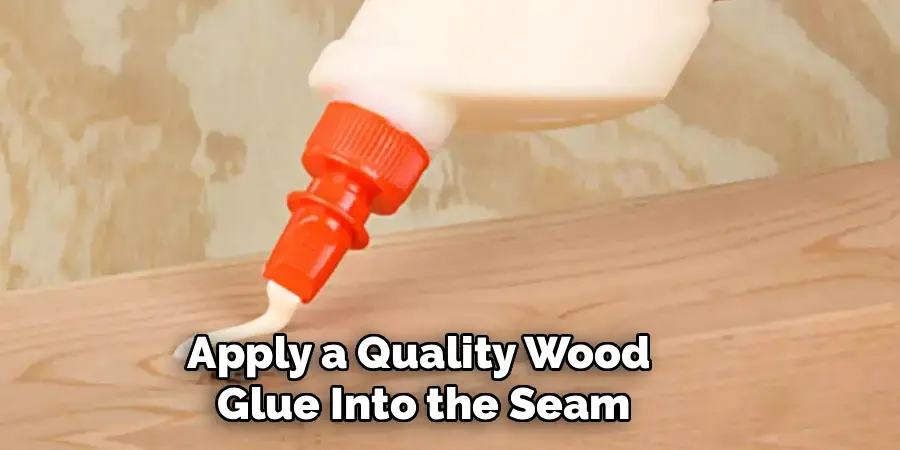
Swelling and drying can loosen the glue holding joints together, leaving wobbly drawers or shaky frames. Inspect every connection point and gently test for movement. Where you find gaps, apply a quality wood glue into the seam using a thin brush or the bottle’s nozzle for tight spots.
Press the pieces firmly together and wipe away any excess glue immediately with a damp cloth. Use clamps or even heavy books to hold everything in place while it cures, usually for a full day. A solid bond here makes a huge difference in how your furniture holds up. Learning how to fix swollen wood furniture includes this repair step, since stable joints keep your piece sturdy for years.
Step 6: Refinish and Seal the Surface
With the wood dry, smooth, and stable, it’s time to protect it. Sanding often removes part of the original finish, so refinishing restores both beauty and defense against future moisture. Choose a stain that matches your piece, then apply it evenly with a brush or cloth, following the grain. Let each coat dry fully before adding another.
Once you’re happy with the color, seal everything with a clear protective topcoat like polyurethane or a quality wax. This sealant acts like a raincoat for your wood, blocking moisture from soaking back in. Apply thin, even layers and allow proper drying time between coats for the most durable, professional-looking result.
Step 7: Test Function and Adjust as Needed
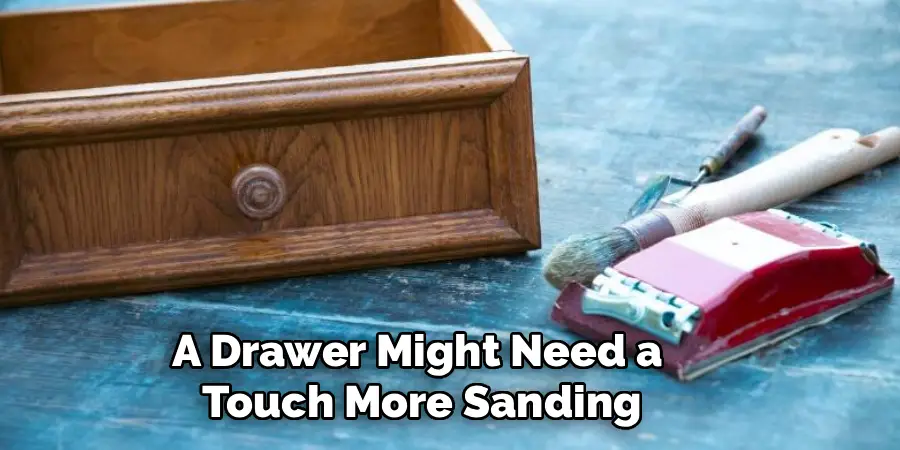
The final step is making sure everything works the way it should. Open and close drawers, swing doors, and check that surfaces sit flat. Sometimes wood doesn’t return to its exact original shape, so minor adjustments help. A drawer might need a touch more sanding, or a door hinge may require slight repositioning.
Rub a little paraffin wax or a bar of soap along sticky drawer runners to help them glide smoothly again. Give everything one last inspection to confirm your repairs feel solid and look clean. If something still sticks, don’t worry. Small tweaks now prevent bigger headaches later and leave your furniture fully functional.
Frequently Asked Questions
Can Swollen Wood Return to Its Original Shape?
In many cases, yes. When swelling is caught early and the wood dries slowly, the fibers often shrink back close to their original size. However, severe or long-term water damage may cause permanent warping. Gentle drying, light sanding, and refinishing usually restore both function and appearance, even if the piece isn’t perfectly identical to before.
How Long Does It Take to Dry Swollen Wood?
Drying time depends on the severity and thickness of the wood. Minor swelling may resolve in one to two days with good airflow, while deeper saturation can take a week or more. Always prioritize slow, steady drying over speed. Rushing with intense heat risks cracking, so use fans, dehumidifiers, and patience for the safest, most reliable results.
What Causes Wood Furniture to Swell in the First Place?
Moisture is the main villain. Wood is naturally porous, so it absorbs water from spills, humidity, leaks, or condensation. As the fibers soak up that moisture, they expand and swell. Seasonal humidity changes also play a role, which is why furniture sometimes sticks in summer and loosens in winter. Sealing the wood properly helps prevent this absorption.
Should I Hire a Professional Instead of Doing It Myself?
For most everyday furniture, you can handle the repair confidently at home with basic tools and a little patience. Consider a professional only for valuable antiques, intricate inlays, or severe structural damage where a mistake could lower the item’s worth. For standard tables, drawers, and cabinets, the DIY approach saves money and delivers genuinely satisfying results.
How Can I Prevent Wood Furniture From Swelling Again?
Prevention starts with controlling moisture. Keep furniture away from damp walls, windows, and humid areas like bathrooms. Use coasters, wipe spills immediately, and consider a dehumidifier in muggy rooms. Most importantly, seal your wood with a quality protective finish that repels water. Regular maintenance and quick cleanup go a long way toward keeping your pieces in great shape.
Conclusion
Bringing damaged furniture back to life is far more achievable than it first appears. By following these seven steps, finding the moisture source, drying slowly, applying gentle heat, sanding, regluing, refinishing, and testing, you can restore both the look and function of your favorite pieces. The secret is patience and working with the wood rather than against it.
Now that you know how to fix swollen wood furniture, you have the confidence to tackle sticky drawers, warped tabletops, and stubborn cabinet doors on your own. Each repair saves you money, reduces waste, and preserves the character of pieces worth keeping. So grab your tools, start with that one annoying drawer, and put these skills to work. Your furniture, and your wallet, will thank you.

Rick is a handyman who grew up helping his dad with his business. He learned a lot from him about how to fix things, and also about how to work hard and take care of business. These days, Rick is still into fixing things- only now, he’s doing it for a living.
Rick is always looking for new ways to help people grow and develop. That’s why he started contributing to this blog: to share all his experience and knowledge so that he can help people who are interested in DIY repair.