

Water damage can occur in several ways, but one of the most common is when water seeps in through the baseboard and damages the drywall or wood underneath. Baseboard is a common fixture in many homes. It is used to cover the space between the floor and the wall and helps to protect against air infiltration and moisture damage.
If water damage occurs, it is important to repair it as soon as possible to prevent further damage. If you’re dealing with this type of water damage, don’t worry – it’s a fairly easy fix! In this post, we’ll show you how to repair water damaged baseboards using a few simple tools and supplies. Let’s get started!
The Importance of Repairing Water Damaged Baseboard
- It Protects Against Air Infiltration. The baseboard helps to seal the space between the floor and the wall, which prevents air from infiltrating the home.
- It Prevents Moisture Damage. By sealing the space between the floor and the wall, the baseboard also helps to prevent moisture damage.
- It Improves Energy Efficiency. By sealing the space between the floor and the wall, the baseboard helps to improve energy efficiency by preventing drafts.
- It Adds Aesthetic Value. The baseboard can add aesthetic value to a home, especially when it is freshly painted or stained.
Materials You’ll Need
- Baseboard
- Drywall or wood (depending on the type of damage)
- Caulk
- Paint
- Putty knife
- Hammer
- Nails or screws
- Drill (optional)
- Saw (if cutting baseboard is necessary)
- Pry bar
- Chisel
9 Steps Guide on How to Repair Water Damaged Baseboard
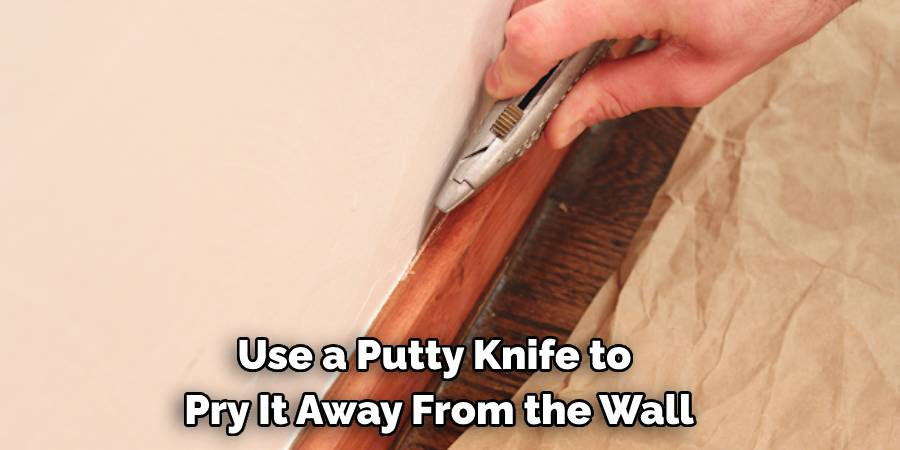
Step 1: Remove the Damaged Baseboard
Start by removing the damaged baseboard. Use a putty knife to pry it away from the wall. If the baseboard is nailed in, you may need to use a hammer to remove the nails. If it is screwed in, you will need to remove the screws. Be careful not to damage the wall as you remove the baseboard.
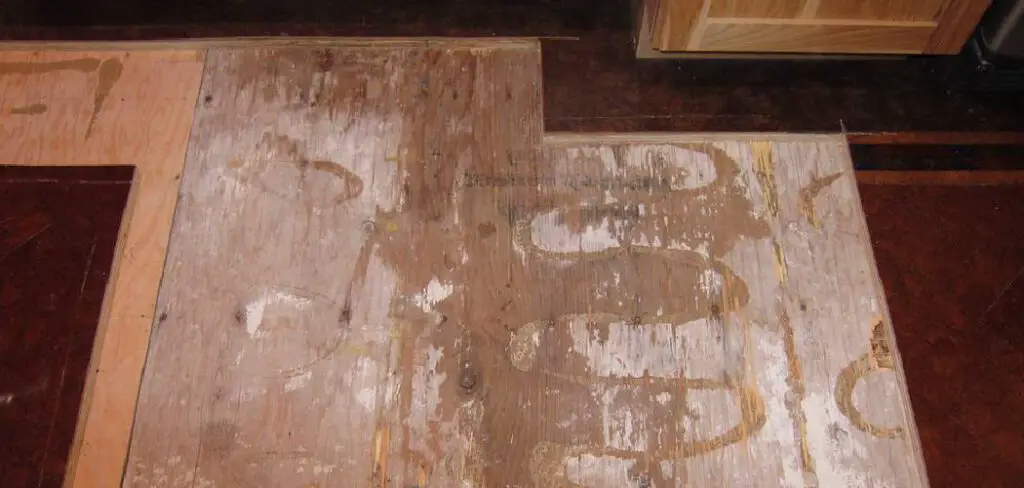
Step 2: Inspect the Damage
Once the baseboard is removed, inspect the damage. If the drywall or wood underneath is significantly damaged, you may need to replace it. If there is only minor damage, you can patch it with caulk or spackle. If you do not inspect it properly, the entire baseboard may have to be replaced.
Step 3: Clean the Area
Before you begin repairing the damage, it is important to clean the area. Use a damp cloth to remove any dirt, dust, or debris. If you notice any mildew or mold, be sure to clean this off as well. You will also want to make sure the area is completely dry before beginning any repairs.
Step 4: Apply Caulk or Spackle
If you are only dealing with minor damage, you can repair it with caulk or spackle. Begin by applying a generous amount of caulk or spackle to the damaged area. Use a putty knife to spread it evenly. It is important to apply a thick layer so that it can fill in any cracks or holes. Allow the caulk or spackle to dry completely before moving on to the next step.
Step 5: Let It Dry
Allow the caulk or spackle to dry completely before proceeding. This may take several hours or overnight. If it is wet or tacky to the touch, it is not ready yet. Once it is dry, you can sand it down to create a smooth surface. Without drying, the baseboard may not adhere properly and the repair will not be as effective.
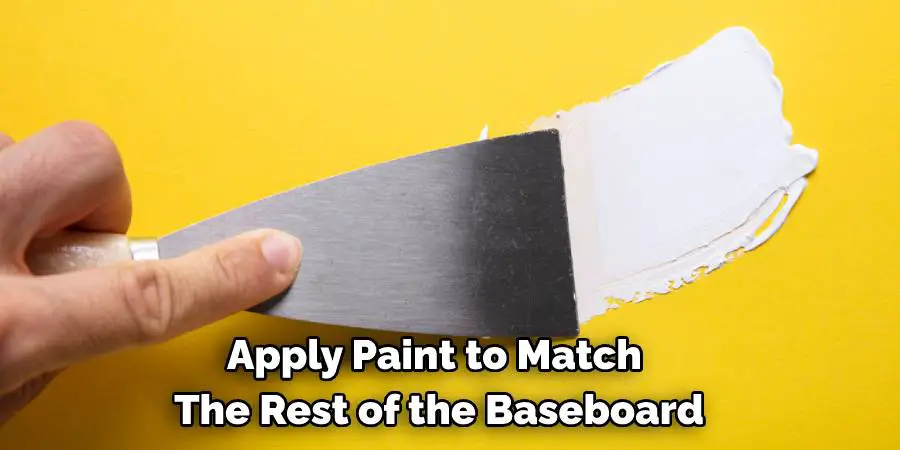
Step 6: Apply Paint
Once the caulk or spackle is dry, you may need to apply paint to match the rest of the baseboard. If you are unsure of the color, you can always take a sample of the baseboard with you to the store. This will help ensure you get an exact match. If you are painting the entire baseboard, it is best to do this before repairing the damage. That way, you only have to paint once.
Step 7: Cut Baseboard
If the damage is extensive, you may need to cut away a section of the baseboard. Use a saw to make the cuts. It is important to cut along a straight line so that the repair will be less noticeable. You should cut it in a way that allows you to easily fit the new piece into place.
Step 8: Attach the Baseboard
Once the damage is repaired, you can reattach the baseboard. If it was nailed in before, you can use nails or screws to reattach it. You may need to predrill holes for the nails or screws. It is important to use a nail gun or screws to secure it in place. Be sure to use enough nails or screws so that it is securely attached.
Step 9: Tighten the Joints
Once the baseboard is in place, tighten the joints where the baseboard meets the wall. This will help to prevent future leaks. If you do not correctly caulk the joints, water can seep in and damage the baseboard again. So, you should be careful to ensure that the caulk is smooth and free of any holes or gaps.
These are the steps on how to repair water damaged baseboard. If you follow these steps, you can easily fix the water damage in your home.
Frequently Asked Questions
What Happens When Baseboard Gets Wet?
If the baseboard gets wet, it can damage the wood or cause it to rot. When this happens, you will need to replace the baseboard. You may also need to repair the wall if the water has seeped in and caused damage.
So, it is important to maintain your baseboard to prevent water damage. When the baseboard becomes wet, it can swell and warp. This can cause the paint to peel and the boards to become loose. If the water damage is extensive, you may need to replace the entire section of the baseboard.

What Does Water Damage on Baseboard Look Like?
Water damage on the baseboard looks like warped or swollen wood. The paint may also be peeling or bubbling. If the water damage is severe, the baseboard may be loose or fall off the wall. It looks pretty bad and can be a real pain to repair. The beauty can be salvaged, though, with a little work.
Can You Paint Over Water Damaged Trim?
If the water damage is minor, you may be able to paint over it. But if the damage is more severe, you’ll need to replace the trim. The importance of trimming can not be overstated. It’s one of the first things people notice when they walk into a room, and water-damaged trim can make a room look shabby and unkempt.
How Do You Fix Rotted Wood Without Replacing It?
If the damage is minor, you can use a wood filler to repair the rotted wood. But if the damage is more severe, you’ll need to replace the trim. The rotted wood will need to be removed and the new edge will need to be cut to fit. You can then install the new frame using nails or screws.
How Long Does It Take for Water to Ruin Wood?
It only takes a few days for the water to ruin the wood. Once the wood is wet, it starts to swell and warp. The paint may also start to peel or bubble. If the water damage is severe, the baseboard may be loose or fall off the wall.
The time has come to replace the trim. Water damaged baseboard is unsightly and can be a real pain to repair. But with a little work, the damage can be repaired and the beauty of your home restored.

Can Water Damage Be Sanded Off?
No, water damage cannot be sanded off. The only way to remove water damage is to replace the damaged wood. If the damage is minor, you may be able to repair it with a wood filler. But if the damage is more severe, you’ll need to replace the trim. The rotted wood will need to be removed and the new border will need to be cut to fit. You can then install the new frame using nails or screws.
How Do You Fix Swollen MDF Baseboards?
Use a heat gun on a low setting and hold it 6-8 inches from the swollen MDF baseboard. Slowly move the heat gun back and forth across the surface of the baseboard until the swelling decreases. Once the swelling has decreased, the baseboard becomes smooth, and paint or stain it to match the rest of the trim in your home.
Conclusion
Whether your baseboard was damaged by a leaky pipe or flooding, it’s important to take care of the problem as soon as possible. Ignoring water damage can lead to serious problems like mold growth and structural damage.
So, you should know how to repair water damaged baseboard. With a little time and effort, you can repair your water-damaged baseboard and get it looking good as new. Thanks for reading! If you have any questions, feel free to give us a call. We’re always happy to help.
You Can Chack It Out Turn Off Baseboard Heater