

A bedskirt is one of those finishing touches that quietly pulls an entire bedroom together. It hides the box spring, conceals under-bed storage, and adds a polished, custom look that store-bought versions rarely match. If you have ever struggled to find a bedskirt that fits your frame just right, the good news is that you can create one yourself with a little patience and a sewing machine.
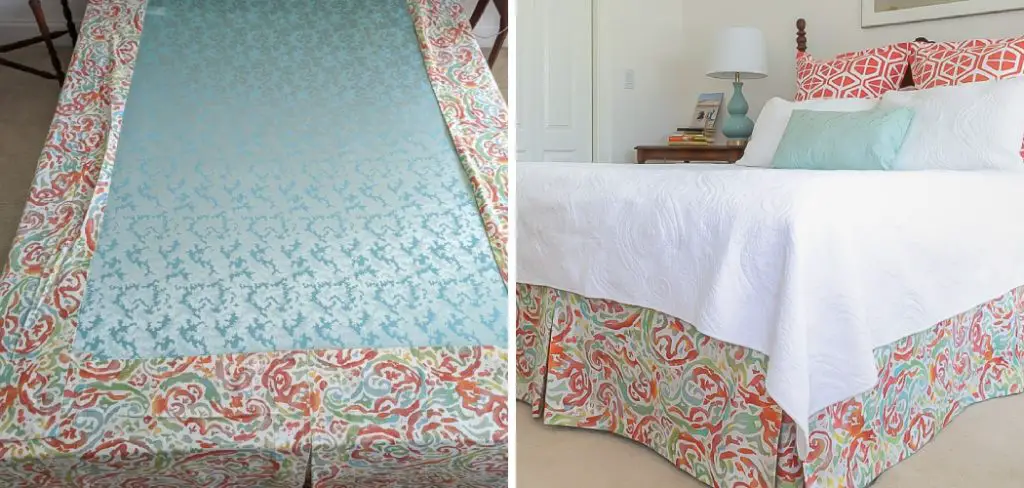
Learning how to make a tailored bedskirt is far more approachable than it sounds, even if you are new to sewing. A tailored style features crisp, structured panels with neat corner pleats, giving your bed a clean and sophisticated appearance rather than a ruffled, gathered look.
In this guide, you will learn each step clearly and simply, from measuring your bed to attaching the finished skirt. We will explain every term along the way, so you never feel lost. By the end, you will have the confidence and skills to craft a piece that fits perfectly and reflects your personal style.
Why a Tailored Bedskirt Transforms Your Bedroom
A tailored bedskirt does more than cover an unsightly box spring. It instantly elevates the overall design of your room, creating clean lines that make the space feel intentional and well put together. Unlike ruffled designs, the tailored style suits modern, minimalist, and even traditional bedrooms with ease.
Making your own version also means you control every detail. You choose the fabric, the color, and the exact drop length, so the fit matches your bed perfectly. That custom fit is something mass-produced skirts simply cannot offer.
Beyond looks, a tailored bedskirt hides storage bins and keeps dust away from items stored beneath the bed. It is a practical upgrade that saves money while delivering a designer-quality result you will be proud to show off.
Step-by-Step Guide to How to Make a Tailored Bedskirt
Step 1: Gather Your Tools and Materials
Before you begin, set up your workspace with everything you need within reach. You will want medium-weight fabric such as cotton or linen, a deck fabric for the flat top piece, matching thread, sewing pins, fabric scissors, a measuring tape, and an iron. A sewing machine makes the project faster, though hand-stitching works too.
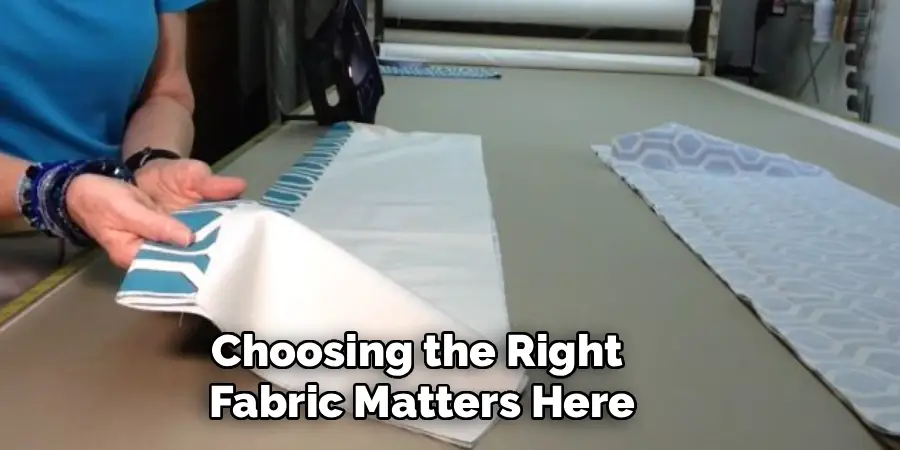
Choosing the right fabric matters here, so pick something durable that holds its shape. Pre-washing your fabric prevents shrinkage later, which protects all your careful measuring. Having organized supplies ready from the start keeps frustration low and helps the whole process flow smoothly, especially if this is your first sewing project.
Step 2: Measure Your Bed Accurately
Accurate measurements form the foundation of a great result, so take your time here. Measure the length and width of your box spring top to size the deck piece. Then measure the drop, which is the distance from the top edge of the box spring down to the floor. Most beds need a drop between 14 and 16 inches.
Write down every number and double-check them before moving on. A small error here can throw off the entire fit. Add a half-inch to each measurement for seam allowances, the extra fabric needed to stitch pieces together without losing your final dimensions. Precise numbers now save you headaches later.
Step 3: Cut the Deck and Skirt Panels
With your measurements ready, lay your deck fabric flat and cut a rectangle matching the size of your box spring top, plus seam allowances. This piece stays hidden under the mattress, so an inexpensive fabric works fine here.
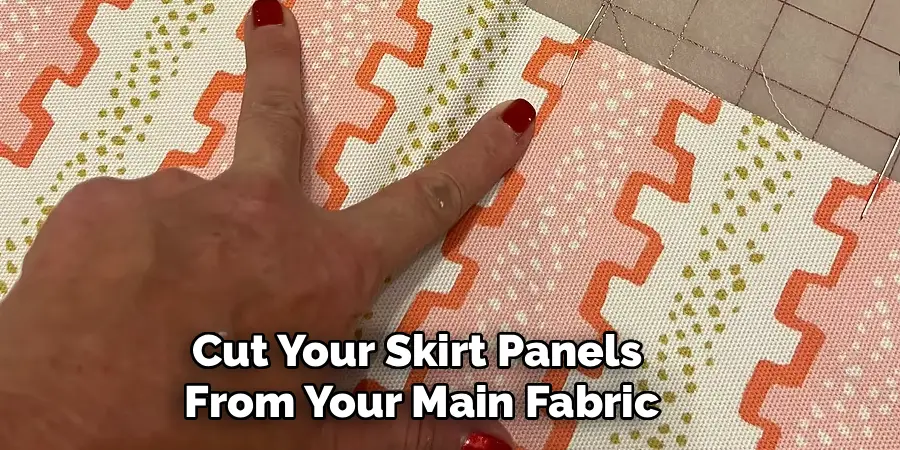
Next, cut your skirt panels from your main fabric. You will need three panels: one for each side and one for the foot of the bed. Each panel’s height equals your drop measurement plus allowances for the hem and top seam. Cut carefully along straight lines, since crooked panels create uneven hems. Iron each panel flat once cut, as smooth fabric is far easier to sew and produces sharper, more professional edges.
Step 4: Bedskirt With Crisp Corner Pleats
The defining feature of this style is the neat inverted pleat at each corner. To create one, cut small additional fabric pieces, roughly 10 inches wide, to insert at the corners where panels meet. These pleats allow movement while keeping the tailored look intact.
Fold each pleat piece so the fabric meets neatly in the center, then pin it in place between the side and foot panels. Press the folds with your iron to set them sharply. Take your time aligning these corners, because they are the detail people notice most. Well-formed pleats are what separate a homemade skirt from a truly polished, custom-tailored finish.
Step 5: Hem the Skirt Panels
A clean hem gives your bedskirt a finished, professional edge and prevents fraying over time. Fold the bottom of each panel up by about half an inch, press it flat with your iron, then fold it up again to enclose the raw edge completely. Pin along the fold to hold it steady.
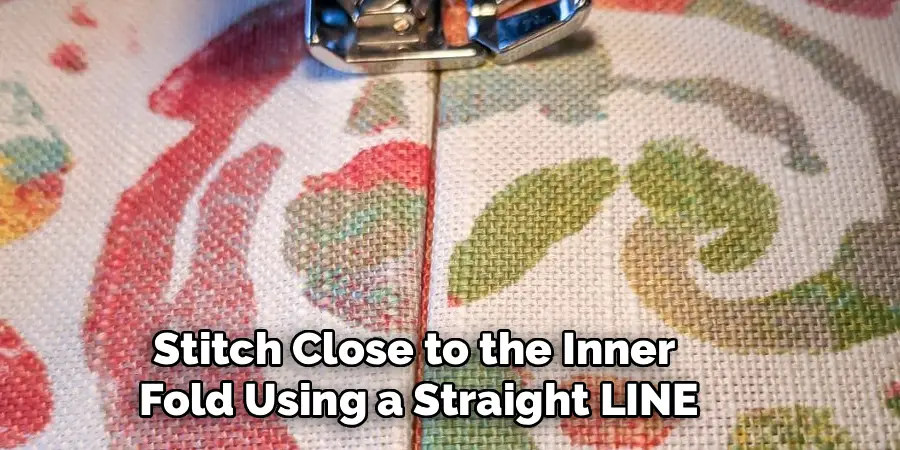
Stitch close to the inner fold using a straight line, removing pins as you go. Keep your stitching even and parallel to the edge for the best look. Pressing the hem before sewing makes a noticeable difference in the final appearance. This step takes patience, but a tidy hem rewards you with a skirt that hangs beautifully and lasts.
Step 6: Joining Panels to the Deck
Now you bring everything together. Lay the deck fabric flat with the right side facing up. Position your hemmed skirt panels along the edges, right sides facing the deck, lining up the raw top edges. Pin the side panels and foot panel in place, inserting your prepared corner pleats at each junction.
Sew along the pinned edge with a straight stitch, securing the panels firmly to the deck. Work slowly around the corners to keep the pleats crisp. Once stitched, flip the skirt down so it hangs correctly. Give the whole piece a final press, and your structured, tailored design begins to take its finished shape.
Step 7: Fit and Final Adjustments
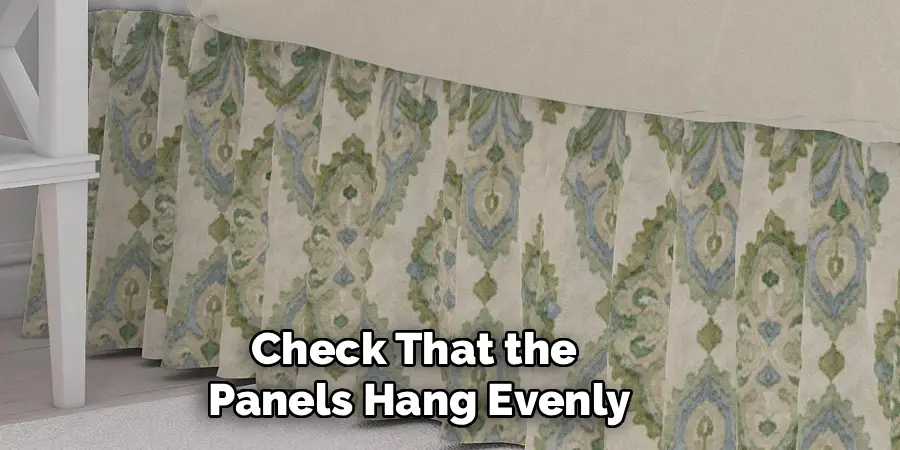
With your skirt assembled, it is time to test the fit. Remove your mattress, place the bedskirt over the box spring with the deck on top, then set the mattress back down to hold everything in place. Check that the panels hang evenly and just brush the floor.
If a panel sits too long or too short, you can adjust the hem accordingly. Smooth out any wrinkles and straighten the corner pleats so they fall neatly. Step back and review the overall look from across the room. Small tweaks at this stage make a big difference, leaving you with a clean, custom result that fits your bed perfectly.
Frequently Asked Questions
How Much Fabric Do I Need for the Project?
The amount depends on your bed size and drop length. For a standard queen bed with a 15-inch drop, plan for roughly 4 to 5 yards of main fabric, plus about 2 yards of inexpensive deck fabric. Always buy a little extra to allow for pleats, hems, and mistakes. Measuring carefully before purchasing helps you avoid running short midway through.
Can I Make a Bedskirt Without a Sewing Machine?
Yes, you can absolutely hand-stitch one, though it takes more time and patience. Use a backstitch for seams since it holds securely and resists pulling apart. No-sew fabric tape is another option for hems and simple joins. While a sewing machine speeds things up and creates stronger seams, beginners can still achieve a lovely tailored result entirely by hand.
What Fabric Works Best for a Tailored Style?
Medium-weight fabrics like cotton, linen, or a cotton-linen blend work best because they hold their shape and create crisp pleats. Avoid very thin or stretchy materials, as they tend to sag and wrinkle. Choose a color or pattern that complements your bedding and room decor. Pre-washing your fabric first prevents shrinkage and keeps your finished measurements accurate.
How Do I Keep the Bedskirt From Shifting?
A well-fitted deck piece held under the mattress usually keeps the skirt in place naturally. If it still shifts, try adding safety pins or hook-and-loop strips between the deck and box spring for extra security. Tucking the panels neatly after making the bed also helps. These simple fixes keep your skirt looking smooth and tidy day after day.
How Long Does This Project Take to Complete?
For a beginner, expect to spend around four to six hours from measuring to final fitting. Experienced sewers may finish in two to three hours. Breaking the work into stages across a weekend keeps it relaxed and enjoyable. Rushing tends to cause errors, so allow yourself enough time to measure carefully, sew neatly, and press each section properly.
Conclusion
Creating a custom bedskirt is a rewarding project that delivers a polished, designer-quality look without the high price tag. By measuring carefully, cutting precisely, and forming crisp corner pleats, you can craft a piece that fits your bed perfectly and complements your room beautifully. Each step builds on the last, so even complete beginners can follow along with confidence.
Now that you understand how to make a tailored bedskirt from start to finish, you have everything you need to begin. Gather your fabric, set aside an afternoon, and enjoy the satisfying process of building something with your own hands. The result will be a refined, well-fitted finish that transforms your bedroom and showcases your new sewing skills. Trust the process, take your time, and you will love the outcome.

Rick is a handyman who grew up helping his dad with his business. He learned a lot from him about how to fix things, and also about how to work hard and take care of business. These days, Rick is still into fixing things- only now, he’s doing it for a living.
Rick is always looking for new ways to help people grow and develop. That’s why he started contributing to this blog: to share all his experience and knowledge so that he can help people who are interested in DIY repair.