
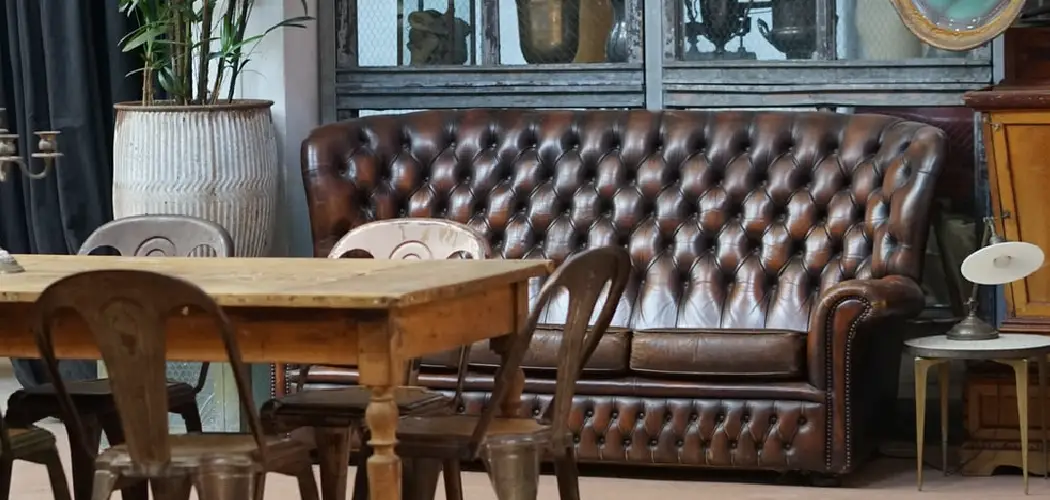
A Chesterfield sofa is more than furniture. It’s a statement piece with deep button tufting, rolled arms, and a timeless charm that fits both classic and modern homes. But years of use can leave even the finest leather looking tired, cracked, or faded. The good news? You don’t need to be a professional upholsterer to bring that beloved piece back to life.
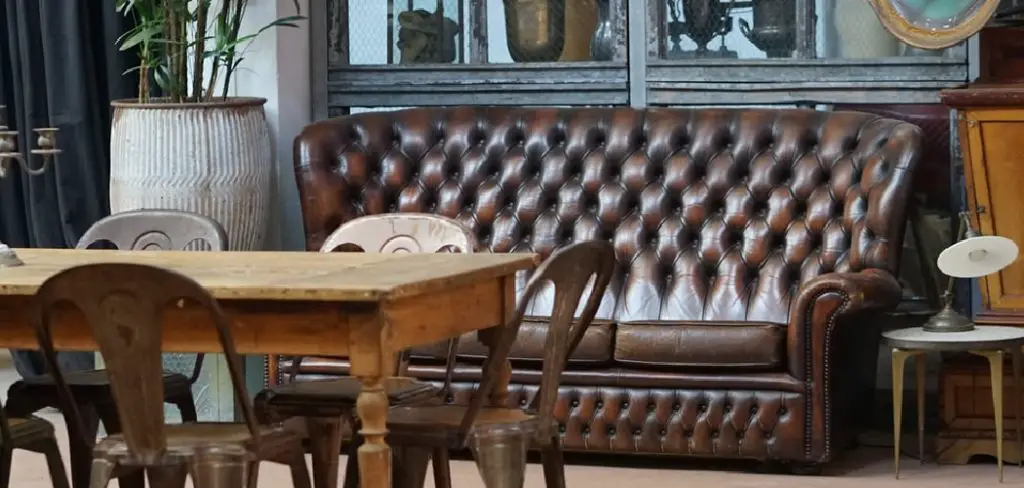
Learning how to restore a chesterfield sofa is a rewarding project that saves money and preserves character. With a little patience, the right tools, and a clear plan, you can refresh worn leather, tighten loose buttons, and revive faded fabric.
This guide walks you through everything step by step, in plain language, so anyone can follow along. Whether your sofa is a vintage find or a family heirloom, you’ll learn how to assess its condition, choose the right products, and tackle common problems with confidence. Let’s turn that weary sofa into a centerpiece you’ll be proud to show off again.
Why Restoring a Chesterfield Sofa Is Worth It
Restoring your sofa instead of replacing it brings real benefits. First, it saves you serious money. A quality Chesterfield can cost thousands, while a careful restoration often runs a fraction of that price.
Beyond cost, there’s the matter of quality. Older Chesterfields were frequently built with solid hardwood frames and full-grain leather that simply outlasts many modern alternatives. Bringing one back to life means keeping that craftsmanship in your home.
There’s also the sustainability angle. Repairing what you own keeps furniture out of landfills and reduces waste. Finally, restoration lets you preserve sentimental value, especially if the piece has been passed down through generations. You keep the memories while giving the sofa a fresh, comfortable future for years to come.
Step-by-Step Guide to How to Restore a Chesterfield Sofa
Step 1: Assess the Sofa’s Overall Condition
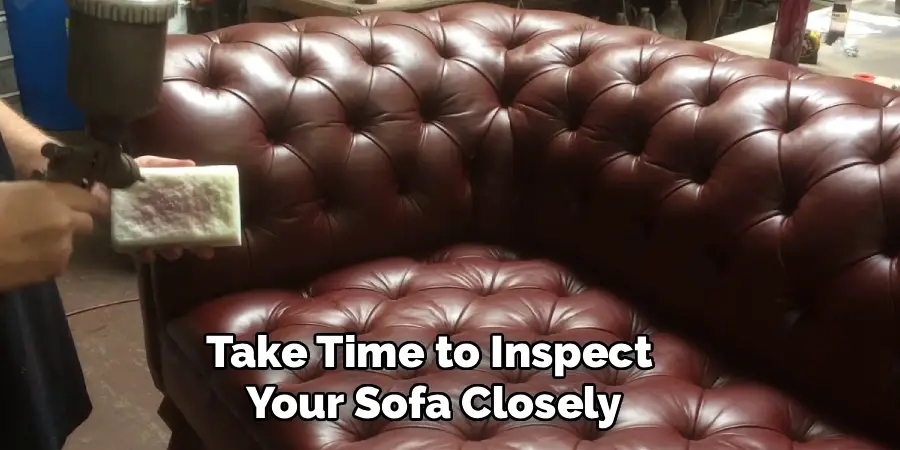
Before you touch a single product, take time to inspect your sofa closely. Sit on each cushion, run your hands along the arms, and check the frame for stability. Look for cracks, scratches, fading, loose buttons, sagging seats, and any tears in the leather or fabric. Note whether the damage is surface-level or structural.
Make a simple list of every issue you find, then sort it from minor to major. This planning stage helps you gather the right materials and avoid surprises later. A clear picture of the damage means you can budget your time, set realistic goals, and decide which repairs you can confidently handle yourself.
Step 2: Gather Your Tools and Materials
Having everything ready before you start saves frustration and keeps the project flowing. For a typical leather Chesterfield, you’ll want a soft cloth, a vacuum with a brush attachment, mild leather cleaner, leather conditioner, and a colour-matched leather repair kit. If your sofa has fabric upholstery, swap in an appropriate fabric cleaner instead.
For structural fixes, keep a screwdriver, wood glue, and replacement buttons or twine on hand. Always test any cleaner or dye on a hidden spot first, like the back or underside. This quick check prevents discolouration and gives you peace of mind. With your kit assembled, you’re set up for smooth, stress-free progress.
Step 3: Clean Every Surface Thoroughly
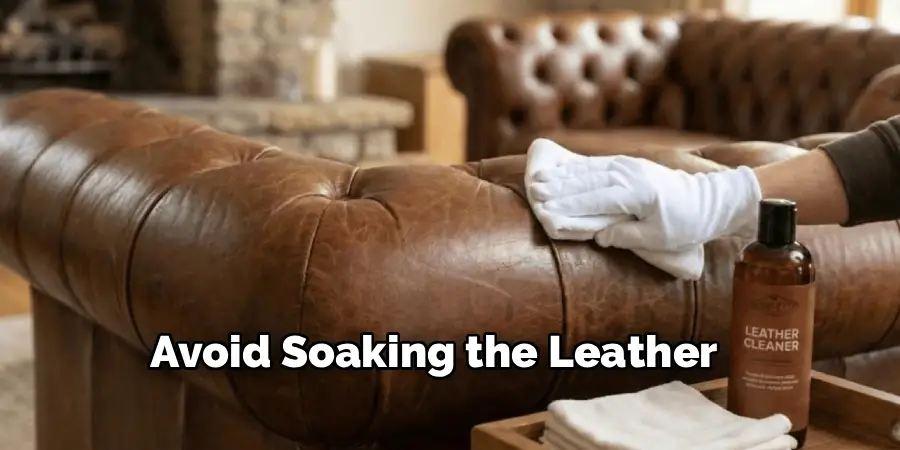
Start by vacuuming the entire sofa, paying close attention to the deep buttoned tufts and seams where dust and crumbs hide. Use the brush attachment gently so you don’t scratch the surface. Once the loose debris is gone, dampen a soft cloth with mild leather cleaner and wipe down each section in small, circular motions.
Avoid soaking the leather, since too much moisture can cause damage. Work methodically from top to bottom, rinsing your cloth often. Knowing how to restore a chesterfield sofa really begins here, because a clean surface lets repairs and conditioners bond properly. Let the sofa dry fully before moving to the next step.
Step 4: Repair Cracks, Scratches, and Tears
With your sofa clean and dry, focus on the damaged areas. For small scratches, gently rub in a little leather conditioner and buff with a soft cloth. Deeper cracks and tears need a leather repair kit. Apply the filler compound in thin layers, letting each one dry before adding the next, then smooth the surface with the included spatula.
Once the filler sets, match the colour using the dye or balm from your kit. Blend it carefully into the surrounding leather so the patch disappears. Take your time here. Rushing repairs usually shows, while patient layering creates a seamless, professional-looking finish you’ll be proud of.
Step 5: Tighten and Replace Buttons
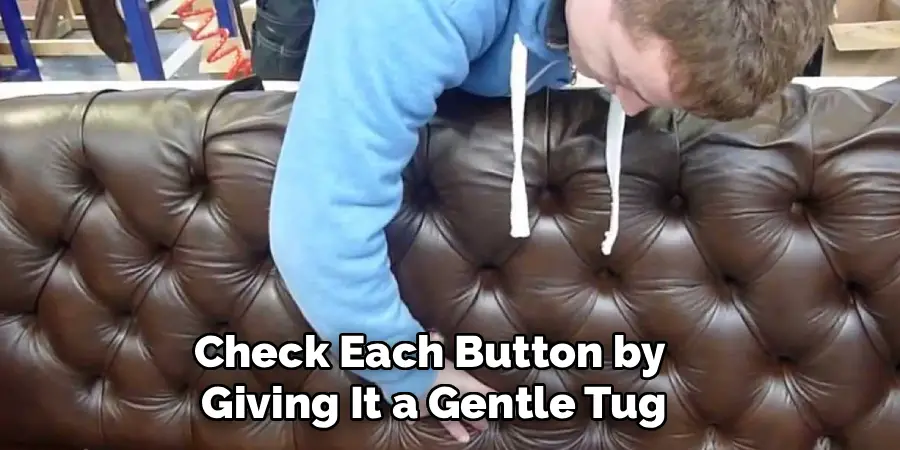
The deep buttoned tufting is the signature of any Chesterfield, so loose or missing buttons stand out immediately. Check each button by giving it a gentle tug. For loose ones, you can often re-tension the twine from the back of the sofa, securing it tightly to the frame.
If buttons are missing, use a colour-matched replacement and a long upholstery needle to thread fresh twine through the existing hole. Pull firmly to recreate that classic tufted dimple, then knot the twine securely on the underside. This step takes a steady hand, but restoring those crisp folds instantly sharpens the whole look of your sofa.
Step 6: Condition and Protect the Leather
Conditioning is where your sofa truly comes back to life. Leather naturally loses moisture over time, which leads to that dry, cracked appearance. Apply a generous but even layer of quality leather conditioner using a soft cloth, working it into every panel and around the buttons.
Let the conditioner soak in for the time recommended on the label, then buff away any excess for a soft, healthy sheen. This is a key part of how to restore a chesterfield sofa, because it nourishes the leather and protects against future wear. For ongoing care, condition the sofa every six to twelve months to keep it supple, rich in colour, and beautifully resilient.
Step 7: Refresh the Frame and Final Touches
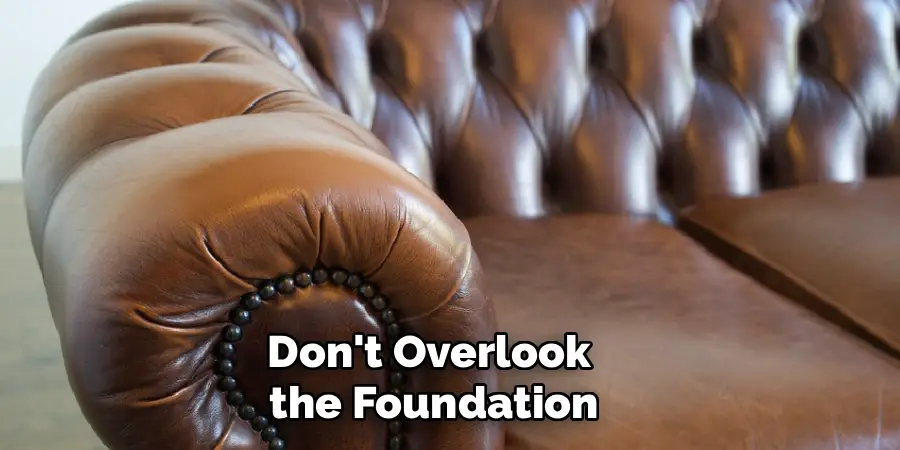
Don’t overlook the foundation. Tip the sofa carefully and inspect the wooden frame and legs for wobbles or loose joints. Tighten any screws and apply wood glue to shaky joints, clamping them until dry. If the cushions feel flat, refluff the filling or add new foam inserts for renewed support and comfort.
Finally, step back and review your work. Give the whole sofa a gentle buff, plump the cushions, and check that every button and seam looks crisp. These finishing touches pull everything together. With the frame solid and the surface gleaming, your Chesterfield is ready to take pride of place once more.
Frequently Asked Questions
How Long Does It Take to Restore a Chesterfield Sofa?
Timing depends on the sofa’s condition and your experience level. A basic clean and condition might take an afternoon, while deeper repairs involving cracks, buttons, and frame work can stretch across a weekend. Allow extra drying time between steps for cleaners, fillers, and conditioners. Working patiently always produces better results than rushing, so plan generously and enjoy the process rather than racing to finish.
Can I Restore a Fabric Chesterfield the Same Way?
The approach is similar, but the products differ. Fabric Chesterfields need an upholstery-safe fabric cleaner rather than leather products, and you’ll skip the conditioning step entirely. Spot-test any cleaner first, treat stains gently, and let the fabric dry fully. Button tufting, frame repairs, and cushion refreshing all follow the same methods. Always check your fabric’s care label so you choose compatible cleaning solutions and avoid accidental damage.
What Should I Do If the Leather Is Badly Cracked?
Severe cracking can often still be improved at home using a leather repair kit and patient, layered filling. However, if the leather is crumbling or splitting across large areas, the panel may need professional reupholstery. Assess honestly whether the damage is surface-level or structural. For valuable or antique pieces, consulting an upholstery expert protects your investment and ensures the right materials and techniques are used.
How Much Does Restoration Typically Cost?
A do-it-yourself restoration is usually budget-friendly, with cleaning and repair supplies often costing far less than professional services. Expect to spend on a leather cleaner, conditioner, repair kit, and replacement buttons. Professional restoration costs more but suits delicate antiques or major structural damage. Compared with buying a brand-new Chesterfield, either option saves significantly while keeping your cherished piece in your home.
How Often Should I Maintain My Chesterfield?
Regular care keeps your sofa looking its best and prevents costly repairs down the line. Dust and vacuum it weekly, wipe spills immediately, and condition leather every six to twelve months. Keep the sofa out of direct sunlight and away from heat sources to prevent fading and drying. Consistent, gentle maintenance dramatically extends its life and preserves that signature, head-turning appearance for many years.
Conclusion
Bringing an old Chesterfield back to its former glory is one of the most satisfying projects you can take on. By assessing the damage, gathering the right tools, cleaning thoroughly, repairing the leather, tightening buttons, conditioning the surface, and reinforcing the frame, you give your sofa a genuine second life. Each step builds on the last, and the results speak for themselves.
You don’t need years of experience to succeed. With patience, a clear plan, and a little care, anyone can learn how to restore a chesterfield sofa and enjoy beautiful, lasting results. So gather your supplies, set aside a weekend, and get started. Your refreshed Chesterfield will reward you with comfort, character, and pride for years to come. Take that first step today.

Rick is a handyman who grew up helping his dad with his business. He learned a lot from him about how to fix things, and also about how to work hard and take care of business. These days, Rick is still into fixing things- only now, he’s doing it for a living.
Rick is always looking for new ways to help people grow and develop. That’s why he started contributing to this blog: to share all his experience and knowledge so that he can help people who are interested in DIY repair.