
Those old recessed cans with CFL bulbs tucked into your ceiling might still work, but they’re not doing you any favors. They flicker, take ages to brighten up, and quietly waste energy month after month. The good news? You can upgrade them yourself without calling an electrician or tearing into your ceiling. Knowing how to convert cfl recessed light to led gives you brighter, cleaner light while shrinking your power bill at the same time.
This swap is one of the easiest home upgrades a beginner can tackle. Modern LED retrofit kits are designed to drop right into your existing recessed housing, so you won’t need to rewire anything or buy fancy tools. In most cases, the whole job takes just a few minutes per fixture. Throughout this guide, we’ll walk through everything from picking the right kit to testing your finished install. By the end, you’ll feel confident transforming every dated can light in your home into a sleek, efficient fixture that looks great and lasts for years.
Why Converting CFL Recessed Lights to LED Matters
Switching from CFL to LED pays off in ways you’ll notice right away. LEDs use up to 80% less energy than CFL bulbs, which means real savings on every electric bill. They also turn on instantly at full brightness, so no more standing in a dim room waiting for the light to warm up. On top of that, a quality LED lasts around 25,000 hours, far longer than any compact fluorescent.
There’s a safety angle too. CFL bulbs contain small amounts of mercury, making them tricky to dispose of and risky if they break. LEDs skip that problem entirely. They also run cooler, which reduces strain on your fixtures and your ceiling. With better color quality, dimmable options, and almost no maintenance, the upgrade simply makes your home brighter, safer, and cheaper to run.
Step-by-Step Guide to How to Convert CFL Recessed Light to LED
Step 1: Gather Your Tools and Materials
Before you touch anything, set yourself up for a smooth job. You’ll want an LED retrofit kit that matches your recessed housing size, usually 4, 5, or 6 inches. Grab a sturdy step ladder, a voltage tester, and a clean cloth for wiping dust off the trim. Most kits come with everything else you need, including the adapter that screws into your existing socket. Take a moment to read the kit instructions, since brands vary slightly. Having all your supplies within reach saves you from climbing up and down repeatedly. A little prep here makes the rest of the project feel effortless and quick.

Step 2: Turn Off the Power Safely
Safety always comes first when you’re learning how to convert cfl recessed light to led. Head to your breaker box and flip off the circuit that controls the recessed lights you’re working on. Don’t just rely on the wall switch, because wiring mistakes happen and you want zero risk of a shock. Once the breaker is off, climb up and use your voltage tester near the fixture to confirm there’s no power flowing. If the tester stays silent, you’re clear to proceed. This quick check takes seconds but protects you completely. Never skip it, even if you feel sure the power is already off.
Step 3: Remove the Old CFL Bulb and Trim
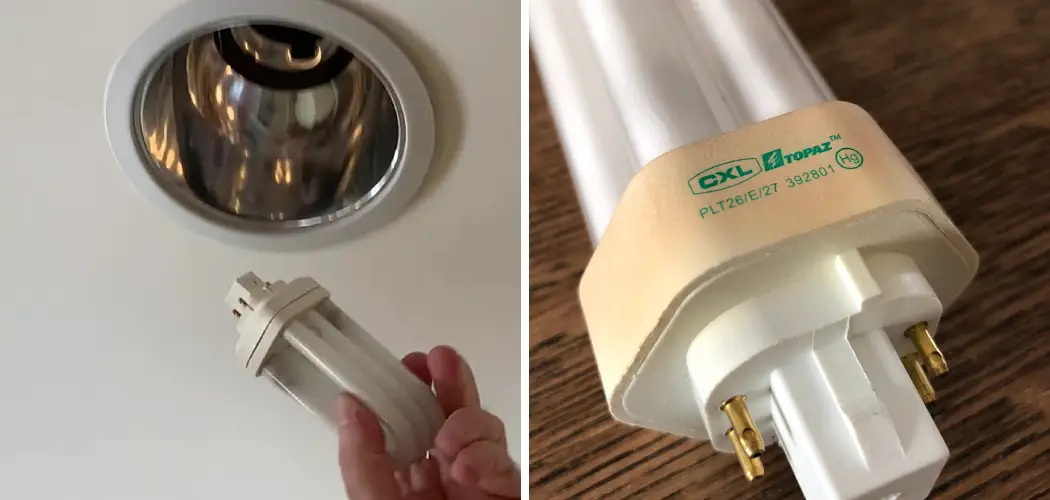
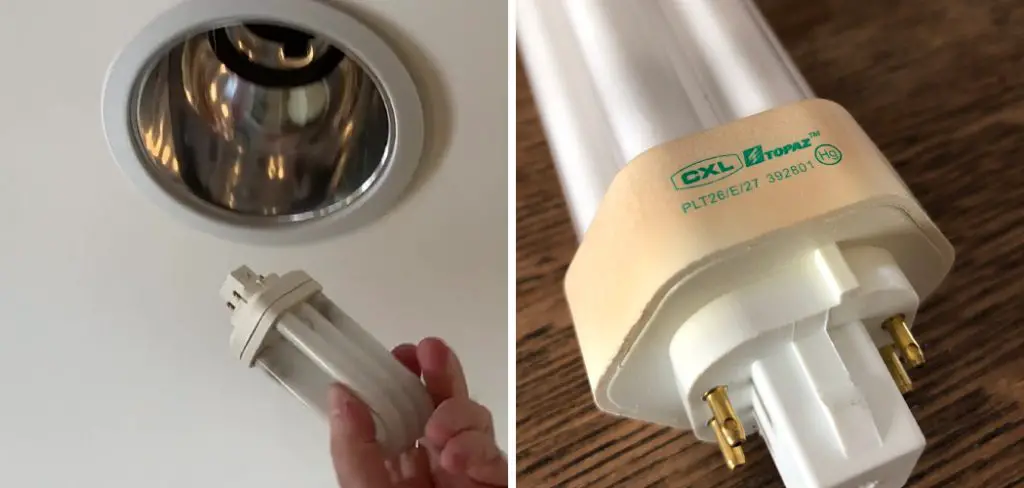
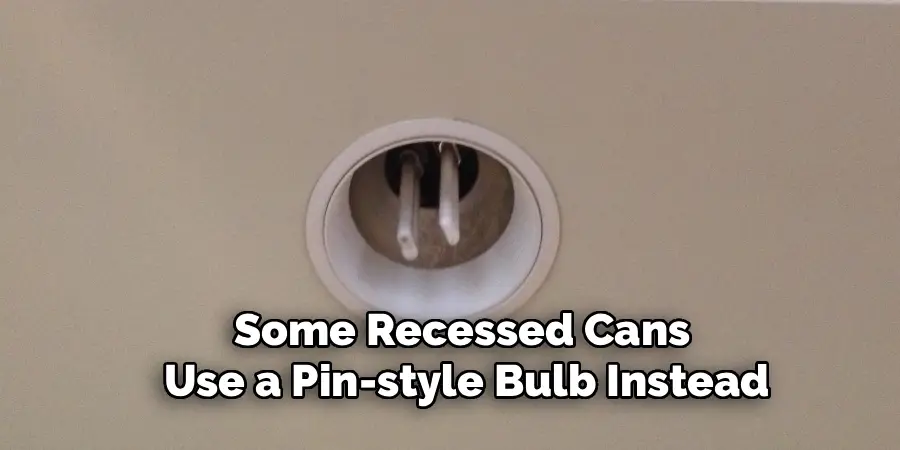
With the power confirmed off, gently pull down the existing trim ring. Many trims are held in place by small spring clips or coil springs along the inside of the housing. Squeeze these springs together and ease the trim out until it hangs free. Next, unscrew the CFL bulb from its socket, turning it counterclockwise. Some recessed cans use a pin-style bulb instead, which pulls straight out. Set the old bulb aside carefully, since CFLs contain mercury and need proper disposal. Take a quick peek inside the housing and wipe away any dust or cobwebs while you have easy access.
Step 4: Inspect the Socket and Housing
Now look closely at what’s inside the can. Check that the existing bulb socket is intact and free of corrosion or scorch marks. If you spot melted plastic or blackened wiring, stop and call a professional before continuing. For most fixtures, though, you’ll find a standard medium-base socket in good shape. Confirm your housing measurement matches the retrofit kit you bought by measuring the opening across its widest point. This is also a smart time to make sure the housing is labeled IC-rated if it touches insulation. A quick inspection prevents surprises and ensures your new LED unit fits and runs safely.
Step 5: Attach the LED Adapter
Most retrofit kits include a small adapter that screws into your old bulb socket, just like a standard light bulb. Take that adapter and thread it clockwise into the medium-base socket until it feels snug. Don’t overtighten, since hand-tight is plenty. This clever little piece is what makes the whole conversion possible, letting your modern LED fixture draw power through the existing wiring. If your kit uses a different connector style, follow the included diagram closely. Give the adapter a gentle wiggle to confirm it’s secure. Once it’s locked in, you’re ready to connect the LED unit itself in the next step.

Step 6: Connect and Insert the LED Retrofit
Here’s where you really see how to convert cfl recessed light to led come together. Take your LED retrofit module and plug its connector into the adapter you just installed. You’ll hear or feel a small click when it seats properly. Next, fold the spring clips on the sides of the LED unit upward, then push the whole module up into the housing. The springs will grip the inside of the can and pull the trim flush against your ceiling. Press gently around the edges until it sits flat with no gaps. The fit should feel firm and clean, with the trim hugging the ceiling neatly.
Step 7: Restore Power and Test
You’re almost done. Climb down and head back to your breaker box, then flip the circuit back on. Return to your wall switch and turn the light on to see your work in action. The LED should light up instantly at full, even brightness with no flicker. If it works, congratulations, you’ve finished the swap. If nothing happens, turn the power off again and double-check that the adapter and module connectors are fully seated. Loose connections are the most common cause of a dark fixture. Once everything glows, repeat the whole process on your remaining recessed cans.
Frequently Asked Questions
Do I Need an Electrician to Make This Conversion?
For most homes, no electrician is required. Modern LED retrofit kits are built for do-it-yourself installation and simply screw into your existing socket. As long as you turn off the breaker and test for power first, the job is safe and beginner-friendly. However, if you notice damaged wiring, scorch marks, or a socket that looks corroded inside the housing, it’s wise to call a licensed electrician to inspect things before going further.
Will Any LED Retrofit Kit Fit My Recessed Cans?
Not quite, so measuring matters. Retrofit kits come in standard sizes, most commonly 4, 5, and 6 inches, matching the opening of your recessed housing. Measure across the widest part of the can opening before buying. You’ll also want to confirm the kit works with your socket type, usually a standard medium base. Checking these two details ensures the new LED unit slides in snugly and the trim sits flush against your ceiling.
Can I Use a Dimmer Switch With My New LED Lights?
Yes, but you need dimmable LED retrofit units paired with a compatible LED dimmer switch. Older dimmers designed for incandescent or CFL bulbs often cause flickering or buzzing with LEDs. Check the packaging to confirm your retrofit module says “dimmable,” then match it with a dimmer rated for LED loads. Making both pieces compatible gives you smooth, flicker-free dimming and protects the lifespan of your new fixtures.
How Much Money Will I Actually Save?
Savings add up faster than most people expect. LEDs use roughly 80% less electricity than CFL bulbs and last far longer, so you spend less on both power and replacements. While exact numbers depend on your usage and local rates, many households recover the cost of their retrofit kits within a year or two. Multiply that across every recessed can in your home, and the long-term savings become genuinely significant.
What Should I Do With My Old CFL Bulbs?
Never toss CFL bulbs in your regular trash, because they contain small amounts of mercury. Instead, take them to a local recycling center or a hardware store that accepts fluorescent bulbs for proper disposal. Many retailers offer free drop-off programs. Store the old bulbs carefully until you can recycle them, and avoid breaking them. Handling disposal responsibly keeps mercury out of landfills and protects both your family and the environment.
Conclusion
Upgrading your recessed lighting is one of those rare home projects that’s quick, affordable, and instantly rewarding. By following these seven simple steps, you’ve seen how to convert cfl recessed light to led without special skills or expensive help. Just remember the essentials: gather your supplies, kill the power at the breaker, swap out the old bulb, attach the adapter, snap in your LED module, and test your work before moving on.
The payoff is hard to beat. You’ll enjoy brighter, instant-on light, lower energy bills, and fixtures that last for years with zero maintenance. Plus, you’re making your home safer by removing those mercury-filled CFLs for good. So grab a retrofit kit, pick your first recessed can, and give it a try this weekend. Once you finish the first one, the rest will feel like second nature, and your whole home will shine brighter for it.

Rick is a handyman who grew up helping his dad with his business. He learned a lot from him about how to fix things, and also about how to work hard and take care of business. These days, Rick is still into fixing things- only now, he’s doing it for a living.
Rick is always looking for new ways to help people grow and develop. That’s why he started contributing to this blog: to share all his experience and knowledge so that he can help people who are interested in DIY repair.