

Dimmer switches are a fantastic way to control the mood and energy usage in a room. However, it can be alarming to touch a dimmer and find that it’s warm or even hot. It is normal for a dimmer switch to be slightly warm to the touch, as the internal components dissipate a small amount of energy as heat. But a switch that is uncomfortably hot, smells of burning plastic, or causes the lights to flicker erratically is a sign of a problem that needs immediate attention. This guide will provide clear, safety-focused instructions on how to fix a hot dimmer switch, helping you diagnose the cause and resolve it correctly.
When dealing with an overheated dimmer switch, safety is the top priority. Identifying the root cause of the issue is essential to prevent potential hazards such as electrical fires or damage to your lighting system. Fortunately, most problems with a hot dimmer switch can be addressed with straightforward steps and some basic tools. By following these instructions carefully, you can ensure your switch operates safely and efficiently while extending its lifespan.
Troubleshooting an Overheated Dimmer Switch
To troubleshoot an overheated dimmer switch, follow these steps:
- Turn off the power – Before attempting any repairs or adjustments, it is crucial to disconnect the power supply to your dimmer switch. Locate the circuit breaker or fuse connected to the switch and turn it off.
- Inspect the wiring – Once the power has been cut off, inspect the wiring connected to your dimmer switch. Look for any loose or damaged wires that may be causing a short circuit.
- Tighten connections – If you find any loose wires, use a screwdriver to tighten them securely into place. Loose connections can cause excess heat and potentially start a fire, so it is important to make sure all connections are tight.
- Replace damaged wires – If you notice any damaged or frayed wires, they should be replaced immediately. Damaged wiring can also cause fires and should not be ignored.
- Test the switch – After inspecting and making any necessary repairs, turn the power back on and test your dimmer switch to ensure it is functioning properly. If it still does not work, there may be a larger issue at hand and you should consult a professional electrician.
How to Fix a Hot Dimmer Switch: A Step-by-Step Guide
Step 1: Turn Off Power
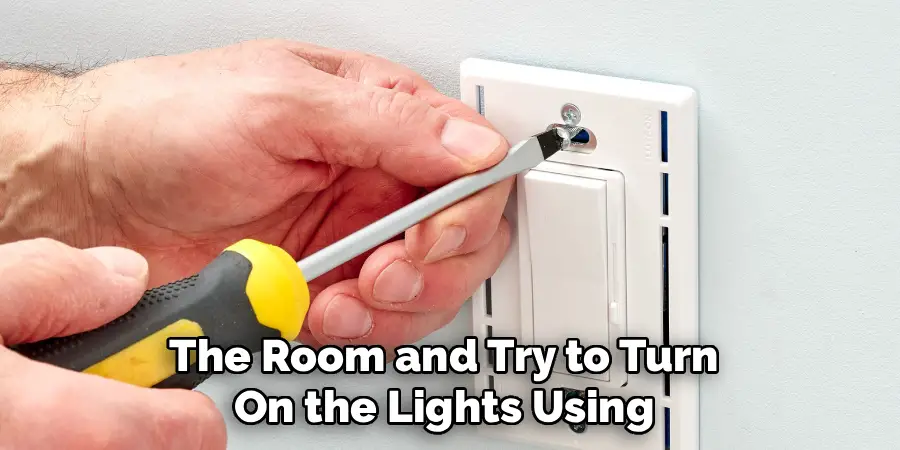
Before you touch any part of the dimmer switch or its wiring, your absolute first priority is safety. You must completely cut off the electrical power to the circuit you will be working on. Go to your home’s main electrical panel (or breaker box) and find the circuit breaker that controls the power to the room with the faulty switch. Flip the breaker to the “OFF” position. To be absolutely certain the power is off, go back to the room and try to turn on the lights using the dimmer switch. The lights should not turn on.
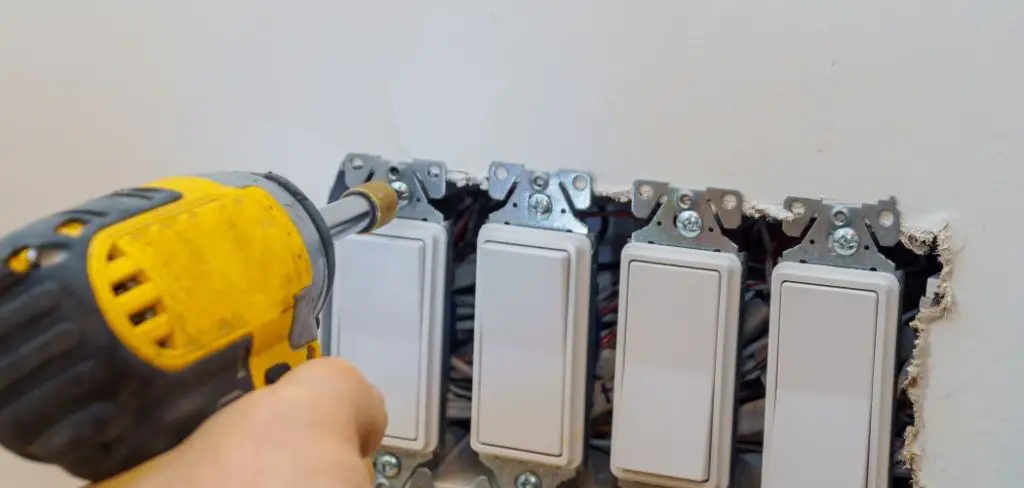
Step 2: Remove the Switch Plate
Once you have shut off the power at the breaker, you can safely begin to disassemble the switch. Use a screwdriver to remove the small screws holding the faceplate over the dimmer switch. With the faceplate removed, you will see the switch body and the screws that mount it to the electrical box. As a final, crucial safety check, use a non-contact voltage tester to verify that there is no electrical current flowing to the switch. Simply hold the tip of the tester near the wires and screws. If it remains silent and does not light up, you can proceed.
Step 3: Check the Wattage Load
One of the most common causes of an overheating dimmer is an overloaded circuit. Every dimmer switch has a maximum wattage rating, such as 600W or 1000W. This number indicates the total power it can safely control. Check the wattage of every single light bulb connected to the switch. For example, if you have ten 75-watt bulbs on the circuit, the total load is 750 watts. If your dimmer is only rated for 600W, it is overloaded, which will cause it to dangerously overheat. This is a critical diagnostic step.
Step 4: Inspect for Loose Wiring Connections
With the power confirmed off, gently pull the dimmer switch out from the electrical box to inspect the wiring. Loose connections are another frequent cause of overheating. When a wire is not securely fastened under a terminal screw or inside a wire nut, electricity has to “jump” the small gap, which creates electrical arcing and intense heat. Carefully check every connection point. Ensure all screws are tight and that the wires are firmly held within any wire nuts. If you find a loose wire, it could be the source of your problem.

Step 5: Assess Bulb Compatibility
Not all light bulbs are created equal, and not all are compatible with all dimmer switches. Using non-dimmable bulbs with a dimmer switch can cause both the bulbs and the switch to malfunction and overheat. This is especially true for many types of LED and CFL bulbs. Check your light bulbs to ensure they are explicitly marked as “dimmable.” If you are using incompatible bulbs, the dimmer will struggle to regulate the current correctly, leading to excess heat. Replacing the bulbs with a compatible dimmable version is a necessary step.
Step 6: Replace an Underrated or Faulty Dimmer
If you have determined that your dimmer switch is underrated for the wattage load, or if the wiring is tight and the bulbs are compatible, then the switch itself is likely faulty. Internal components can wear out and fail over time. Purchase a new dimmer switch that has a wattage rating well above your circuit’s total load. For example, if your load is 750W, install a 1000W dimmer. It is always better to have a higher-rated dimmer than one that is just barely meeting the requirements. This provides a safety margin and ensures cooler operation.
Step 7: Install the New Dimmer Switch
To install the new switch, carefully disconnect the wires from the old, faulty unit, noting where each one was connected. Typically, you will have two black “hot” wires and a green or bare copper “ground” wire. Connect these wires to the corresponding terminals on the new dimmer switch, following the manufacturer’s included instructions precisely. Ensure all connections are tight and secure. Gently push the new switch and wiring back into the electrical box, being careful not to crimp or damage the wires.
Step 8: Reassemble and Test Your Work
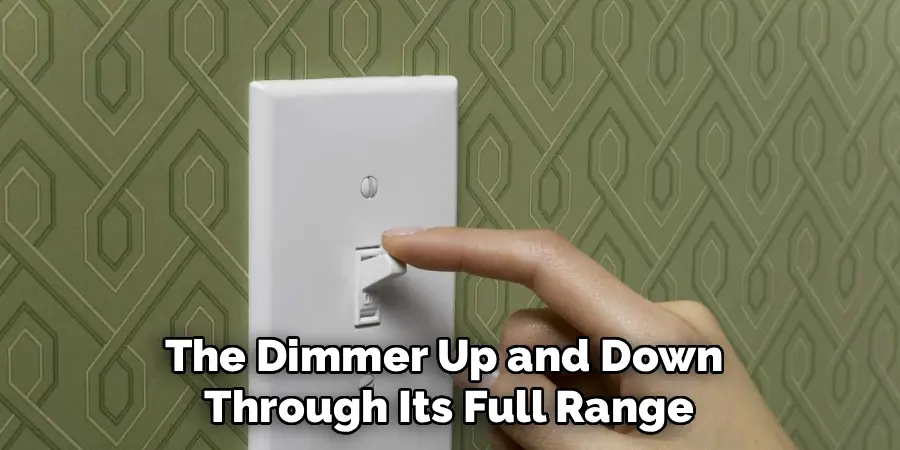
Mount the new dimmer switch to the electrical box with its mounting screws. Reattach the switch plate over the top of the new switch. Now, you can safely restore power to the circuit by flipping the breaker back to the “ON” position. Go back to the room and test the new dimmer switch. Turn the lights on and off, and slide the dimmer up and down through its full range. The lights should dim smoothly without any flickering. Monitor the switch for a while to ensure it remains cool or only slightly warm.
Frequently Asked Questions (FAQ)
Is It Normal for a Dimmer Switch to Be Warm?
Yes, it is completely normal for a dimmer switch to feel slightly warm to the touch. The electronic components inside the switch dissipate a small amount of energy as heat when they regulate the flow of electricity to the light bulbs. However, it should never be uncomfortably hot, discolored, or emit a burning smell.
What Is the Most Common Cause of a Hot Dimmer Switch?
The most common cause by far is an overloaded circuit. This happens when the total wattage of all the light bulbs connected to the dimmer exceeds the dimmer’s maximum wattage rating. For example, using ten 100-watt bulbs (1000W total) on a dimmer rated for 600W will cause it to severely overheat.
Can I Use Any LED Bulb with My Dimmer Switch?
No, you must use LED bulbs that are specifically marked as “dimmable.” Standard, non-dimmable LED bulbs are not designed to have their power input regulated, and using them with a dimmer can cause flickering, buzzing, and overheating in both the bulb and the switch. Additionally, some older dimmers are not compatible with LEDs at all, so you may need a modern CL (CFL/LED) rated dimmer.
What Happens if a Dimmer Switch Overheats?
An overheating dimmer switch is a serious fire hazard. The excess heat can melt the plastic housing of the switch, damage the insulation on the electrical wires inside the wall, and potentially ignite surrounding materials like drywall or wood framing. If your switch is hot, you should stop using it and turn off the power at the breaker immediately.
When Should I Call a Professional Electrician?
You should call a licensed electrician if you are uncomfortable working with electrical wiring, if you cannot identify the cause of the overheating, or if replacing the switch does not solve the problem. Electrical work can be dangerous, and a professional can ensure the job is done safely and correctly according to all electrical codes.

Conclusion
A hot dimmer switch is more than just a minor annoyance; it’s a critical safety warning that requires your attention. In most cases, the issue can be traced back to a simple cause like an overloaded circuit, incompatible bulbs, or a loose wire. By methodically turning off the power, inspecting the components, and understanding the wattage requirements, you can often identify and resolve the problem safely. Never ignore an overheating switch. Now that you have a clear guide on how to fix a hot dimmer switch, you can approach the task with the knowledge and confidence to ensure your home is both well-lit and safe.