
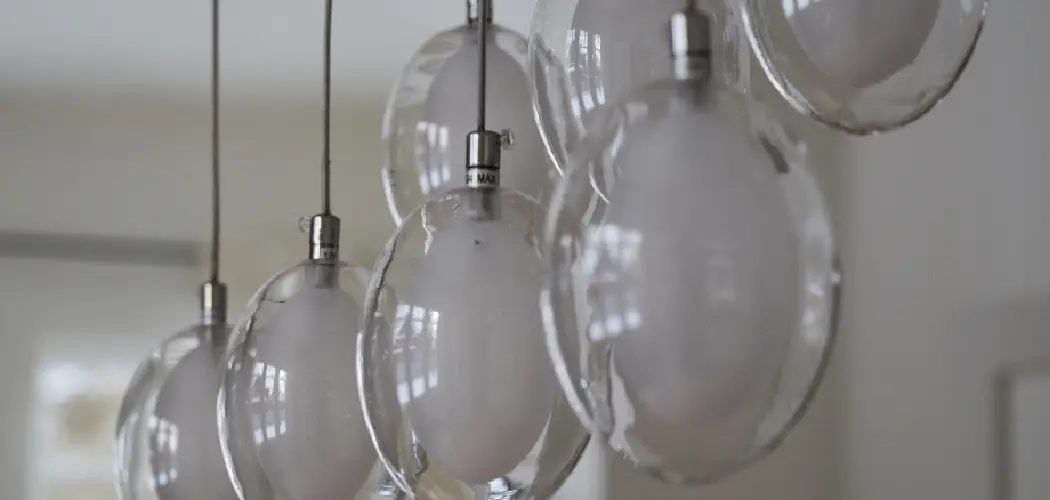
Glass pendant lights add charm and brightness to any room, but they collect dust, grease, and fingerprints faster than you might think. Over time, that build-up dims their glow and dulls their beauty. The good news? Restoring their shine is easier than you’d expect. Learning how to clean glass pendant lights gives you a quick, satisfying way to refresh your space without calling a professional or buying expensive products.
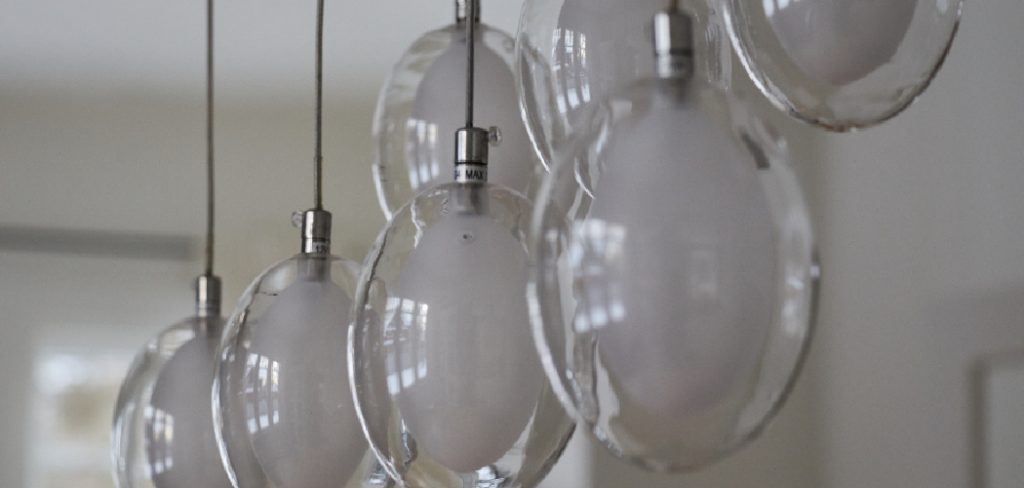
Whether you have a single fixture above your kitchen island or a cluster of pendants in your dining area, this guide walks you through every step. You don’t need fancy tools or prior experience. With a few household items and a little patience, you can bring back that crystal-clear sparkle. We’ll cover preparation, safe handling, and the right cleaning techniques so you feel confident from start to finish. Let’s make those lights shine like new.
Why Clean Glass Pendant Lights
Clean pendant lights do more than look pretty. Dust and grime act like a film that blocks light, so dirty glass means a darker, less inviting room. By keeping the glass clear, you maximize brightness and reduce the need for higher-wattage bulbs, which saves energy.
Regular cleaning also protects your investment. Built-up grease, especially in kitchens, can become sticky and hard to remove if ignored for months. A quick wipe every few weeks prevents permanent stains and keeps the glass looking fresh. Clean fixtures also improve air quality by removing trapped dust that circulates when warm air rises. Best of all, sparkling lights instantly elevate the whole look of your home, giving it a polished, well-cared-for feel that guests will notice.
Step-by-Step Guide to How To Clean Glass Pendant Lights
Follow these seven simple steps for the best results. Knowing how to clean glass pendant lights properly protects both your fixtures and your safety, so take your time and work carefully through each stage.
Step 1: Turn Off the Power
Safety always comes first. Before you touch anything, switch off the light at the wall and, if possible, at the circuit breaker. This prevents any risk of electric shock and protects you while handling the fixture.
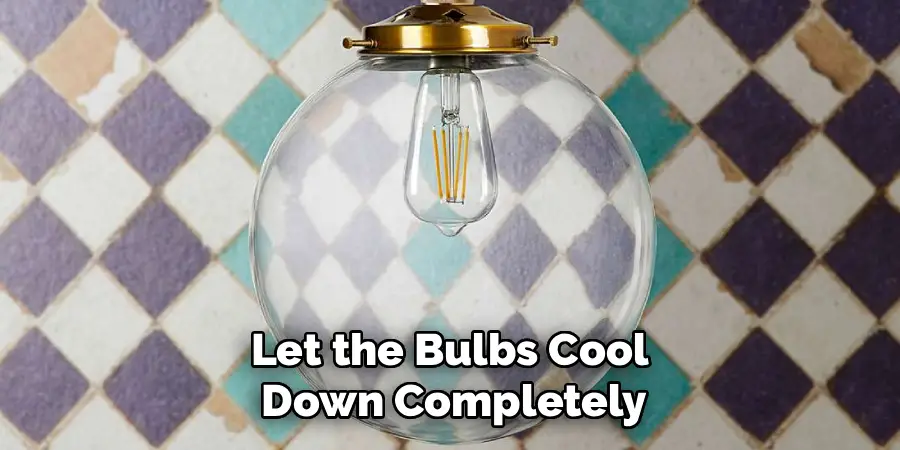
Let the bulbs cool down completely, especially if the lights have been on recently. Hot glass can crack if it touches cool water, and warm bulbs can burn your fingers. Give them at least fifteen minutes to cool. Once everything is off and cool to the touch, you can move forward knowing you’ve created a safe space to work in.
Step 2: Gather Your Supplies
Having everything ready saves time and keeps the process smooth. Collect a soft microfiber cloth, a small bucket of warm water, a gentle dish soap, and a clean towel for drying. For stubborn grease, white vinegar mixed with water works wonders.
Lay out a soft cloth or towel on a flat surface nearby. This gives you a safe spot to rest the glass shades once you remove them. Avoid paper towels, since they can leave lint and tiny scratches. Gathering your tools first means you won’t be searching for supplies with wet hands halfway through the job.
Step 3: Remove the Glass Shades
Carefully detach the glass shades from the fixture. Most pendants either screw off, twist out, or unclip with small fasteners. Check how yours connect before pulling, and support the glass with one hand as you loosen it with the other.
Work slowly and gently. Glass shades can be heavier than they look, and a sudden drop could shatter them. If a shade feels stuck, don’t force it. Wiggle it gently or check for hidden screws. Once free, place each shade on your prepared towel. Keeping track of which shade goes where helps you reassemble everything correctly later.

Step 4: Wash the Glass
Fill your bucket or sink with warm water and a few drops of dish soap. Submerge each glass shade and let it soak for a couple of minutes to loosen dust and grease. Then wipe gently with your microfiber cloth, paying attention to corners and grooves.
For greasy kitchen pendants, add a splash of white vinegar to cut through the build-up. Avoid harsh scrubbers or abrasive powders, as these can scratch the surface. Rinse each shade thoroughly under clean running water to remove all soap residue. Soap left behind can dry into streaks, so a careful rinse makes a big difference in the final result.
Step 5: Dry and Polish
Drying matters just as much as washing. Use a clean, lint-free microfiber cloth to dry each shade fully. Any water left on the glass can leave spots or streaks once it evaporates, undoing your hard work.
For a flawless finish, buff the glass in gentle circular motions until it shines. Hold the shade up to the light to spot any missed smudges or watermarks. If you see streaks, a tiny bit of glass cleaner on the cloth will fix them quickly. Patience here pays off, because well-dried glass looks crystal clear and reflects light beautifully throughout your room.

Step 6: Clean the Fixture Base
While the shades dry, don’t forget the metal or fixture base. Dampen a cloth with a little soapy water, wring it out well, and wipe down the hardware. Never spray water directly onto electrical parts or sockets.
Use a dry cotton swab to reach tight spots around the bulb holders and small crevices. This removes hidden dust that the cloth can’t reach. Make sure everything is completely dry before you reconnect the power. A clean base finishes the whole look and prevents dust from drifting back onto your freshly cleaned shades right away.
Step 7: Reassemble and Test
Once every part is dry, carefully reattach the glass shades in their original positions. Secure each one gently but firmly, making sure it sits properly so it won’t loosen over time. Avoid overtightening, which can crack the glass or strip the fittings.
Now restore the power at the breaker and switch on the lights. Stand back and admire your work. The room should feel noticeably brighter and more welcoming. If you spot any leftover smudges, a quick touch-up with a dry cloth handles it. Congratulations, you’ve completed the job and given your space a fresh, glowing upgrade.

Frequently Asked Questions
How Often Should I Clean My Glass Pendant Lights?
For most homes, cleaning every two to three months keeps your fixtures looking great. However, kitchen pendants need more frequent attention because cooking grease builds up quickly. A light dusting every couple of weeks prevents heavy grime from forming. If you notice the glass looking dull or the light seeming dimmer, that’s your cue to give them a thorough clean sooner.
Can I Use Glass Cleaner Instead of Soap and Water?
Yes, commercial glass cleaner works well, especially for a quick refresh between deep cleans. Spray it onto your cloth rather than directly on the glass to control where it goes. For heavy grease, though, warm soapy water or a vinegar solution often works better. Always avoid spraying any liquid near electrical parts, and dry the glass fully afterward to prevent streaks and watermarks.
What If My Pendant Shades Don’t Come Off?
Some fixtures have fixed shades that can’t be removed. In that case, clean them in place using a damp microfiber cloth. Make sure the power is off first. Wipe gently and follow with a dry cloth to remove moisture. For tight corners, a soft brush or cotton swab helps reach awkward spots. Take extra care never to let water drip toward the bulb socket or wiring.
How Do I Remove Stubborn Grease or Water Stains?
White vinegar is your best friend for tough build-up. Mix equal parts vinegar and warm water, then apply it with a soft cloth and let it sit for a minute before wiping. For mineral water stains, the same solution usually does the trick. Avoid abrasive pads, which scratch glass permanently. Rinse well and dry thoroughly, and your shades should look crystal clear again.
Is It Safe to Clean Pendant Lights Myself?
Absolutely, as long as you follow basic safety steps. Always turn off the power and let bulbs cool before you start. Use a stable step stool if the lights are high, and never rush the process. If your fixture involves complex wiring or feels unsteady, it’s wise to call an electrician. For standard cleaning, though, the job is simple and well within reach for beginners.
Conclusion
Keeping your fixtures sparkling doesn’t have to be a chore. By following these seven straightforward steps, you now know exactly how to clean glass pendant lights safely and effectively. From switching off the power to buffing the glass to a brilliant shine, each stage helps protect your fixtures while brightening your home.
Regular cleaning keeps your lights glowing, saves energy, and makes your whole space feel fresh and inviting. The best part is that you don’t need special skills or pricey products to get professional-looking results. So grab your microfiber cloth, set aside a little time this weekend, and treat your pendant lights to the care they deserve. Your room will thank you with a warmer, brighter glow.

Rick is a handyman who grew up helping his dad with his business. He learned a lot from him about how to fix things, and also about how to work hard and take care of business. These days, Rick is still into fixing things- only now, he’s doing it for a living.
Rick is always looking for new ways to help people grow and develop. That’s why he started contributing to this blog: to share all his experience and knowledge so that he can help people who are interested in DIY repair.