
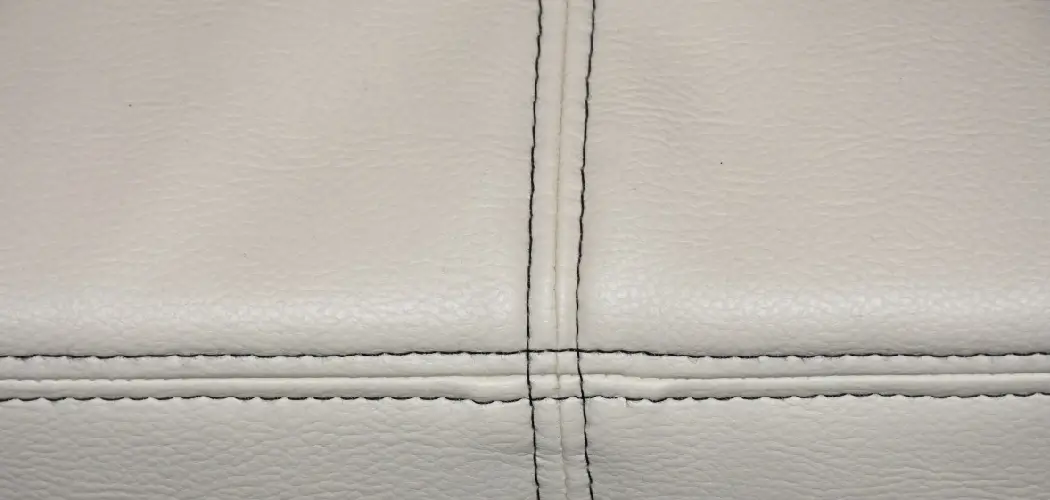
A loose seam or unraveling thread on your favorite couch can feel like a small disaster. One day everything looks fine, and the next, you spot a gap where the fabric used to hold tight. The good news? You don’t need to call a professional or replace the whole piece. Learning how to fix stitching on couch problems is a simple, satisfying skill that almost anyone can pick up, no matter your experience level.
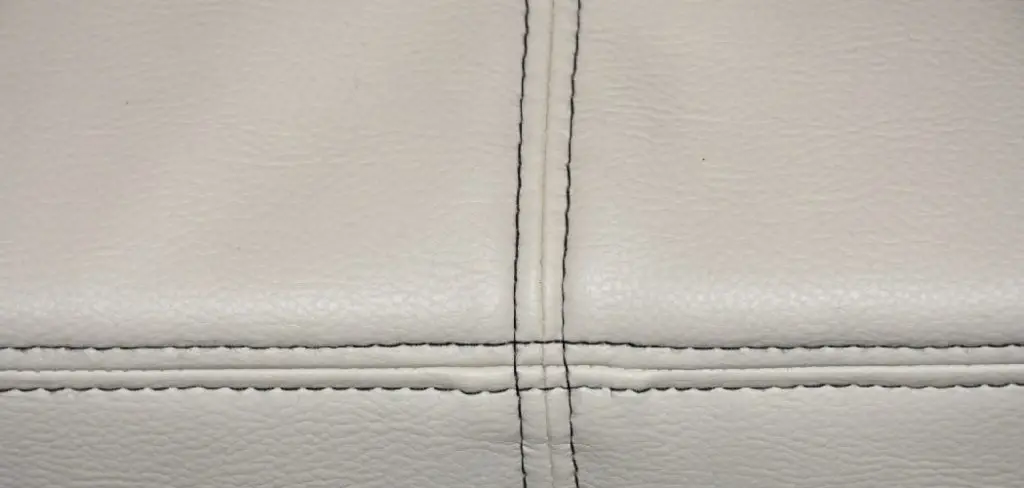
This guide walks you through the entire process from start to finish. You’ll learn what tools you need, how to choose the right thread, and the exact steps to make your repair blend in seamlessly. Whether you’re dealing with a tiny tear along a cushion or a longer split down the armrest, the techniques here adapt to your needs. We’ll keep things clear, jargon-free, and encouraging, so you feel confident every step of the way. By the end, your couch will look refreshed, and you’ll have a handy skill to use again whenever you need it.
Why Fixing Stitching on Your Couch Matters
A small loose thread rarely stays small. Left alone, an open seam invites stuffing to escape, fabric to fray further, and the damage to spread quickly. Tackling the problem early saves you money and protects an item you use every single day. Instead of shopping for a replacement, you keep a piece you already love in great shape.
Repairing your own couch also builds genuine confidence. The skills you gain transfer to cushions, clothing, bags, and other household items, turning a one-time fix into long-term value. There’s a real sense of pride in restoring something with your own hands. Beyond the savings and satisfaction, a well-maintained couch keeps your living space looking polished and welcoming for years to come.
Step-by-Step Guide to How to Fix Stitching on Couch
Step 1: Gather Your Tools and Materials
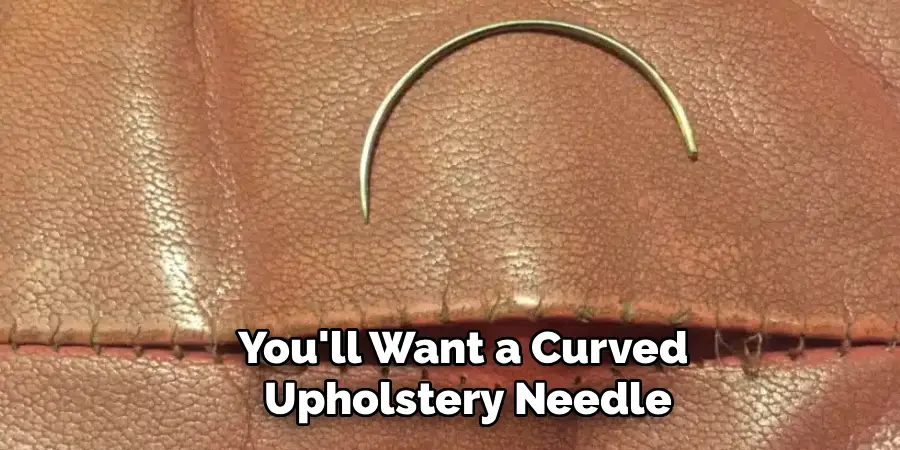
Before you start, set yourself up for success by collecting everything you’ll need in one place. You’ll want a curved upholstery needle, strong upholstery thread that matches your couch color, sharp scissors, and a thimble to protect your fingers. Keep a pair of needle-nose pliers nearby too, since they help pull the needle through thick fabric. Having these items ready means you won’t pause halfway through a repair to hunt for supplies. Take a moment to test your thread color against the couch in good lighting, because a close match makes your finished work nearly invisible to the eye.
Step 2: Inspect and Clean the Damaged Area
Take a close look at where the stitching has come undone. Gently pull back the loose threads and check whether the fabric itself is torn or simply unstitched. Knowing the difference shapes how you approach the repair. Next, clean the area with a soft cloth or a quick vacuum to remove dust, crumbs, and debris that could get trapped under your new stitches. A clean surface helps your thread grip better and keeps the finished seam looking neat. If the fabric edges are frayed, trim away any stray strands so you have a tidy starting point to work from.
Step 3: Tuck In Loose Threads and Stuffing
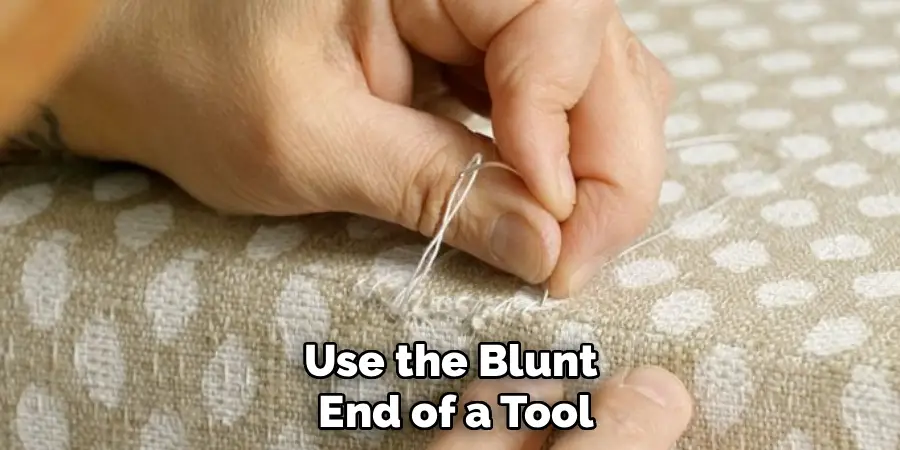
If any cushion filling or foam has started to poke through the open seam, gently push it back inside before you begin sewing. Use the blunt end of a tool, like a chopstick or the back of a spoon, to tuck everything neatly into place. For loose threads hanging from the old stitching, snip them close but avoid cutting into the fabric itself. This step keeps your repair smooth and prevents lumps from forming once you close the seam. Taking a few extra minutes here makes a noticeable difference in how clean and professional your final result looks.
Step 4: Thread Your Needle and Knot the End
Cut a length of upholstery thread about 18 to 24 inches long, which gives you enough to work with without tangling. Thread it through your curved needle, then pull it so both ends meet, creating a doubled strand for extra strength. Tie a firm knot at the end, looping it two or three times so it won’t slip through the fabric. A secure knot is the foundation of any lasting repair, so don’t rush it. If threading the needle proves tricky, a small needle threader tool makes the job quick and frustration-free, especially in dim lighting.
Step 5: Begin the Ladder Stitch
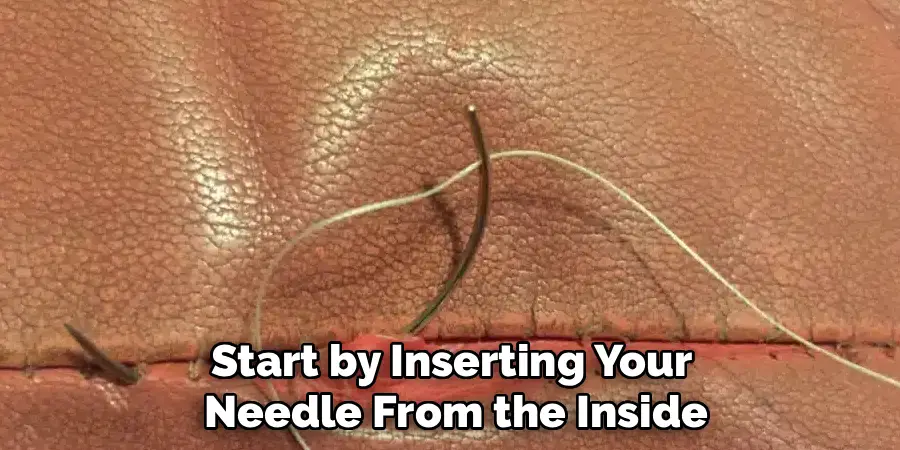
The ladder stitch is the secret to learning how to fix stitching on couch seams so the repair stays hidden. Start by inserting your needle from the inside of the fabric, hiding the knot beneath the surface. Pull the thread through, then move to the opposite side of the seam and make a small horizontal stitch. Cross back to the first side and repeat, creating a pattern that looks like rungs on a ladder. Keep your stitches small and evenly spaced, about a quarter inch apart, and pull gently as you go so the seam draws together smoothly without puckering the fabric.
Step 6: Continue Stitching Along the Seam
Work your way steadily along the entire opening, maintaining that consistent ladder pattern. Every few stitches, pull the thread snug to close the gap, watching how the two fabric edges come together. Don’t pull too hard, though, because over-tightening can bunch the material and create an uneven line. Take your time and check your progress often. If you notice the seam pulling crooked, gently ease the thread and adjust before continuing. This is where patience pays off, since a steady hand here gives you the clean, invisible finish that makes the repair look like it was never damaged at all.
Step 7: Secure the Final Knot and Trim
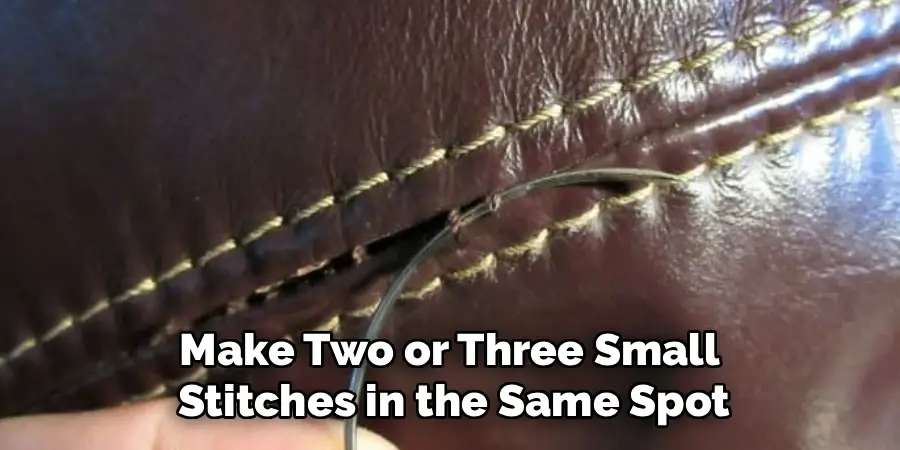
Once you reach the end of the seam, it’s time to lock everything in place. Make two or three small stitches in the same spot to anchor the thread, then tie a tight knot close to the fabric. To hide the tail, push your needle back through the seam and out a short distance away, then snip the thread flush with the surface so it disappears inside. Give the repaired area a gentle tug to confirm it holds firm. Mastering how to fix stitching on couch damage comes down to this final step, where a secure finish guarantees your hard work lasts.
Frequently Asked Questions
What Type of Thread Works Best for Couch Repairs?
Upholstery thread is your best choice because it’s thicker and far stronger than regular sewing thread. It’s designed to handle the weight and stress that furniture endures daily. Look for a polyester or nylon-blend thread, and match the color as closely as possible to your couch fabric. Using the right thread ensures your repair holds up over time and blends in so the mended area stays nearly invisible.
Can I Repair a Couch Seam Without Any Sewing Experience?
Absolutely. The ladder stitch is beginner-friendly and forgiving, making it perfect for first-timers. Start slowly, keep your stitches small and even, and don’t worry about perfection on your first try. Practice on a hidden seam if you feel nervous. With a little patience and the right tools, even someone who has never picked up a needle can achieve a clean, lasting repair that looks professional.
How Do I Match the Thread Color to My Couch?
Take a small loose thread from your couch, if available, to a fabric or craft store and compare it against thread options in natural light. If you can’t remove a sample, photograph your couch and bring the image along. When in doubt, choose a shade slightly darker than the fabric, since darker thread tends to blend better and hides more easily than a lighter mismatch would.
What Should I Do If the Fabric Itself Is Torn?
A torn fabric needs a slightly different approach than a simple loose seam. For small tears, place a fabric patch behind the hole and stitch the edges down before closing the area with a ladder stitch. Larger tears may need an iron-on patch for extra support. If the damage is severe or in a high-stress spot, consider consulting a professional upholsterer to keep the repair sturdy.
How Can I Prevent Stitching From Coming Loose Again?
Regular care goes a long way. Avoid sitting on the same spot repeatedly, rotate and fluff cushions often, and trim any small loose threads before they unravel further. Keep sharp objects and pet claws away from seams, and clean your couch gently to reduce wear. Catching minor issues early and reinforcing weak spots promptly keeps your stitching strong and extends the life of your furniture.
Conclusion
Repairing a worn seam is far simpler than it first appears, and now you have everything you need to tackle the job with confidence. From gathering your tools to locking in that final knot, each step builds toward a clean, durable result that restores your couch to its former glory. The ladder stitch, in particular, gives you a hidden, professional finish that’s surprisingly easy to master, even as a complete beginner.
Knowing how to fix stitching on couch seams empowers you to handle small problems before they grow into costly replacements. So grab your needle, set aside a little time, and give your favorite couch the care it deserves. With each repair, your skills sharpen and your confidence grows. Don’t wait for that loose thread to spread, take action today and enjoy the satisfaction of a job well done.

Rick is a handyman who grew up helping his dad with his business. He learned a lot from him about how to fix things, and also about how to work hard and take care of business. These days, Rick is still into fixing things- only now, he’s doing it for a living.
Rick is always looking for new ways to help people grow and develop. That’s why he started contributing to this blog: to share all his experience and knowledge so that he can help people who are interested in DIY repair.