
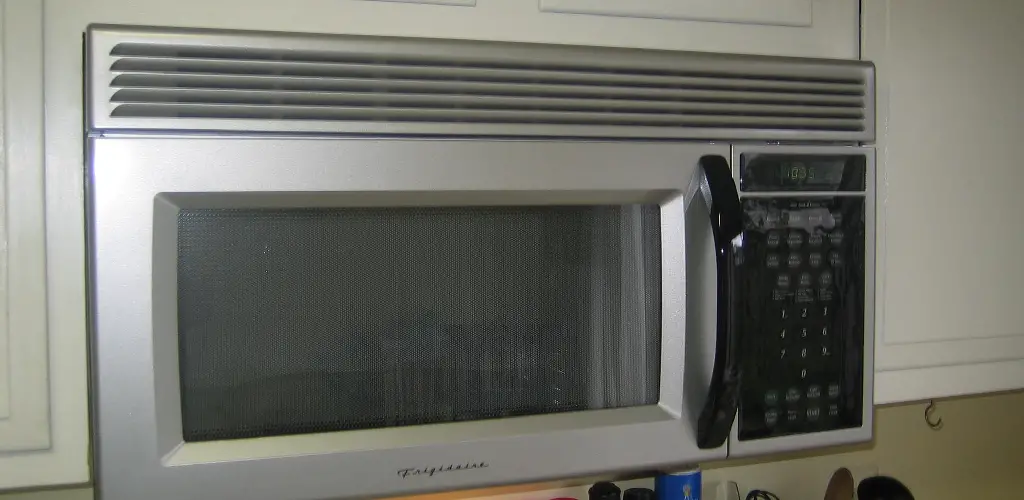
If you’re looking to install a microwave in your home, you may be wondering how to vent it. Venting is essential, as it allows the hot air from the microwaves to escape, preventing it from building up and causing problems like fires. Fortunately, there are several ways to vent a microwave, and one of them is by venting it on an interior wall. In this article, we’ll show you how to vent a microwave on an interior wall. So if you’re ready, let’s get started!

Kitchen microwaves are typically vented through an exterior wall to the outside. But if you don’t have an exterior wall or your kitchen layout doesn’t allow for this, you can vent the microwave inside. The most common way to do this is to install a venting kit that goes from the back of the microwave to the interior wall.
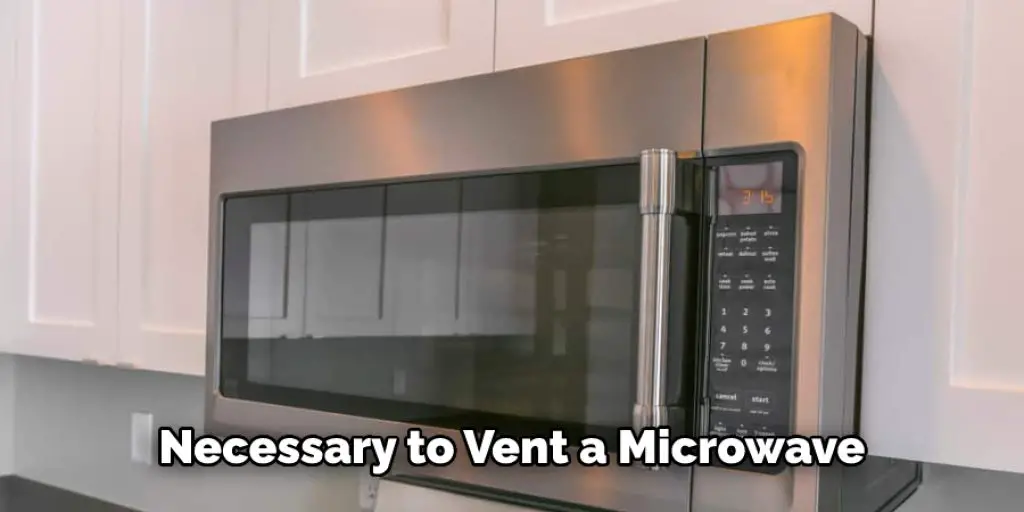
Why Is It Necessary to Vent a Microwave?
Microwave ovens work by using electricity to generate waves of energy that are absorbed by food. This process causes the water molecules in the food to vibrate, producing heat. To prevent heat build-up, it is necessary to vent a microwave. The vents allow hot air and steam to escape and cool air.
This helps to keep the microwave from overheating and damaging the internal components. Additionally, it helps to ensure that the food is cooked evenly. The microwave would quickly become too hot without proper venting, potentially causing a fire. As a result, it is essential to ensure that the vents are clear and unobstructed.
There are a few different ways to vent a microwave. One option is to use an external vent. This type of vent is typically installed on the back or side of the microwave. It can be connected to an existing ductwork system or directly to the outside. Another option is to use an internal vent. This type of vent is typically located on the top of the microwave. It helps to circulate air within the unit and prevent heat build-up. Additionally, it can help to reduce cooking times.
When choosing a location for the microwave, it is essential to consider the need for ventilation. If possible, choose a location that allows for easy installation of an external vent. Alternatively, make sure that there is enough space above the microwave for an internal vent. It is also important to ensure that the area around the microwave is clear of obstructions. This will help ensure that the air can flow freely and prevent heat build-up.
Tools and Materials
- Tape measure
- Pencil
- -level
- Stud Finder
- Drill
- 1/4 inch drill bit
- 3 inch hole saw
- Jigsaw
- Hammer
- Nail
- Screwdriver
- 1 1/2 inch screws
- Cordless drill
A Stepwise How to Vent a Microwave on an Interior Wall
Step 1: Determine the Location of the Vent
The first step in venting a microwave on an interior wall is to determine the location of the vent. There are two types of vents for microwaves, recirculating and non-recirculating. Recirculating vents send the air back into the room, while non-recirculating vents send the air outside. If you have a recirculating vent, you will need to find an exterior wall to vent the microwave. If you have a non-recirculating vent, you can choose any location for the vent.
Step 2: Prepare and Clean the Area for the Vent
Turn off the power to the microwave at the circuit breaker. Unplug the microwave from the wall outlet. Open up the cabinet doors where the microwave is located. Remove any items that are stored in or on the cabinets. Vacuum any dust and debris from inside the cabinets and around the area where the microwave will be vented. Wipe down the area with a damp cloth to remove any remaining dirt or residue.
Measure and mark the location of the vent hole on an interior wall of the cabinet. The vent hole should be large enough to accommodate the exhaust vent ductwork but not so large that it compromises the cabinet’s structural integrity.

Step 3: Cut the Hole for the Vent.
You’ll need to cut a hole in the wall for the vent. The hole size will depend on the size of your microwave and the type of vent you’re using.
If you’re using a standard 4-inch round vent, you’ll need to cut a hole at least 4 1/2 inches wide. If you’re using a 3-inch round vent, you’ll need to cut a hole at least 3 1/2 inches wide.
If you’re planning on venting your microwave oven on an interior wall, you’ll need to find the studs to secure it properly. The best way to do this is with a stud finder, purchased at most hardware stores. Once you’ve found the studs, use a pencil to mark out the outline of the hole. Then, use a drywall saw to cut out the hole.
If you’re not comfortable cutting a hole in the wall yourself, you can always hire a professional to do it for you.
Step 5: Secure the Vent to the Wall
Once the hole is cut, it’s time to secure the vent to the wall. Start by placing the vent over the hole and tracing around it with a pencil. Then, use a jigsaw to cut out the traced area.
Next, put the vent in place and secure it to the wall using screws. If your microwave came with a template, you can use that to mark out where you need to drill holes for the screws. Otherwise, just make sure you drill into a stud.
Finally, use a cordless drill to screw the vent into place.
Step 6: Installing Bracket (If Needed)
Some microwaves come with a bracket that needs to be installed before you can secure the vent to the wall. If your microwave came with a bracket, follow the instructions that came with it to install it.
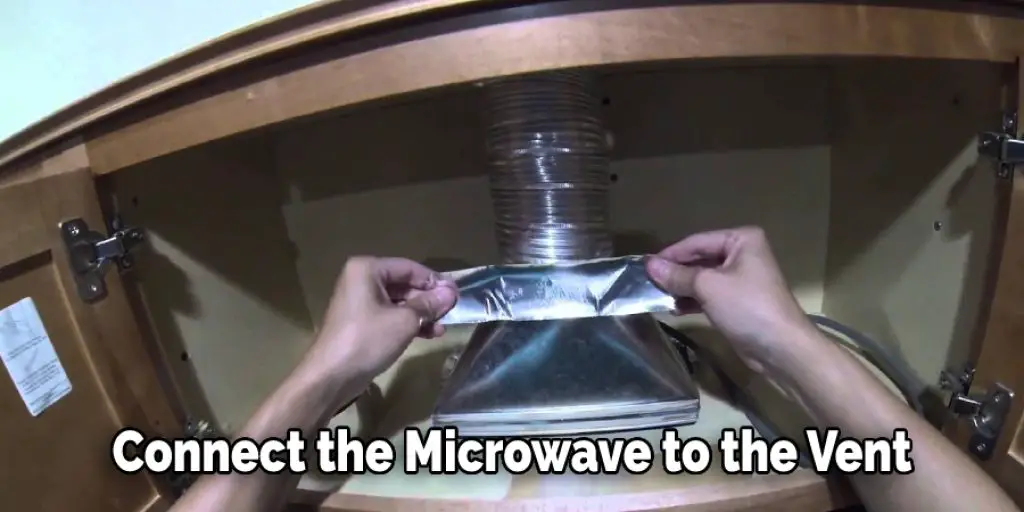
Step 7: Connect the Microwave to the Vent
Once the vent is installed, you can connect the microwave to the vent. Start by running the power cord through the hole in the wall and into the back of the microwave. Then, use screws to secure the power cord to the back of the microwave.
Next, use screws to secure the exhaust duct to the back of the microwave. Again, make sure you use enough screws to fasten the duct securely. Finally, use screws to secure the vent to the wall.
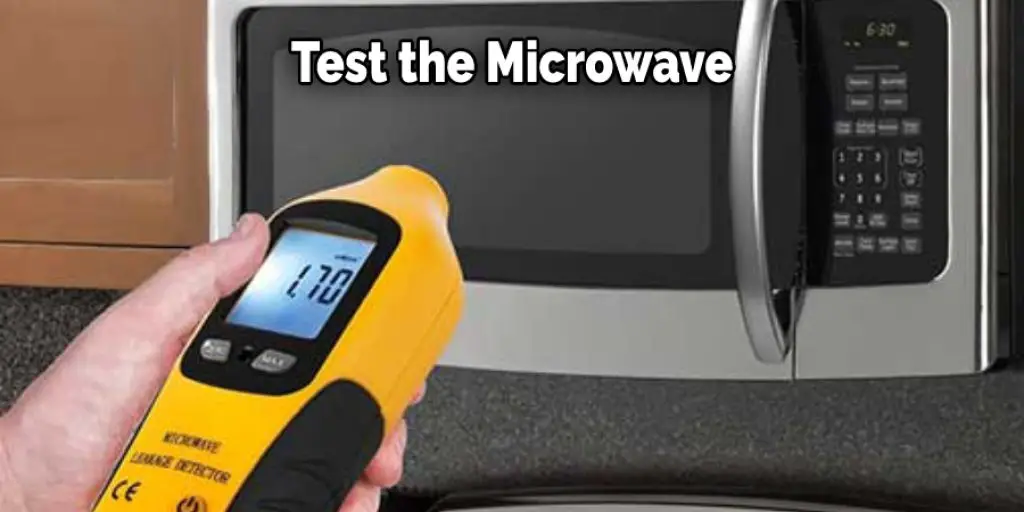
Step 8: Test the Microwave
Once you’ve connected the microwave to the vent, it’s time to test it out. Please turn on the microwave and cook something in it. If everything is working properly, you should see air flowing out of the vent.
If you don’t see any air flowing out of the vent, check to ensure that the exhaust duct is securely fastened to the back of the microwave. If it’s not, use screws to secure it in place.
You may also want to check to make sure that nothing is blocking the vent. If there is, remove it so that air can flow freely through the vent.
Venting a microwave on an interior wall is a relatively easy process. Just make sure you follow all the steps carefully and take your time. With a little patience, you’ll be able to vent your microwave in no time.
You Can Check It Out to Fix a Bad Drywall Job
Tips and Warnings
Tips:
- If you have an over-the-range microwave, follow the manufacturer’s instructions for proper installation and venting.
- When venting a microwave on an interior wall, it is important to make sure that the exhaust duct is not obstructed.
- It is also essential to ensure that the exhaust duct is correctly sealed so that air does not leak back into the home.
- Be sure to have a qualified contractor or electrician install the microwave and venting system.
- Warnings:
- Do not use plastic ductwork for venting a microwave. Plastic is a fire hazard and can melt or catch fire when exposed to heat.
- Do not vent a microwave into an attic or crawl space. These spaces can fill with deadly carbon monoxide gas.
When venting a microwave on an interior wall, it is important to make sure that the exhaust duct is not obstructed in any way. It is also important to ensure that the exhaust duct is correctly sealed so that air does not leak back into the home. Have a qualified contractor or electrician install the microwave and venting system.
You Can Check It Out To Make Food Crispy in Microwave
Does an Over the Range Microwave Need to Be Vented?
Over the range microwaves (OTR) have become increasingly popular in recent years. Thanks to their sleek design and ability to save counter space, OTR microwaves are a popular choice for small kitchens. However, one question that often comes up is whether or not an OTR microwave needs to be vented. The answer depends on the specific model of the microwave.
Some OTR microwaves are designed with recirculating vents, so they don’t require an external vent. However, other models must be vented to the outside in order to function correctly. As a result, OTR microwaves that use recirculating vents are generally more expensive than those that need to be vented to the outside. However, the extra cost may be worth it if you don’t have an external vent option.
If you’re unsure whether your OTR microwave needs to be vented, consult the owner’s manual or contact the manufacturer. Once you’ve determined that your microwave does need to be vented, there are a few different ways to do it. The most common way is to vent the microwave through an exterior wall. This can be done by drilling a hole in the wall and installing a vent hood.
Alternatively, some people choose to vent their microwaves through the roof. This is generally considered the best option, as it prevents heat and moisture from building up in your kitchen. However, it’s important to note that this method requires hiring a professional contractor. If you’re not comfortable doing this, it’s best to stick with the exterior wall option.
What Is a Self Venting Microwave?
A self-venting microwave is a type of microwave oven that has a built-in mechanism for Venting hot air and steam. This feature is beneficial as it helps prevent condensation on the inside of the oven, which can lead to the growth of mold and mildew.
In addition, self-venting microwaves typically have a higher power output than standard models, making them more effective at cooking food evenly. While self-venting microwaves are more expensive than their non-venting counterparts, they are well worth the investment for anyone who wants to ensure their food is cooked correctly.
When shopping for a self-venting microwave, it is essential to consider the unit’s size and the power output. Self-venting microwaves are available in both countertop and over-the-range models. The former are typically smaller and more affordable, while the latter offers more space and power. Regardless of which type you choose, select a model that will fit comfortably in your kitchen.
Once you have decided on the suitable self-venting microwave for your needs, the next step is to install it properly. While most models come with simple instructions, there are a few things to keep in mind when Venting a Microwave on an Interior Wall.
First, be sure to follow the manufacturer’s instructions carefully. Next, use a drill to create pilot holes in the wall for the mounting screws. Finally, use wall anchors if necessary to secure the unit in place. With these tips in mind, you can be sure that your self-venting microwave will be installed correctly and provide years of trouble-free use.
Conclusion
So there you have it – a foolproof guide on how to vent a microwave on an interior wall. By following these simple steps, you can ensure that your microwave is adequately vented and avoid potential fire hazards.