

Nobody ever plans to take a bath and then suddenly use the toilet. But, if you’ve ever found yourself in that situation before, you know how inconvenient it can be. Fortunately, there is a way to avoid this problem: making a bathtub crank! This article will show you how to make bath tub crank in just a few simple steps. So, whether you’re a first-time homeowner or simply looking for a way to make your life a little bit easier, read on for instructions on making bathtub crank!
The bathtub is one of the most critical places in our house. It is a place where we take a bath to relax and relieve our stress after a long day. However, sometimes, our bathtub can be a source of stress instead of relaxation because of its small size. If you also have this problem, you don’t need to worry because there is a solution. You can make your bathtub crank!

What Is Crank?
A crank is a tool used to move or lift a bathtub manually. It is also known as a winch. Cranks are operated by hand and use gears to increase the force applied to the bathtub. This makes it easier to move the tub without using your body weight.
The crank is attached to the bathtub at one end and has a handle at the other end. You insert the handle into the crank and turn it clockwise to operate. This engages the gears and produces a torque transferred to the bathtub. The bathtub will then begin to move in the direction that you are turning the crank.
There are several reasons why you might want to use a crank to move your bathtub. First, if the tub is too heavy to lift by hand, a crank can make moving easier. Second, if the tub is awkward, a crank can give you more leverage to move it into a better position. Finally, if you have limited space in your bathroom, a crank can help you move the tub out of the way when it is not in use.
What Are the Risks of a Crank Bath?
Bath cranks are a type of bathtub that has a crank mechanism on the side of the tub that is used to raise and lower the water level in the tub. There are two main types of bath cranks: manual and automatic. Automatic bath cranks are operated by a switch located on the side of the tub, while manual bath cranks require the user to turn a knob or lever to operate them.
While bath cranks offer several benefits, there are also some risks. One of the most significant risks is drowning. If the water level in the tub is not monitored correctly, it can rise too high and cause the person in the tub to drown. Another risk is of experiencing an electric shock. If the electrical wiring in the bath crank is not correctly installed or maintained, it is possible for live wires to be exposed, resulting in an electric shock.
Another potential risk associated with bath cranks is entrapment. If a person’s hair or clothing becomes caught in the crank mechanism, they can be pulled under the water and drown. Finally, bath cranks can also danger small children who may try to operate them without understanding how they work. If a child attempts to turn the crank while someone is in the tub, they could be seriously injured or even killed.
You Will Need
- 1×4 pine boards (6 feet long)
- Jigsaw
- Plywood (4 feet by 4 feet)
- 1×2 pine boards (8 feet long)
- Drill
- Circular saw
- Tape measure
- High strength epoxy glue
- Clamps
A Stepwise Guide on How to Make Bath Tub Crank
Step 1: Determine What Size You Need
The first step is to determine the size of the bathtub crank you will need. To do this, measure the width and length of your bathtub. Then, add 2 feet to each measurement. For example, if your tub is 5 feet long and 3 feet wide, you will need a 7-foot long and 5-foot wide piece of plywood.

Step 2: Measure and Cut the Pieces
Once you have determined the size of the plywood you will need, use a tape measure to mark the dimensions on the plywood. Then, use a circular saw to cut the plywood along the drawn lines.
Next, use a jigsaw to cut two 1×4 pine boards to 6 feet long. These will be used as the sides of the bathtub crank.
Then, cut two 1×2 pine boards to 8 feet long. These will be used as the top and bottom rails of the bathtub crank.
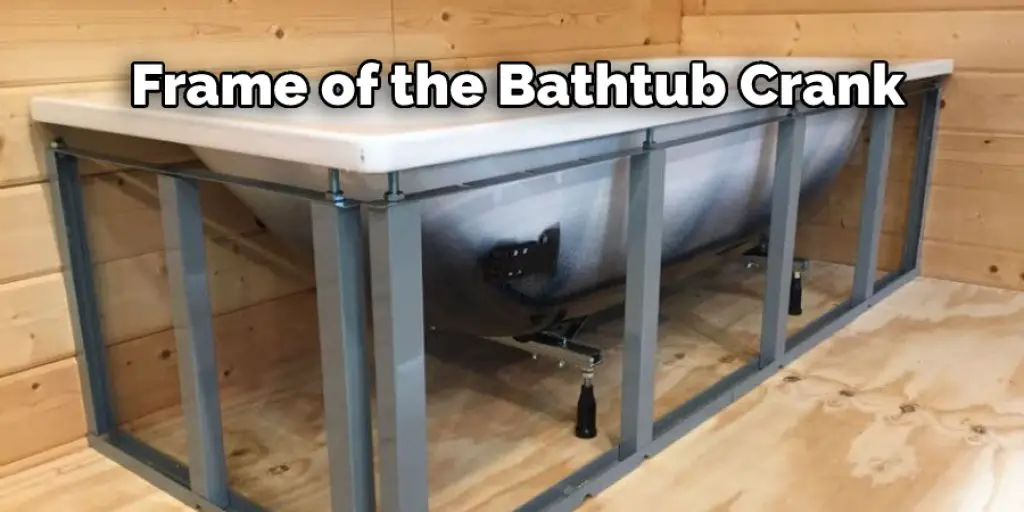
Step 3: Assemble the Frame
Now that all of your pieces are cut, it’s time to assemble the frame of the bathtub crank. First, lay the two 1×4 pine boards on a flat surface. Then, attach the 1×2 pine top and bottom rails to the 1×4 sideboards using high-strength epoxy glue and clamps.
Allow the glue to dry for 24 hours before proceeding to the next step.
Step 4: Attach the Plywood
Once the frame of the bathtub crank is assembled, it’s time to attach the plywood. First, apply a layer of high-strength epoxy glue to one side of the frame. Then, place the piece of plywood on top of the frame and press it into place.
Next, use clamps to secure the plywood to the frame. Allow the glue to dry for 24 hours before proceeding to the next step.
Step 5: Attach the Handles
Next, attach the two 1×2 pine boards to the sides of the bathtub crank. These will be the handles. Again, use clamps to hold the pieces in place while you drill pilot holes and screw them together.
Step 6: Install the Crank Mechanism
Finally, it’s time to install the crank mechanism. First, drill a hole in the center of the bathtub crank to do this. Then, insert the shaft of the crank mechanism into the hole and secure it in place with a set screw.
Now, all that’s left to do is install the bathtub crank on your tub. To make this, drill pilot holes in the side of the tub and screw the bathtub crank into place.
Step 7: Inspect and Test
Now that your bathtub crank is installed, it’s time to inspect it for any potential problems. First, ensure that all of the screws are tight and that there is no play in the crank mechanism. Also, make sure that the handle turns smoothly and doesn’t bind up.

If everything looks good, congratulations! You’ve just made your very own bathtub crank. Enjoy!
Tips and Warnings:
Tips:
- You can also add a few drops of essential oil to the bathtub cranks recipe to give it a nice scent.
- If the mixture is too thick, you can add more liquid soap until it reaches the desired consistency.
- Always test the bathtub cranks on an inconspicuous area before using it on the entire tub. This will ensure that it does not damage your tub in any way.
- Store the bathtub cranks in a cool, dry place when not in use.
Warnings:
- Be careful not to get the bathtub cranks mixture on your skin or eyes as it can irritate.
- Do not use the bathtub cranks on enameled or painted surfaces as it can damage them.
- If you have any doubts about whether the bathtub cranks will suit your tub, consult a professional before using them.
What Are the Benefits of Making Bath Tub Crank?
There are many benefits to making your bathtub crank. For one, it can save you money. Store-bought cranks can be expensive, and if you’re not careful, they can break easily. When you make your own, you can be sure that it’s made of durable materials.
Another benefit is customizing the design to match your bathroom’s décor. If you have a particular style, you can create a crank that perfectly complements your space. You’ll also have the satisfaction of knowing that you made it yourself!
Finally, making your bathtub crank is a great way to get creative and have fun. It’s a project that you can do with friends or family, and it’s a great way to show off your creative side.
Why Making Bath Tub Crank is a Great Idea?
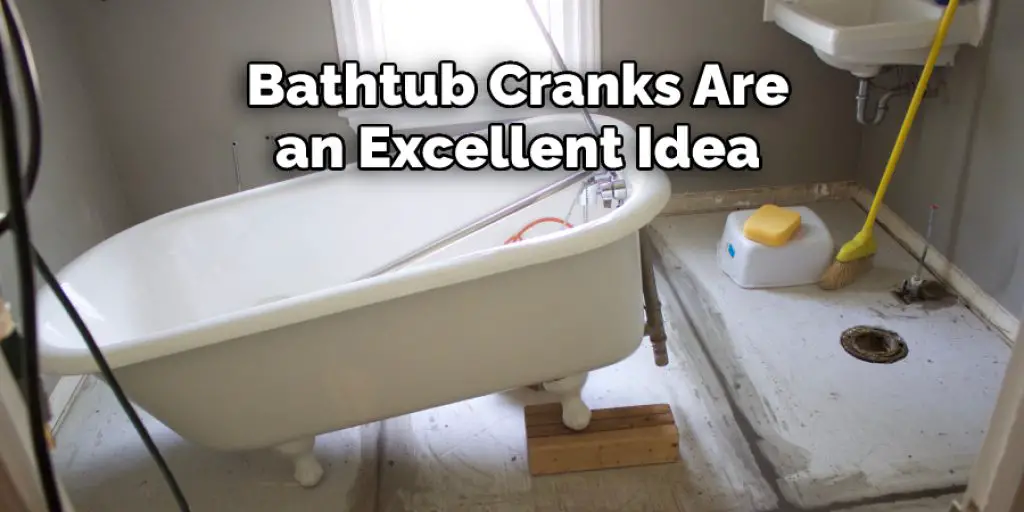
Bathtub cranks are an excellent idea for both new homes and remodeled homes. They provide safety and stability while bathing and help prevent falls. In addition, bathtub cranks help open and close the bathtub door with ease, which is essential for those with limited mobility.
In addition, bathtub cranks can be used to adjust the height of the bathtub so that it is comfortable for all users. When installed correctly, bathtub cranks provide a lifetime of use and enjoyment. With a few simple supplies, you can install a bathtub crank in your home in no time.
You Can Check it Out to Clean Bath Fitters Tub
Conclusion
So, there you have it, how to make bath tub crank! Your very own recipe for bathtub crank. Follow the instructions closely; if you don’t get the measurements right, your crank may not be as potent as you’d like it to be. And most importantly, always use caution when handling this illicit substance – it can be dangerous if not used correctly. Enjoy your new high!
About
Angela is the chief editor of Indoorense. She began her career as an interior designer before applying her strategic and creative passion to lifestyle and home.
She has close to 15 years of experience in creative writing and online content strategy for housekeeping and cleaning,home decorations as well as other efforts.
She loves her job and has the privilege of working with an extraordinary team. She lives with her husband, two sons, and daughter in Petersburg. When she’s not busy working she spent time with her family.