

If you’ve ever had to fix a bad drywall job, you know it can be tricky. It’s not always easy to determine where the problem is and how to fix it. In this blog post, we’ll show you how to fix a bad drywall job and make your wall look new again. Keep reading for more tips!
What Is Drywall?
Drywall is a construction material used to create interior walls and ceilings. It is made of a gypsum core sandwiched between two pieces of heavy paper. Drywall is also known as plasterboard, wallboard, or gypsum board. It is a sturdy and versatile material that can be cut, drilled, painted, and sanded.
Drywall is easy to install, and it can be used to create a variety of looks, from traditional to modern. So whether you’re building a new home or renovating an old one, drywall is ideal for your interior walls and ceilings.
What Is a Bad Drywall Job?
A bad drywall job results in an unsatisfactory finish. This can be due to subpar materials, poor workmanship, or a lack of attention to detail. Drywall is a construction material that is used to create walls and ceilings. It consists of a layer of gypsum board sandwiched between two sheets of heavy paper.
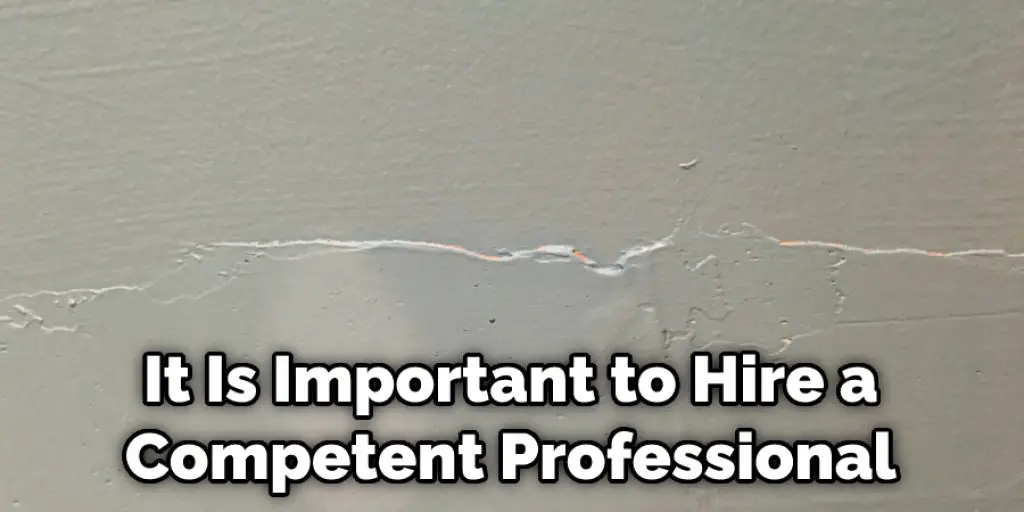
When hung correctly, drywall provides a smooth, seamless surface that can be painted or Wallpapered. However, drywall can crack, sag, or become otherwise damaged if it is not installed properly. As such, it is important to hire a competent professional when having drywall installed. Otherwise, the finished product will likely be less than satisfactory.
Why It’s Important to Fix a Bad Drywall Job?
A drywall job gone bad is not only an eyesore, but it can also lead to bigger problems down the road. For example, cracks in the drywall can let moisture seep in, causing the wood framing to rot. In addition, gaps and uneven seams can create opportunities for pests to enter your home.
And poorly installed drywall is more likely to crumble or fall during an earthquake. In short, it’s always best to hire a professional to do the job right the first time. Not only will you avoid costly repairs down the road, but you’ll also enjoy the peace of mind that comes with knowing your home is safe and sound.
How to Fix a Bad Drywall Job Step by Step Guide
Step 1: Clean the Wall
Start by using a stiff brush to remove any loose dust or debris from the wall. If there are any greasy or oily spots, cleaning them with a degreaser will help the new paint or primer adhere better.
Step 2: Remove Loose Tape or Plaster
Once the wall is clean, it’s time to remove any loose tape or plaster. Use a utility knife to scrape any bits peeling away from the surface carefully. If you find any deep cracks or holes, use a patching compound to fill them in and smooth out the surface.
Step 3: Prime the Damaged Area
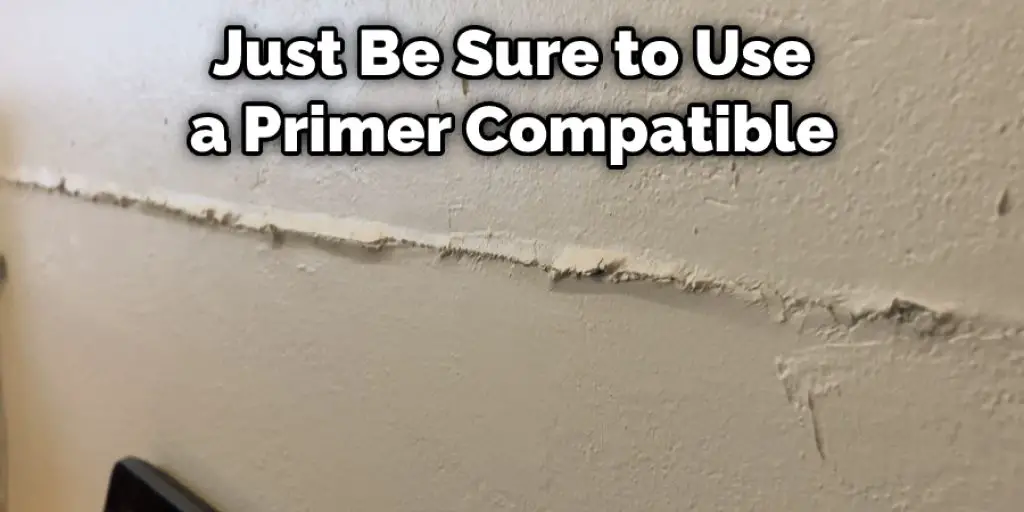
Whether you’re painting or not, it’s always good to prime any damaged areas before proceeding. This will help create a smooth surface and ensure even coverage. Just be sure to use a primer compatible with the paint or finish you plan on using.
Step 4: Coat the Damaged Area with Drywall Joint Compound
Once the primer is dry, apply a layer of joint drywall compound to the damaged area using a putty knife. Feather the edges of the compound to flush with the surrounding wall. Allow the compound to dry for at least four hours before sanding it down.
Step 5: Sand the Compound
Once the compound is dry, sand it smooth with a fine-grit sandpaper. Pay special attention to any spots that are still uneven. If necessary, apply a second compound layer and repeat the sanding process.
Step 6: Apply Tape (if necessary):
If you plan on painting the area, you’ll need to apply tape along the edges of the repair. This will help create clean, straight lines. If you’re not planning on painting, you can skip this step.
Step 7: Paint or Apply a Wallpaper Border
Once the area is sanded smooth, you’re ready to paint or apply a wallpaper border. If you’re painting, be sure to use a paint compatible with the primer you used earlier. Follow the manufacturer’s instructions for the best results if you’re applying a border.
Step 8: Clean Up
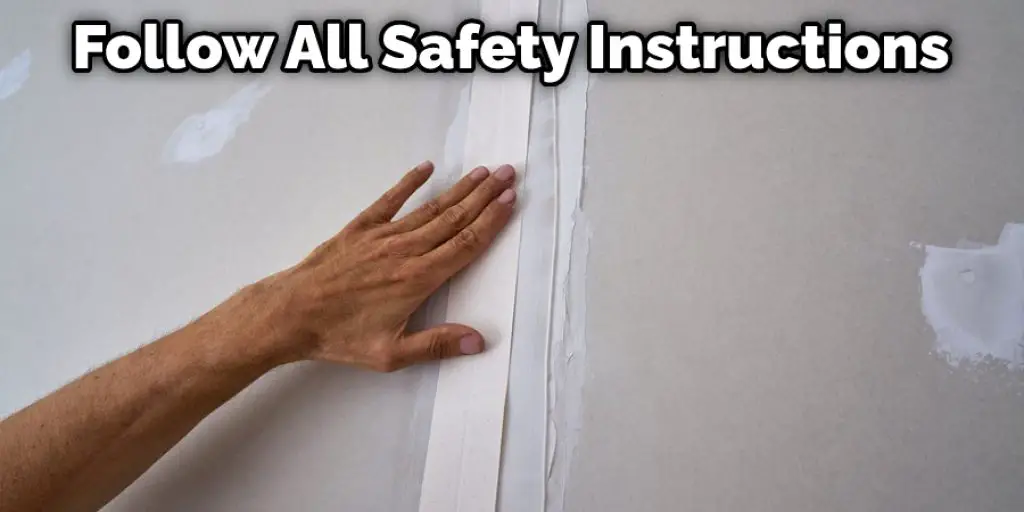
Once you’re finished repairing the bad drywall job, it’s time to clean up the mess. Depending on how big the repair was, you may need to rent a sander or power washer to remove all the dust and debris. Be sure to follow all safety instructions when using these tools.
That’s it! You’ve now learned how to fix a bad drywall job. With a little time and effort, you can make any repair look new.
What Safety Procedures Should I Take Before Starting This Project?
Before beginning any repair project, it is important to take the proper safety precautions. This is especially true when working with power tools or dealing with potentially toxic materials.
When fixing a bad drywall job, you will be working with sheetrock dust, which can irritate your lungs and cause respiratory problems. Therefore, wearing a dust mask and eye protection is important to avoid inhaling the dust. You should also cover any exposed skin to avoid contact with dust.
In addition, you will be working with tools that can cause serious injuries if used improperly. Be sure to read the instructions for each tool before using it, and never use a tool without understanding how it works.
It is also important to have a plan before beginning any repair project. Make sure you know what needs to be done and how you will do it. Having a plan will help you avoid making mistakes that could worsen the situation.
Can I Use Shiplap Instead of Drywall on My DIY Project?
If you’re not happy with the look of your drywall, you might be considering shiplap as an alternative. Shiplap is a type of siding that consists of overlapping boards, usually made of wood. It’s a popular choice for farmhouse-style and rustic homes, and it can give your home a unique look.
If you’re considering shiplap for your home, you should know a few things. First, shiplap can be more expensive than drywall. Second, it’s not as easy to install as drywall, so you’ll need to hire a professional if you want it done right. Third, shiplap is not fire-resistant, so it’s not the best choice for homes in wildfire-prone areas. Keep reading for more information about how to fix a bad drywall job.
Frequently Asked Question
What Should I Do if I Don’t Have the Same Color Paint?
If you find yourself in a bind and don’t have the same color paint to touch up your walls, there are a few things you can do. One option is to mix paints to create a new shade that resembles the original. Another option is to buy a small can of paint in a similar color and use that for touch-ups. If all else fails, you can always call a professional to help fix your bad drywall job.
How Much Does It Cost to Repair Drywall?
The cost of repairing drywall depends on the severity of the damage. For small holes and cracks, you can expect to pay around $50-$200. For larger holes and cracks, the price increases to $300-$600. And for major damage, such as water damage or large holes, the cost can be upwards of $1,000.
Will only Paint Hide Drywall Tape?
No, the paint will not hide drywall tape. However, if you have drywall tape that is peeling or bubbling, you will need to remove the old tape and apply new tape before painting. This will ensure a smooth, professional-looking finish.
Is It Okay if Drywall Tape Shows Through the Mud?
Drywall tape is an important part of any drywall job, as it helps to create a seamless surface and prevent cracks. However, the tape can sometimes show through the mud, unsightly. While this isn’t necessarily a problem, it can be fixed easily with a little bit of sanding. Just avoid sanding too aggressively, as this can damage the drywall.
Can You Paint Directly on Drywall Tape?
Drywall tape is an important component of any drywall job. It helps create a seamless finish and can prevent cracks and other damage. But what happens if you need to paint over drywall tape? The good news is that you can paint directly on drywall tape.
Do I Have to Sand Between Coats of Drywall Mud?
No, you don’t have to sand between coats of drywall mud. It’s usually a good idea not to sand between coats because it can remove some of the mud you’ve already put on. Instead, try using a wide putty knife or a taping knife to smooth out the mud. Make sure to wipe off any excess mud before applying the next coat.
Conclusion
So, what can you do if you are the unfortunate recipient of a bad drywall job? Drywall mud is your friend. As long as the surface is smooth and free of bumps, you should be able to fix it yourself. All you need is a putty knife, some sandpaper, and a little bit of patience. Start by scraping away any loose material or dust from the surface.
Then, use the putty knife to apply a thin layer of mud over the damaged area. Sand down the dried mud until it’s level with the surrounding surface. Finally, repeat as necessary until the damage is repaired. Thanks for reading our post about how to fix a bad drywall job. Have you ever had to repair a bad drywall job? What tips would you add?