
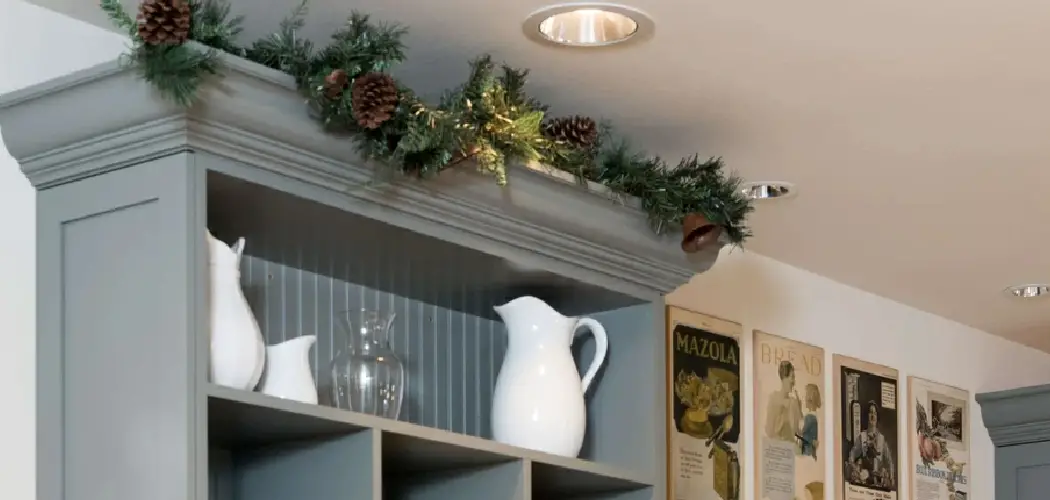
A hutch is one of those pieces of furniture that can quietly become the star of a room, yet the space on top often sits empty and forgotten. That stretch above the cabinet is prime real estate for adding personality, height, and warmth to your dining room, kitchen, or living space. If you’ve ever stared at that bare ledge and felt unsure where to begin, you’re in good company. Learning how to decorate the top of a hutch is easier than you might think, and you don’t need a designer’s eye or a big budget to pull it off.
With a few simple ideas and a little planning, you can turn that blank zone into a beautiful focal point. This guide breaks the whole process into clear, beginner-friendly steps so you feel confident from the very first item you place. We’ll cover why this small project matters, walk through a practical step-by-step method, and answer the questions people ask most. By the end, you’ll have a styled hutch you’re proud to show off.
Why Decorating the Top of a Hutch Matters
The top of a hutch draws the eye upward, which makes a room feel taller and more finished. When that space sits empty, it can leave the whole piece looking unbalanced or unintentional. Styling it well ties your hutch into the rest of your décor and gives the room a polished, lived-in charm.
There’s also a practical side worth noting. The top shelf is a chance to display treasures you love, from heirloom pottery to seasonal greenery, without cluttering everyday surfaces. It lets you rotate pieces with the seasons, keeping your space fresh and personal. Best of all, it’s a low-cost way to refresh a room. A handful of items you already own, arranged thoughtfully, can completely change how the space feels and works.
Step-by-Step Guide to How To Decorate the Top of a Hutch
Step 1: Clear the Space and Start Fresh
Before you add a single item, take everything off the top and give the surface a good wipe-down. Starting with a clean, empty slate helps you see the space clearly and plan without distraction. Dust tends to gather up there, so a quick clean now saves you from rearranging around grime later.
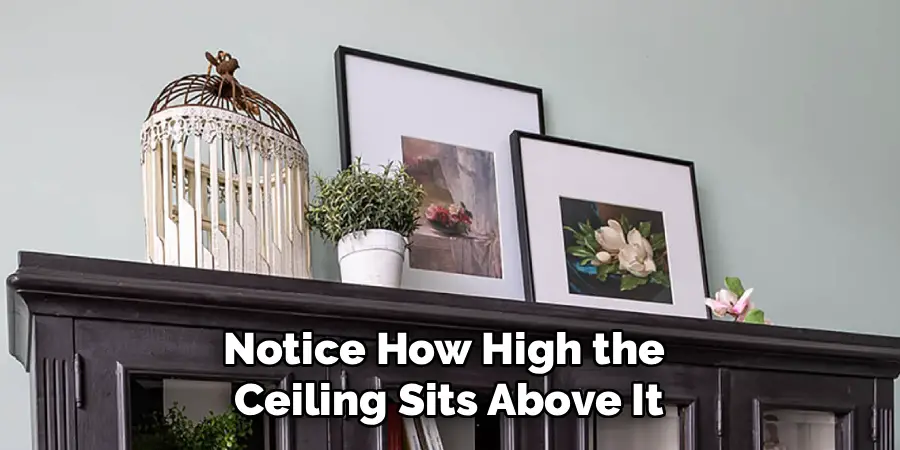
Once it’s clear, step back and study the shape of the area. Notice how high the ceiling sits above it and how wide the surface runs. These measurements guide every choice you make next, from the height of your tallest piece to how much breathing room you’ll leave. A fresh start sets you up for success.
Step 2: Choose a Theme or Color Story
Pick a direction before you grab your favorite pieces. A loose theme or color story keeps the display feeling intentional rather than random. You might lean into warm neutrals, soft farmhouse tones, or a bold pop of color that echoes something else in the room. There’s no wrong answer here, only what feels right to you.
Think about the mood you want. Cozy and rustic calls for wood, woven baskets, and greenery, while crisp and modern leans toward clean lines and simple shapes. Limiting yourself to two or three main colors prevents the top from looking busy and helps every item earn its spot.
Step 3: Build Height With Anchor Pieces
When you decorate the top of a hutch, height is your best friend. Empty vertical space can make a display feel small and lost, so start by placing one or two tall anchor pieces to draw the eye upward. Think of a large vase, a framed piece of art, a tall pitcher, or a trailing faux plant.
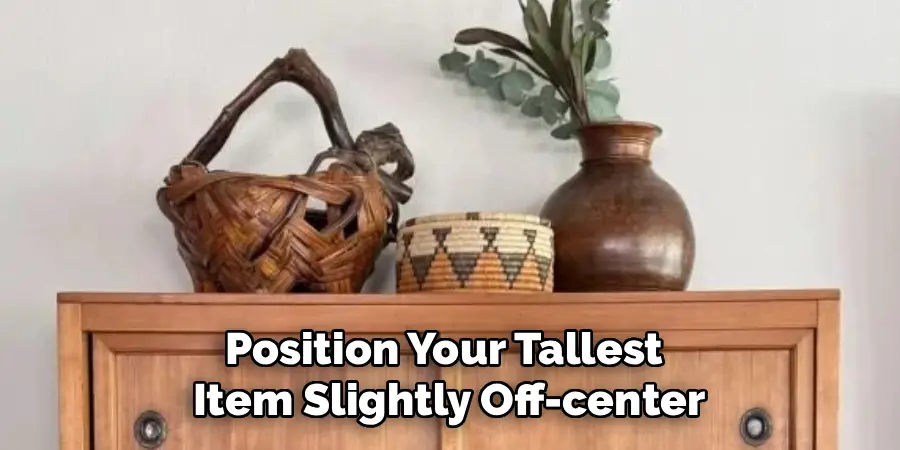
Position your tallest item slightly off-center rather than dead middle, which feels more natural and relaxed. These anchors set the scale for everything else and fill that awkward gap between the hutch and the ceiling. Without them, smaller objects tend to look like afterthoughts floating in too much open air.
Step 4: Add Layers and Vary Textures
With your tall pieces set, begin layering in medium and smaller items around them. Place larger objects toward the back and shorter ones in front so nothing hides behind something else. This front-to-back approach adds depth and makes the whole arrangement feel rich and considered.
Texture is where the magic happens. Mix smooth ceramics with rough woven baskets, glossy glass with matte stoneware, or soft greenery against hard metal. Combining different finishes keeps the eye moving and stops the display from feeling flat. Stack a couple of books to lift a small object, or lean a tray behind a candle. Small variations create big visual interest.
Step 5: Use Greenery to Soften the Look
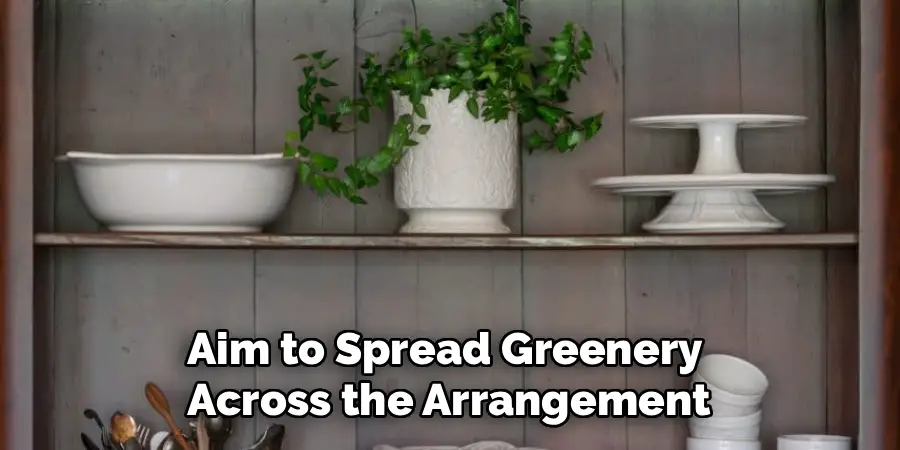
Plants and greenery breathe life into any display and soften the hard edges of furniture and décor. A trailing vine, a leafy stem in a vase, or a small potted plant instantly warms up the space. If you don’t have a green thumb, high-quality faux greenery looks convincing and needs zero care.
Let some greenery drape over the edge of the hutch for a relaxed, organic feel. This gentle spill connects the top to the piece below and breaks up rigid lines. Aim to spread greenery across the arrangement rather than clustering it all in one spot, so the freshness feels balanced from end to end.
Step 6: Balance and Edit Your Arrangement
Now comes the part where you decorate the top of a hutch with a critical eye. Step back across the room and look at the whole picture. Does one side feel heavier than the other? Is there a spot that looks crowded or a gap that feels empty? Small tweaks make a huge difference.
Editing is just as important as adding. If the display feels busy, remove an item or two and notice how the space breathes. Aim for visual balance, where the weight of objects feels evenly spread without being perfectly symmetrical. Trust your instinct here, and keep adjusting until the arrangement feels calm, intentional, and pleasing to your eye.
Step 7: Finish With Personal Touches
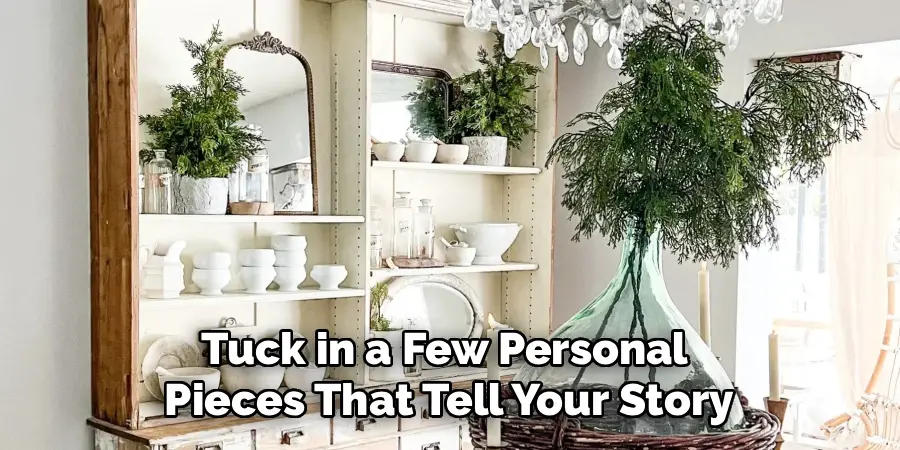
The final layer is what makes the display truly yours. Tuck in a few personal pieces that tell your story, like a small framed photo, a vintage find from a trip, or a handmade bowl. These details give the arrangement soul and set it apart from anything you’d see in a catalog.
Consider lighting too, if it suits your space. A small battery-operated puck light or a string of soft fairy lights can highlight your display in the evening and add a cozy glow. Once you’re happy, live with it for a few days. You may spot one small swap that takes the whole look from good to genuinely great.
Frequently Asked Questions
How Do I Avoid Making the Top Look Cluttered?
Less is usually more. Stick to a small group of items in odd numbers, like three or five, and give each piece a little breathing room. Choose a clear theme or color story so everything feels connected. If the space starts to feel busy, remove one item at a time until the arrangement looks calm and balanced again. Empty space is part of good design.
What Items Work Best for Styling a Hutch Top?
Tall anchor pieces like vases, pitchers, or framed art create height, while baskets, stacked books, and ceramic pieces add layers. Greenery, real or faux, softens the look beautifully. Personal touches such as photos or vintage finds bring character. Aim for a mix of heights, textures, and finishes so the display feels collected over time rather than bought all at once. Variety keeps the eye interested.
Should the Décor Match the Rest of the Room?
It should complement, not perfectly match. Pull one or two colors from your existing room palette so the hutch feels connected to its surroundings. You don’t need everything to be identical, though. A small contrast, like a pop of color or an unexpected texture, adds interest and stops the space from feeling flat. The goal is harmony, where the display feels like it belongs.
How Often Should I Update the Display?
There’s no strict rule, but many people enjoy refreshing the top with the seasons. Swapping a few items four times a year keeps the space feeling current without much effort. You might add warm greenery in spring, bright tones in summer, rich colors in fall, and cozy touches in winter. Even small changes, like switching a vase or adding a candle, can make the whole room feel renewed.
Do I Need to Spend a Lot of Money?
Not at all. Some of the best displays use items you already own, like books, bowls, or vases shopped from around your house. Thrift stores, garden clippings, and dollar-store finds can fill any gaps affordably. Focus on arrangement and balance rather than price tags. A thoughtful display of inexpensive pieces almost always looks better than a random pile of costly ones.
Conclusion
Styling that empty ledge doesn’t have to feel overwhelming, and now you have a clear path to follow. Start with a clean surface, choose a simple color story, build height with anchor pieces, then layer in textures and greenery to add depth and warmth. Take time to balance and edit your arrangement, and finish with personal touches that make the space feel like yours. Each step builds on the last, turning a blank zone into a display you’ll love walking past every day.
The beauty of learning how to decorate the top of a hutch is that there’s no single right answer, only the look that makes you happy. So gather a few favorite pieces, set aside an afternoon, and start experimenting. Trust your eye, play with the arrangement, and don’t be afraid to adjust until it feels just right. Your hutch is ready for its moment in the spotlight, and your whole room will feel more finished because of it.

Rick is a handyman who grew up helping his dad with his business. He learned a lot from him about how to fix things, and also about how to work hard and take care of business. These days, Rick is still into fixing things- only now, he’s doing it for a living.
Rick is always looking for new ways to help people grow and develop. That’s why he started contributing to this blog: to share all his experience and knowledge so that he can help people who are interested in DIY repair.