
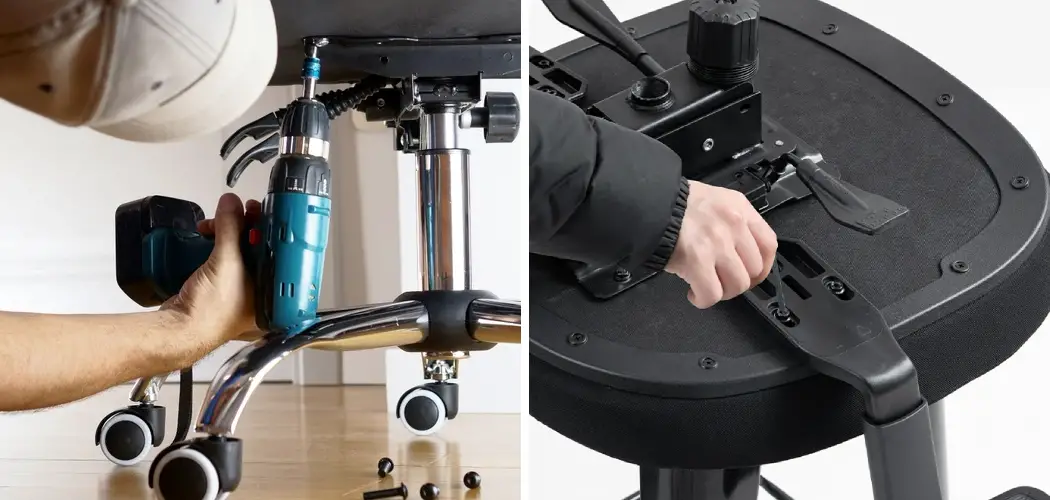
Maybe your trusty office chair finally gave out, the gas lift won’t hold you up anymore, or you’re simply trying to fit it through a doorway during a move. Whatever brought you here, knowing how to take apart office chair components is a handy skill that saves you money and frustration. The good news? You don’t need to be a repair expert or own a garage full of tools.
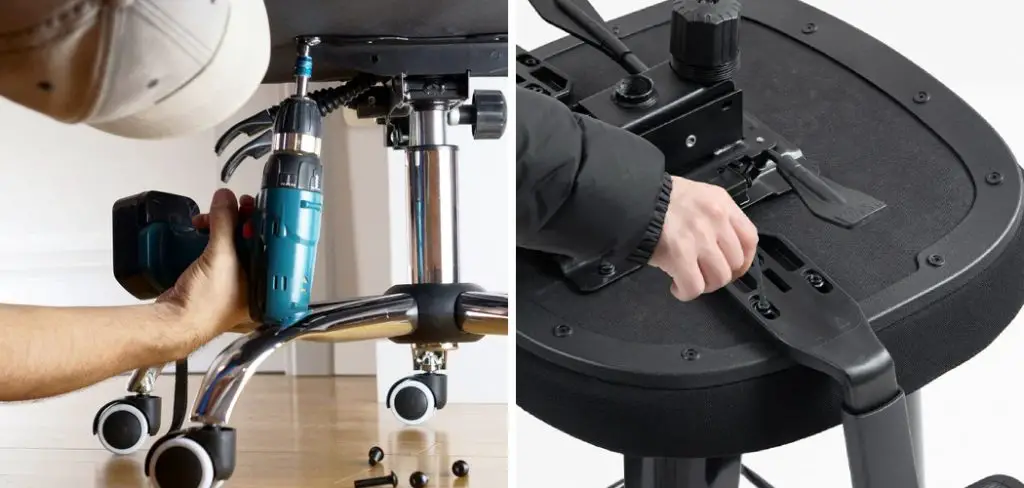
Most office chairs come apart with a few basic items and a little patience. This beginner-friendly guide breaks the whole process into clear, manageable steps so you feel confident from the first bolt to the last. We’ll explain why this skill matters, walk you through each stage in plain language, and answer the questions people ask most. By the end, you’ll know exactly how to separate every piece safely, whether you’re repairing, recycling, or relocating. Grab your chair and let’s get started.
Why Taking Apart an Office Chair Matters
Learning to disassemble your chair pays off in more ways than one. First, it saves money. Instead of tossing a chair over one broken part, you can replace just the faulty piece, like a worn caster or a sagging gas cylinder. Second, it makes moving far easier, since a chair broken into parts fits in a car trunk or through a tight hallway without a struggle.
There’s also the recycling angle. Many parts, like metal bases and steel bolts, can be recycled properly only when separated. Beyond that, taking your chair apart helps you clean hidden grime, oil squeaky mechanisms, and understand how your seat actually works. That knowledge empowers you to handle future fixes with ease and confidence.
Step-by-Step Guide to How To Take Apart Office Chair
Step 1: Gather Your Tools and Clear a Workspace
Before you touch a single bolt, set yourself up for success. You’ll want a few basics on hand: an Allen wrench set, a Phillips screwdriver, a rubber mallet, some penetrating oil, and a clean rag. Lay an old towel or cardboard sheet on the floor to protect both your surface and the chair parts.
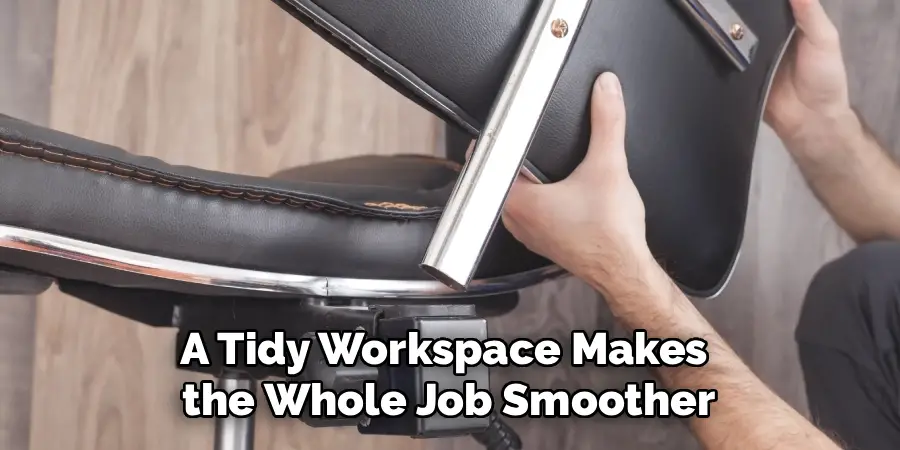
Pick a spacious area with good lighting so you can see what you’re doing and won’t lose small screws. Keep a small bowl or zip bag nearby to hold hardware as you remove it. Staying organized now prevents headaches later, especially if you plan to reassemble the chair. A tidy workspace makes the whole job smoother and far less stressful.
Step 2: Remove the Seat From the Base
Start at the top by flipping the chair over so the seat rests safely on your towel. Look underneath and you’ll spot a metal plate, called the seat mechanism, held in place by four bolts. These usually take an Allen wrench or Phillips screwdriver, depending on your model.
Loosen each bolt a little at a time, working in a crisscross pattern rather than one corner fully at once. This keeps tension even and stops the plate from binding. Once all four are out, gently lift the seat away from the base. Set the seat aside and drop those bolts into your bowl so nothing rolls off and disappears under the desk.
Step 3: Detach the Backrest
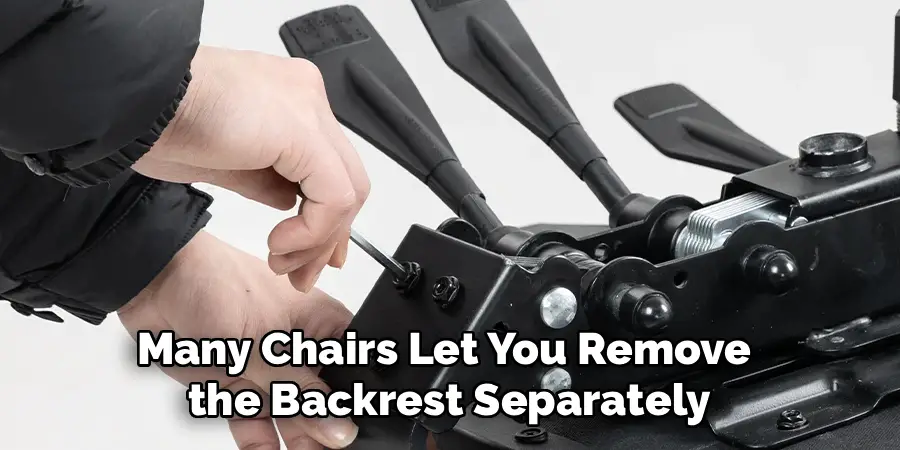
Many chairs let you remove the backrest separately, which makes both moving and repairs much simpler. Check where the backrest connects to the seat or the support arm. You’ll typically find one or two bolts, sometimes hidden beneath a plastic cover that pops off with a flathead screwdriver.
Hold the backrest steady with one hand so it doesn’t drop suddenly once the bolts loosen. Unscrew them fully, then ease the backrest free. If your model uses a slide-and-lock design instead of bolts, look for a release lever or clip. Knowing how to take apart office chair backrests gives you flexibility, since a detached back is far easier to store or pack away.
Step 4: Separate the Gas Cylinder From the Seat Mechanism
The gas cylinder, that tube responsible for raising and lowering your seat, fits into the seat mechanism with a tight friction hold rather than screws. To free it, position the seat mechanism so the cylinder points up. Spray a little penetrating oil where the two meet and wait a few minutes for it to work in.
Now grab your rubber mallet. Tap firmly around the connection point, rotating the cylinder as you go to loosen its grip. Avoid metal hammers, which can dent or damage the parts. With steady, patient taps, the cylinder will eventually slide loose. Take your time here, because forcing it risks bending the metal or hurting your hands.
Step 5: Remove the Gas Cylinder From the Base
With the seat mechanism off, the gas cylinder now sits wedged into the five-star base, again held by friction. This connection is often the most stubborn part of the entire job, so don’t be surprised if it puts up a fight. Flip the base upside down and apply more penetrating oil to the joint.
Grip the cylinder firmly and twist while pulling upward. If it won’t budge, wrap a cloth around it for grip and tap the base near the joint with your mallet. For really stuck cylinders, a pipe wrench gives extra leverage. Patience and steady pressure win here. Once it releases, you’ve cleared one of the trickiest hurdles in the process.

Step 6: Pop Out the Casters and Wheels
With the base separated, the casters are refreshingly simple to remove. Each wheel stem pushes into a hole on the base and stays put through friction alone. Most casters pull straight out with a firm tug, so grip one wheel and pull it away from the base in a straight line.
If a caster resists, slide a flathead screwdriver behind the stem and gently pry while you pull. Work each wheel one at a time so you don’t tire your hands. Wipe away any hair or dust wrapped around the stems while you’re at it. Removing the casters leaves you with a flat base that’s easy to stack, store, or recycle.
Step 7: Inspect, Sort, and Store the Parts
You’ve now reduced your chair to its core pieces: seat, backrest, mechanism, gas cylinder, base, and casters. Before you finish, give each part a quick once-over. Check for cracks, worn threads, or damaged casters so you know what to replace if you plan to rebuild.
Group similar items together and keep all your bolts in that labeled bag from step one. If you’re storing the parts, stack the flat pieces and stand the cylinder upright in a corner where it won’t roll. Should you ever reassemble, simply reverse these steps. A little organization now turns a future rebuild into a quick, stress-free task you’ll handle like a pro.

Frequently Asked Questions
What Tools Do I Need to Disassemble an Office Chair?
Most chairs come apart with everyday tools. You’ll want an Allen wrench set, a Phillips screwdriver, and a flathead screwdriver for covers and clips. A rubber mallet helps loosen the gas cylinder, while penetrating oil eases stubborn joints. Keep a rag for cleanup and a small container for hardware. These affordable items handle nearly any standard office chair without trouble.
Why Is the Gas Cylinder So Hard to Remove?
The gas cylinder relies on a tight friction fit rather than bolts, which keeps your seat stable during daily use. Over time, that grip tightens further as metal settles. To loosen it, apply penetrating oil, wait a few minutes, then tap firmly with a rubber mallet while twisting. Patience matters here, since forcing the part can bend the metal or cause injury.
Can I Reassemble the Chair After Taking It Apart?
Absolutely. Reassembly simply reverses the disassembly process. Slide the gas cylinder back into the base, attach the seat mechanism, reconnect the backrest, and press the casters into place. Keep your bolts organized in a labeled bag so nothing goes missing. Snap or screw each piece together firmly, and your chair will feel as sturdy and reliable as it did before you started.
Is It Safe to Take Apart an Office Chair Myself?
Yes, with a few precautions. The gas cylinder is pressurized, so never attempt to cut, puncture, or open it. Stick to separating it at the friction joints only. Wear gloves to protect your hands, work in a clear space, and use a rubber mallet rather than metal tools. Following these simple safety habits keeps the entire project beginner-friendly and worry-free.
How Do I Dispose of or Recycle Old Chair Parts?
Sort your parts by material first. Metal bases, bolts, and cylinders often go to scrap metal recyclers, though pressurized cylinders may need special handling, so check local guidelines. Plastic and fabric pieces usually follow your regular waste rules. Many office furniture retailers and recycling centers accept old chairs too. Separating the parts makes responsible disposal far easier and better for the environment.
Conclusion
Breaking down a chair into its individual pieces is far simpler than it first looks, and now you have a clear roadmap to do it with confidence. The key is to work from the top down, stay organized with your hardware, and lean on penetrating oil and a rubber mallet whenever a joint puts up a fight. Each step builds naturally on the last, turning a bulky, awkward object into a tidy set of manageable parts.
Whether your goal is repair, recycling, or an easier move, knowing how to take apart office chair components puts you firmly in control. So gather your tools, clear a little space, and give it a try. You’ll save money, sharpen a genuinely useful skill, and feel that satisfying spark of accomplishment when the final caster pops free. Your chair, and your wallet, will thank you.

Rick is a handyman who grew up helping his dad with his business. He learned a lot from him about how to fix things, and also about how to work hard and take care of business. These days, Rick is still into fixing things- only now, he’s doing it for a living.
Rick is always looking for new ways to help people grow and develop. That’s why he started contributing to this blog: to share all his experience and knowledge so that he can help people who are interested in DIY repair.