
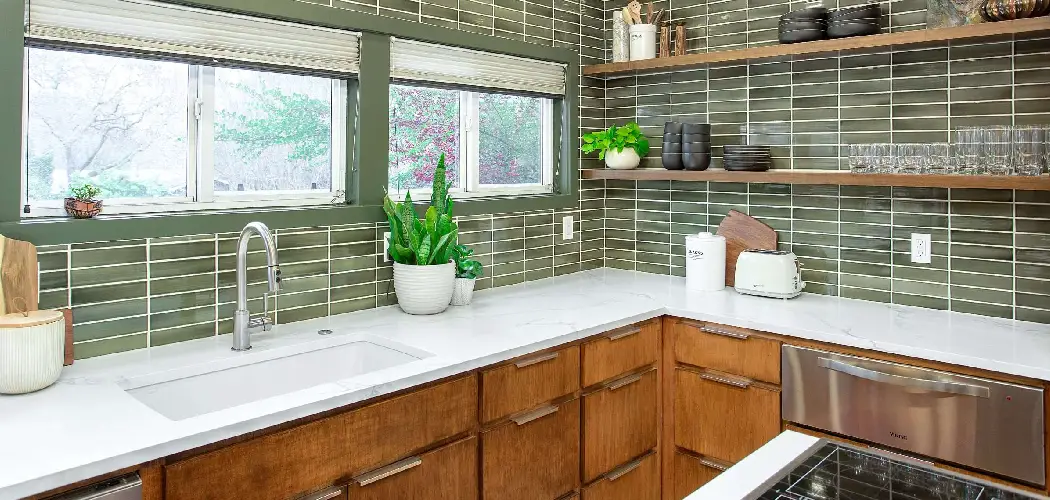
That sleek IKEA kitchen looked perfect on day one, but maybe the plain white doors now feel a little flat, or the trendy color you once loved no longer fits your style. Here’s some good news: you don’t need to rip everything out and start over. A fresh coat of paint can completely transform your space for a fraction of the cost of new cabinetry. Learning how to paint ikea kitchen cabinets is a beginner-friendly project that rewards a little patience with a dramatic, custom look.
This guide walks you through the entire process in plain language, from prep to the final protective coat. We’ll explain why painting matters, the exact steps to follow, and answers to the questions people ask most. Whether you’re refreshing a tired finish or chasing a bold new color, you’ll finish this article feeling confident and ready to grab a brush. The best part is that careful work pays off with results that look professionally done, and your kitchen gets a personal upgrade you’ll enjoy every single day.
Why Painting Ikea Kitchen Cabinets Matters
Painting your cabinets does more than freshen up a room. IKEA cabinet fronts often come in melamine or laminate finishes that resist staining but can chip or fade over time. A proper paint job seals and protects those surfaces while letting you pick any color you want, far beyond the standard catalog options.
There’s also the budget angle. Replacing cabinetry costs thousands, while a quality paint project costs a fraction of that and delivers a high-impact result. You boost your kitchen’s value, extend the life of materials you already own, and reduce waste. Best of all, this is a project nearly anyone can tackle at home. With the right tools and a bit of care, you turn an ordinary kitchen into a space that feels fully your own.
Step-by-Step Guide to How To Paint Ikea Kitchen Cabinets
Step 1: Remove Doors, Drawers, and Hardware
Start by taking everything apart. Unscrew the cabinet doors from their hinges, slide out the drawers, and remove all knobs, pulls, and handles. Working with flat, detached pieces gives you far better access and a smoother, drip-free finish than painting cabinets in place.
As you go, label each door and its matching screws with painter’s tape and a marker. IKEA cabinets look identical, so this small habit saves big headaches during reassembly. Store the hardware in labeled bags so nothing wanders off. Set your pieces on a clean, covered work surface like a garage floor or sawhorses. This setup keeps your project organized and your final result looking crisp.

Step 2: Clean Every Surface Thoroughly
Kitchen cabinets collect grease, dust, and cooking residue you can’t always see. Paint won’t stick to a dirty or oily surface, so cleaning is non-negotiable. Mix warm water with a degreasing dish soap, or use a dedicated cleaner like trisodium phosphate for heavier buildup, and wipe down every panel.
Pay extra attention to areas near the stove and the handles, where grease loves to hide. Once clean, rinse with plain water to remove any soap film and let everything dry completely. Skipping this step is the number one reason paint peels later, so don’t rush it. A spotless surface is the foundation of a finish that lasts for years to come.
Step 3: Sand for Better Adhesion
IKEA’s slick laminate finish is designed to resist scratches, which also means paint struggles to grip it. Light sanding solves this. Use fine-grit sandpaper, around 220 grit, and scuff every surface just enough to dull the shine. You’re not stripping the finish, only roughing it up so primer can bond.
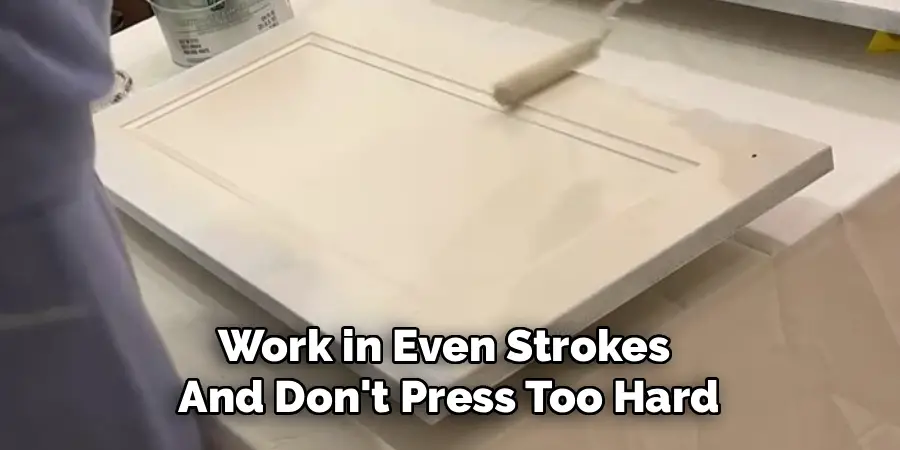
Work in even strokes and don’t press too hard. After sanding, wipe each piece with a tack cloth or a slightly damp rag to remove every speck of dust. Dust trapped under paint creates a gritty, bumpy texture, so be thorough here. This is where knowing how to paint ikea kitchen cabinets properly separates a smooth, lasting finish from a flaky disappointment.
Step 4: Apply a Bonding Primer
Primer is the secret to making paint stick to laminate. Choose a high-quality bonding primer made for slick or glossy surfaces, since regular wall primer won’t hold up. Apply a thin, even coat using a foam roller for flat areas and an angled brush for grooves and edges.
Thin coats matter more than thick ones. A heavy layer drips and takes forever to dry, while two light coats build a strong, even base. Let the primer cure fully according to the label, usually a few hours. Once dry, run your hand over the surface to check for rough spots, and give them a quick light sand before moving on to color.
Step 5: Paint in Thin, Even Coats
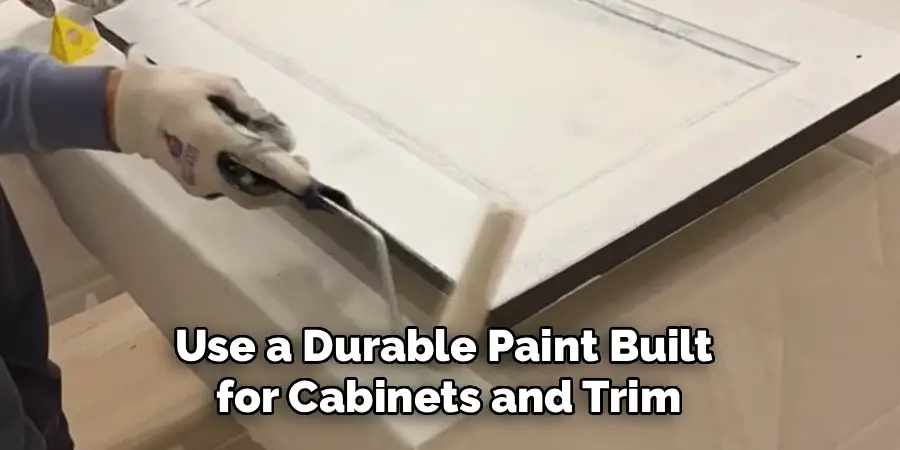
Now for the fun part. Use a durable paint built for cabinets and trim, such as an acrylic enamel, which dries to a hard, washable finish. Load your foam roller lightly and apply the paint in thin, smooth passes, working with the grain or in one consistent direction for a uniform look.
Resist the urge to slap on one thick coat. Two or three thin layers give you a far smoother, more professional result. Let each coat dry completely before adding the next, and lightly sand between coats with very fine paper to knock down any imperfections. Patience during this stage is exactly what makes painting ikea kitchen cabinets look like a factory finish.
Step 6: Seal With a Protective Topcoat
Kitchens are busy, messy places, so your freshly painted cabinets need protection. A clear topcoat, often called a sealer or clear coat, shields the paint from moisture, grease, and daily wear. Choose a water-based polyurethane in a finish you like, whether matte, satin, or semi-gloss.
Apply it the same way you applied your paint, in thin and even coats with a clean foam roller or brush. Two coats usually do the trick, with full drying time in between. This step is easy to skip when you’re eager to finish, but it dramatically extends the life of your work. A good seal means your cabinets stay beautiful and easy to wipe clean for years.
Step 7: Reassemble and Cure
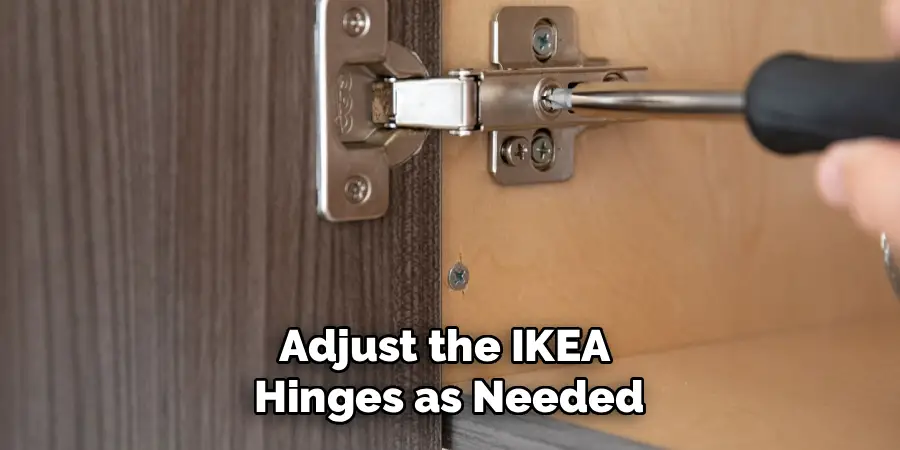
Once everything is fully dry, it’s time to put your kitchen back together. Reattach the hardware, slide the drawers home, and rehang the doors using those handy labels from step one. Adjust the IKEA hinges as needed so every door sits straight and closes smoothly.
Here’s the catch: paint that feels dry to the touch isn’t fully hardened yet. Most cabinet paints take several days to a few weeks to cure completely. Until then, handle surfaces gently, avoid heavy scrubbing, and try not to stack items against fresh doors. Once cured, your cabinets will be tough and ready for everyday life. Step back and enjoy your stunning, brand-new-looking kitchen.
Frequently Asked Questions
Do I Really Need to Sand IKEA Cabinets Before Painting?
Yes, sanding makes a real difference. IKEA’s laminate and melamine surfaces are smooth and slick, which means paint and primer have nothing to grip. A light scuff with 220-grit sandpaper dulls the shine and creates tiny grooves for the primer to bond to. You don’t need to sand deep, just enough to remove the gloss. Skipping this step often leads to peeling.
What Type of Paint Works Best on Laminate Cabinets?
Acrylic enamel paint is the top choice for IKEA cabinets. It dries to a hard, durable finish that stands up to scrubbing, moisture, and daily kitchen use. Always pair it with a bonding primer designed for glossy surfaces, since that combination ensures strong adhesion. Avoid standard wall paint, which stays soft and chips easily. Water-based options clean up nicely and give off fewer fumes.
How Long Does the Whole Project Take?
Plan for a weekend of active work, plus extra drying time. The actual cleaning, sanding, priming, and painting can fit into two or three days, but each coat needs hours to dry properly. The trickier part is curing, which can take several days to a few weeks. Your cabinets are usable once dry, but treat them gently until they fully harden for the best results.
Can I Paint Over Cabinets Without Removing the Doors?
You can, but the results won’t be as clean. Removing doors and drawers lets you paint flat surfaces, which prevents drips and gives an even, professional finish. It also makes reaching edges and corners far easier. Painting in place is faster and tempting for small touch-ups, but for a full makeover, taking everything apart is well worth the extra effort and time.
Will the Painted Finish Hold Up Over Time?
Absolutely, when you prep correctly and seal your work. The key is thorough cleaning, light sanding, a quality bonding primer, durable cabinet paint, and a protective topcoat. Cabinets finished this way resist chipping, grease, and moisture for many years. Cutting corners on prep is what causes early peeling. Follow each step with care, and your finish will stay strong and good-looking.
Conclusion
Giving your kitchen a fresh look is far more achievable than it first appears. The secret lies in working in the right order: remove and label everything, clean thoroughly, sand for grip, prime, paint in thin coats, seal, and let it cure. Each step builds on the last, turning a daunting job into a satisfying weekend project with results you’ll be proud to show off. Remember that prep work is where the magic happens, since a clean, sanded, primed surface is what makes paint last.
Now that you understand how to paint ikea kitchen cabinets from start to finish, you have everything you need to transform your space without spending a fortune. Gather your supplies, set aside a weekend, and give those plain cabinets the upgrade they deserve. With a little patience and the right method, you’ll create a kitchen that feels custom, fresh, and truly your own.

Rick is a handyman who grew up helping his dad with his business. He learned a lot from him about how to fix things, and also about how to work hard and take care of business. These days, Rick is still into fixing things- only now, he’s doing it for a living.
Rick is always looking for new ways to help people grow and develop. That’s why he started contributing to this blog: to share all his experience and knowledge so that he can help people who are interested in DIY repair.