
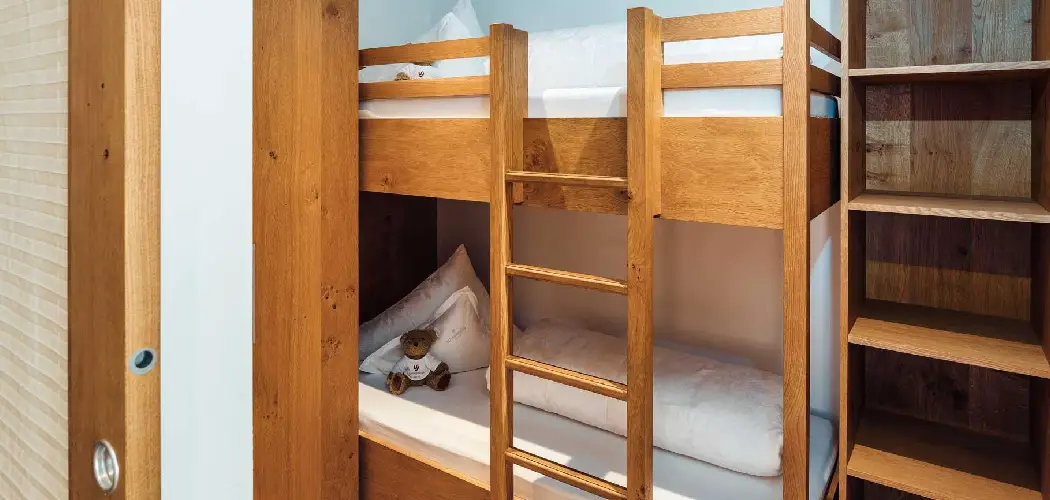
Taking on a furniture project can feel intimidating, especially when bolts, ladders, and heavy frames are involved. But moving day, a room refresh, or simply repairing a wobbly joint often means you need to break down that big sleeping setup safely. Learning how to take apart a bunk bed is a skill anyone can master, even if you’ve never picked up a wrench before. The process is far more straightforward than it looks, as long as you go in the right order and keep your hardware organized.
In this guide, we’ll walk you through every part of the job in plain, friendly language. You’ll learn what tools to grab, how to protect yourself and the bed frame, and the exact sequence that prevents scratches, stripped screws, and lost pieces. Whether you’re a complete beginner or just need a refresher, you’ll feel confident tackling this on your own. By the end, you’ll have a clear, repeatable method that saves time, prevents damage, and makes reassembly later a breeze.
Why Taking Apart a Bunk Bed Matters
Doing this job correctly protects both your safety and your investment. Bunk beds are heavy and tall, so rushing through disassembly can lead to pinched fingers, dropped rails, or a frame that never fits back together properly. A careful approach keeps everyone in one piece.
There’s a practical side too. Properly separating the pieces makes the frame far easier to move through doorways, load into a vehicle, or tuck into storage. Keeping screws and brackets sorted means reassembly takes minutes instead of hours of frustrated guessing. You also avoid stripping bolts or cracking wood, which preserves the bed’s value and lifespan. In short, a methodical breakdown today saves you money, headaches, and possible injury down the line, no matter your skill level.
Step-by-Step Guide to How To Take Apart a Bunk Bed
Step 1: Gather Your Tools and Clear the Space
Before you loosen a single bolt, set yourself up for success. Most beds need just a few basics: an Allen wrench (often included with the bed), a Phillips and flathead screwdriver, an adjustable wrench, and a rubber mallet for stubborn joints. Keep a small bag or container nearby to hold hardware.
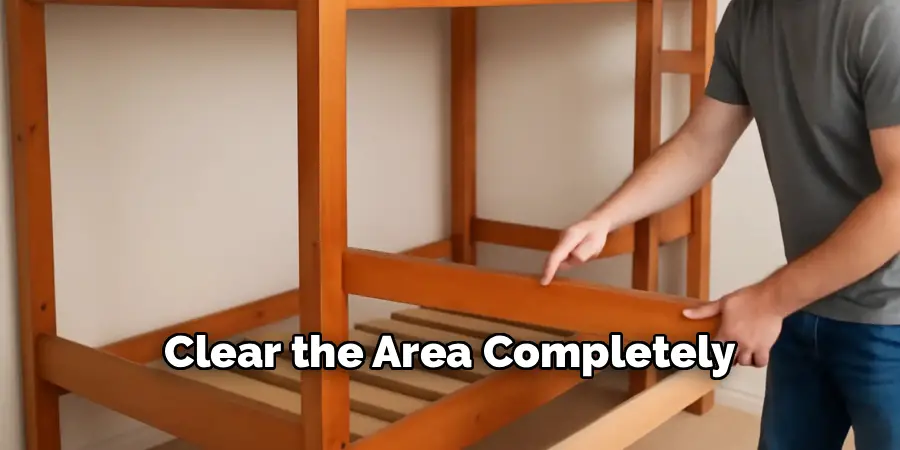
Next, clear the area completely. Strip off all bedding, pillows, and the mattresses, setting them aside in another room. Move nightstands or clutter out of your path so you have room to work and walk safely. A clean, open space prevents tripping and gives you the elbow room to handle large pieces without bumping walls or furniture.
Step 2: Remove the Mattresses and Support Slats
With the bedding cleared, lift off both mattresses one at a time. These can be awkward and heavier than they look, so bend at the knees and ask for a helping hand if needed. Lean them flat against a wall in another room to keep your workspace open.
Underneath, you’ll find a set of slats, a solid panel, or a metal grid supporting each mattress. Carefully lift these out and stack them in order. If the slats are screwed or clipped into place, loosen them now and keep that hardware separate. Labeling which slats came from the top versus the bottom bunk makes putting everything back together much simpler later.
Step 3: Detach the Ladder and Guardrails
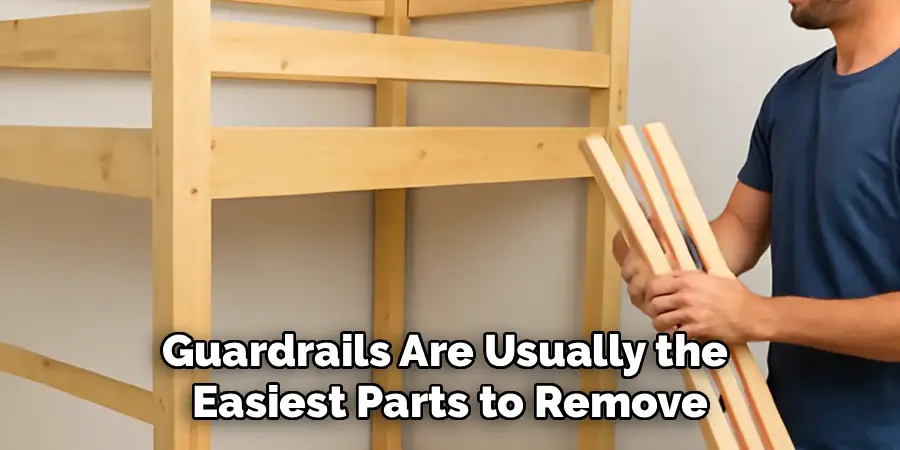
The ladder and guardrails are usually the easiest parts to remove, which is why they come off early. Most ladders either hook over the top rail or attach with a few screws or bolts. Support the ladder with one hand while you loosen the fasteners, then lift it free and set it aside.
Guardrails along the top bunk typically slide into brackets or bolt directly to the frame. Knowing how to take apart a bunk bed safely means removing these before the heavy lifting starts, since they often hold the upper section steady. Work slowly, support each rail as it loosens, and drop every screw into your hardware container as you go.
Step 4: Separate the Top Bunk From the Bottom
This is the heart of the job, so take your time and recruit a partner if you can. The two bunks usually connect through pins, bolts, or interlocking posts where the legs meet. Locate these connection points at all four corners and loosen them evenly rather than fully removing one side first.
Once the fasteners are free, lift the top bunk straight up and off the lower frame. Bunk beds get top-heavy here, so coordinate with your helper and keep your footing stable. Lower the top section gently to the floor or carry it to your staging area. Never let it drop, as the sudden weight can crack joints or dent the rails.
Step 5: Take Apart the Bed Frames
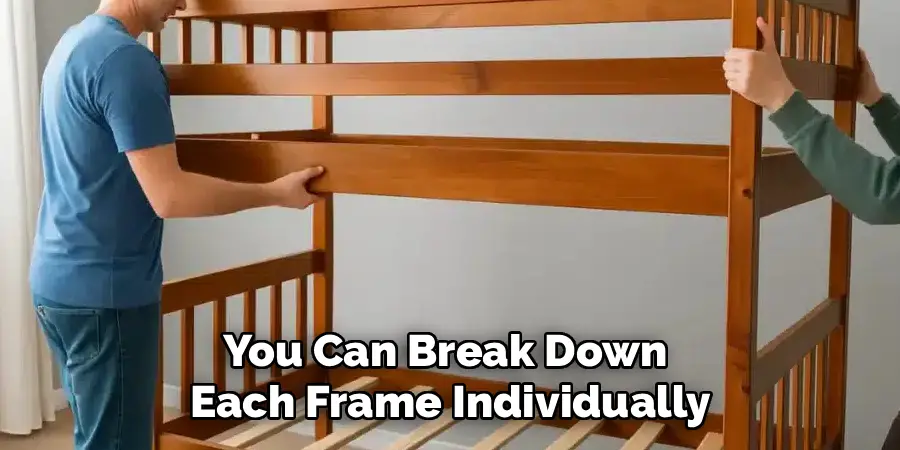
With the bunks separated, you can break down each frame individually. Working on one bunk at a time keeps your hardware from getting mixed up. Loosen the bolts connecting the headboard and footboard to the side rails, supporting each panel so it doesn’t tip as the last screw comes out.
This is where understanding how to take apart a bunk bed really pays off, because going corner by corner keeps everything balanced. Lay each panel flat as you free it, and avoid forcing any joint that resists. If a bolt feels stuck, a gentle tap with a rubber mallet usually loosens it. Repeat the same process on the second bunk until both frames lie in neat, flat pieces.
Step 6: Organize and Label All the Hardware
This step is small but absolutely worth it. Gather every bolt, screw, pin, and bracket you’ve collected and sort them by type or by the section they came from. Sealable plastic bags work beautifully, and a permanent marker lets you label each one clearly, such as “top bunk corners” or “ladder screws.”
Tape the labeled bags directly to the matching frame piece so nothing wanders off. If you have the original assembly instructions, tuck them in with the hardware for easy reference. Snapping a few quick photos before and during disassembly also helps. These little habits transform reassembly from a frustrating puzzle into a quick, stress-free task.
Step 7: Protect, Wrap, and Store the Pieces
Now that everything is apart, shield your frame from scratches and dents during transport or storage. Wrap each wooden or metal panel in moving blankets, bubble wrap, or old towels, securing them with tape or stretch wrap. Pay extra attention to corners and any decorative edges that chip easily.
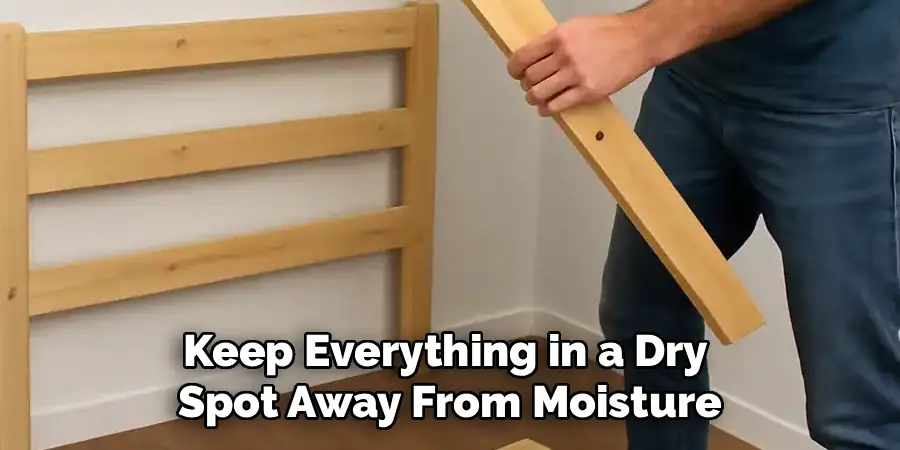
Stack the wrapped pieces flat rather than leaning them at angles, which can warp wood over time. Store hardware bags somewhere you’ll remember, ideally taped to the frame itself. Keep everything in a dry spot away from moisture to prevent rust or swelling. With your bed neatly packed, you’re ready for moving day or long-term storage with total peace of mind.
Frequently Asked Questions
How Long Does It Take to Disassemble a Bunk Bed?
Most people finish in thirty minutes to an hour, depending on the bed’s design and your experience level. Simpler frames with fewer bolts go quickly, while solid wood models with many fasteners take longer. Having your tools ready, a clear workspace, and a helping hand speeds things up considerably. Take your time rather than rushing, since careful work prevents damage and makes reassembly far easier.
Do I Need a Second Person to Help?
For lifting the mattresses and separating the top bunk, a second person is highly recommended. These parts are heavy and awkward, and a helper keeps the frame stable while you loosen connections. You can manage smaller tasks like removing the ladder or sorting hardware solo. If you must work alone, go slowly, support each piece carefully, and never force heavy sections to move on your own.
What if the Bolts Are Stuck or Rusted?
Stuck bolts are common, especially on older beds. Apply a penetrating lubricant, wait a few minutes, then try again with steady pressure. A rubber mallet can gently loosen tight joints, and the right-sized wrench prevents stripping. If a bolt won’t budge, avoid forcing it, as that can crack the wood. Patience and the correct tools almost always win, and replacement hardware is inexpensive if needed.
How Should I Store the Pieces to Avoid Damage?
Wrap each panel in moving blankets or bubble wrap, paying special attention to corners and edges. Stack the wrapped pieces flat in a dry, climate-controlled space to prevent warping, rust, or swelling. Keep all hardware in labeled bags taped to the matching frame so nothing gets lost. Avoid stacking heavy items on top of wooden panels, since prolonged pressure can leave dents or bends.
Can I Reuse the Same Hardware When Reassembling?
In most cases, yes, as long as the bolts and screws are in good condition. Inspect each piece for stripped threads, bending, or rust before reusing it. Keeping everything labeled and organized during disassembly makes this easy. If any hardware looks worn or damaged, replace it with the same size and type from a hardware store. Fresh fasteners ensure a secure, wobble-free bed once it’s back together.
Conclusion
Breaking down a bunk bed doesn’t have to be stressful when you follow a clear, logical sequence. The key takeaways are simple: gather the right tools, work from the top down, keep every piece of hardware labeled, and protect the frame as you go. Removing the mattresses, ladder, and guardrails first sets you up to separate the bunks safely, while sorting your bolts saves serious time when you rebuild.
Now that you understand how to take apart a bunk bed from start to finish, you have everything you need to tackle the job with confidence. Whether you’re moving, redecorating, or storing the frame for later, this method protects your safety and your furniture. Grab your tools, clear some space, and give it a try. With a little patience and organization, you’ll have the whole bed neatly disassembled and ready for whatever comes next.

Rick is a handyman who grew up helping his dad with his business. He learned a lot from him about how to fix things, and also about how to work hard and take care of business. These days, Rick is still into fixing things- only now, he’s doing it for a living.
Rick is always looking for new ways to help people grow and develop. That’s why he started contributing to this blog: to share all his experience and knowledge so that he can help people who are interested in DIY repair.