
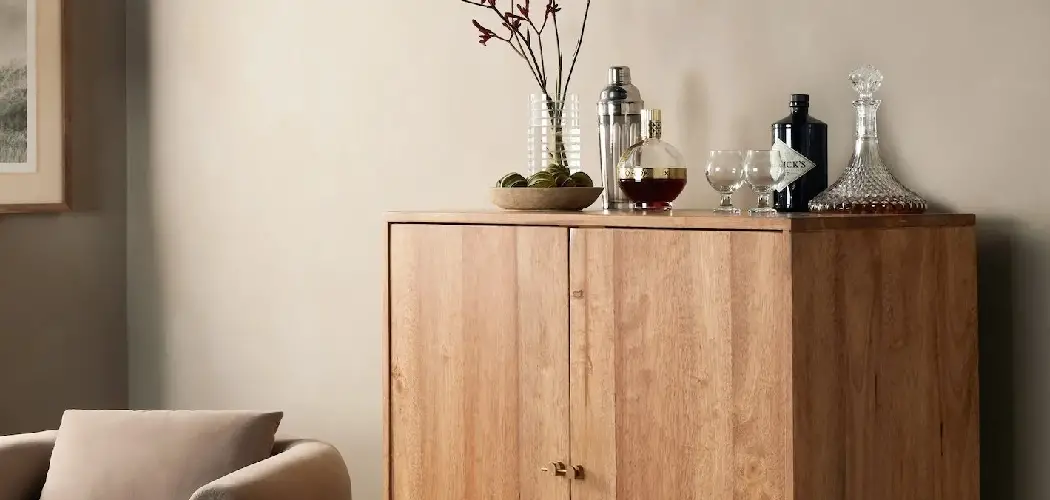
A credenza is one of the most versatile pieces of furniture you can own, yet so many sit bare and underused. Maybe yours holds a stack of mail and a forgotten candle, or perhaps it’s brand new and you have no idea where to begin. Either way, you’re in the right place. A well-styled credenza becomes the anchor of a room, drawing the eye and pulling your whole space together.
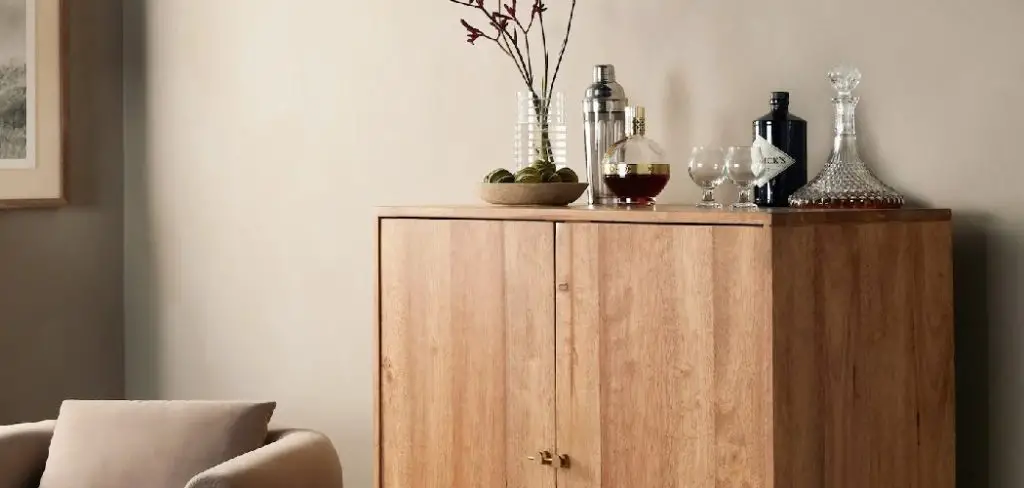
The best part? You don’t need a design degree to make it shine. Learning how to style a credenza is a friendly, low-pressure project that rewards a little creativity with a lot of impact. In this guide, we’ll walk you through each step in plain language, from picking the right anchor piece to layering in personal touches that feel just right. Whether you lean modern, cozy, or eclectic, these ideas adapt to your taste. By the end, you’ll have a clear, repeatable method to turn a flat surface into a styled focal point you’ll love walking past every single day.
Why Styling a Credenza Matters
A thoughtfully styled credenza does far more than fill empty space. It sets the tone for an entire room, signaling care, personality, and intention the moment someone walks in. Because a credenza usually sits at eye level, it naturally becomes a focal point, which makes it the perfect spot to show off the pieces you love most. Styling it well also keeps clutter in check, giving every item a deliberate home instead of a random pile. There’s a practical payoff too.
A balanced arrangement makes the surface easier to keep tidy, and it helps the credenza feel like part of your design rather than an afterthought. Best of all, the skills transfer everywhere. Once you master this, shelves, mantels, and tabletops become simple to arrange with the same confidence.
Step-by-Step Guide to How To Style a Credenza
Step 1: Start With a Clean Slate
Before you add a single thing, clear everything off the surface and give it a good wipe down. Working with an empty top lets you see the true proportions of the piece and frees you from old habits, like always putting the lamp in the same corner.
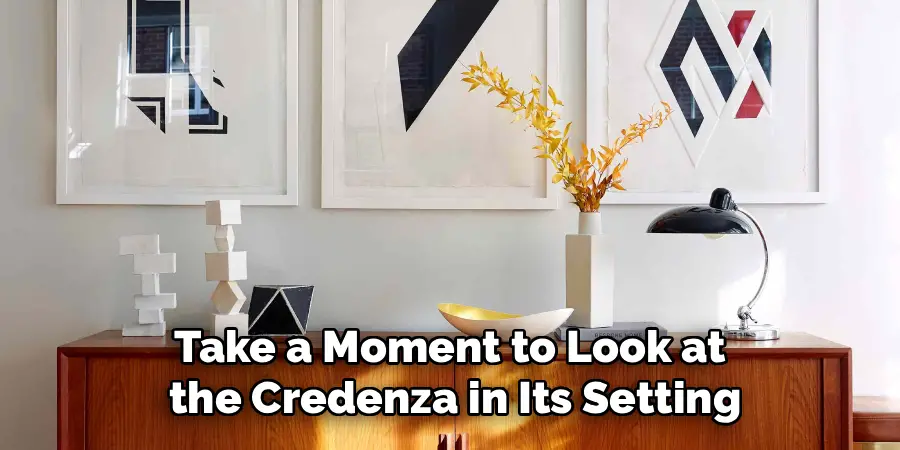
Take a moment to look at the credenza in its setting. Notice the wall behind it, the light at different times of day, and how people move past it. This quick observation shapes every choice that follows. A clean slate feels a little intimidating at first, but it’s the most freeing way to begin, giving you room to experiment without clutter pulling your eye in ten directions.
Step 2: Anchor With a Large Statement Piece
Every great arrangement needs a visual anchor, so start big. Lean a framed piece of art against the wall or hang it just above the surface, or use a tall mirror to bounce light around the room. This large element sets your scale and gives smaller items something to relate to.
Position your anchor slightly off-center rather than dead middle for a more natural, collected look. If you prefer symmetry, that’s fine too, just keep it intentional. The goal is to establish a clear focal point before anything else joins the scene. With this foundation in place, every following layer has a reference point, which makes the rest of the styling feel far easier and more cohesive.
Step 3: Build Height and Layers
With your anchor set, it’s time to play with height. Flat, same-level arrangements look static, so vary your levels to create movement. Knowing how to style a credenza with confidence often comes down to this single trick: layering tall, medium, and short objects together.
Place taller items like vases or candlesticks toward the back or beside your anchor, then step down to medium pieces, and finish with low items near the front. Stacking a few books to lift a small object is a designer favorite. This staircase effect guides the eye smoothly across the surface. Think of it like arranging a tiny skyline, where varied peaks keep things interesting and balanced rather than flat and forgettable.

Step 4: Group Items in Odd Numbers
Here’s a styling secret the pros swear by: odd numbers simply look better. Groups of three or five feel more natural and dynamic than even, perfectly matched pairs. Our eyes find a little asymmetry pleasing, so lean into it when you arrange your accessories.
Cluster related objects together to form mini vignettes, like a small plant beside a stack of books topped with a candle. Vary the textures and shapes within each group to keep things lively. Leave a touch of breathing room between clusters so nothing feels cramped. These small groupings give your eye places to rest and explore, turning a scattered collection of items into a polished, deliberate display.
Step 5: Add Greenery and Natural Texture
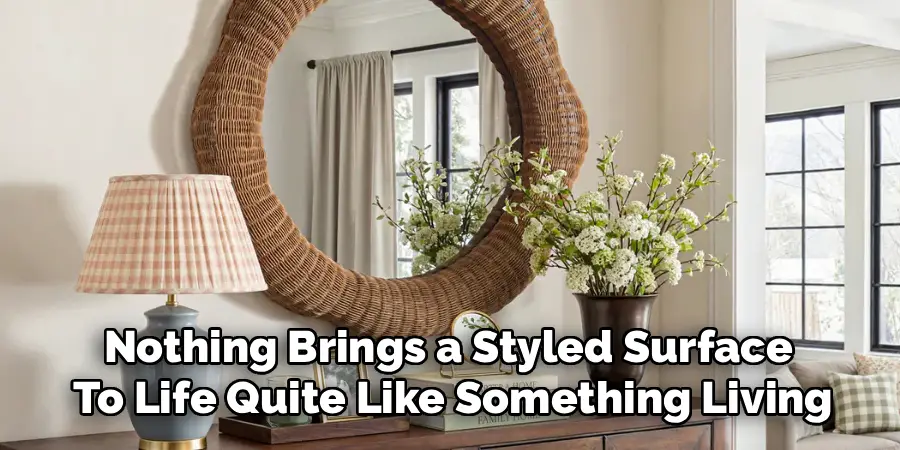
Nothing brings a styled surface to life quite like something living. A trailing plant, a leafy stem in a vase, or even a small bowl of dried botanicals adds softness and color that breaks up hard, manufactured edges. Greenery instantly makes a space feel fresh and cared for.
If you tend to forget watering, faux plants and stems have come a long way and look surprisingly real. Natural materials work beautifully too, so think woven baskets, a wooden bowl, or a stone object. These organic textures add warmth and contrast against sleek surfaces. A single touch of green often becomes the detail that makes the whole arrangement feel finished, inviting, and genuinely lived in.
Step 6: Layer in Personal and Functional Touches
A credenza shouldn’t feel like a showroom display, so weave in pieces that mean something to you. A travel souvenir, a small framed photo, or a treasured book gives the arrangement a story and makes it unmistakably yours. Learning how to style a credenza that feels personal is what separates a generic setup from one that sparks joy.
Balance these meaningful items with a few functional ones, especially if the credenza sits in an entryway. A small tray for keys, a dish for sunglasses, or a stylish box for chargers keeps daily clutter contained. The trick is choosing pieces that look good and earn their spot, so beauty and usefulness work together rather than competing for space.
Frequently Asked Questions
How Many Items Should I Put on a Credenza?
There’s no strict rule, but most well-styled surfaces feature three to seven items or small groupings. The exact number depends on your credenza’s size and your personal taste. Aim for enough to feel intentional without crowding the surface. Leave some open space so each piece can breathe. If it starts to look cluttered or hard to dust, that’s your cue to gently remove a thing or two.
What Goes in the Middle of a Credenza?
The center is prime real estate, so reserve it for your strongest element or anchor. Many people place art or a mirror behind the middle, then position a standout object slightly off-center in front. This avoids a stiff, overly symmetrical feel while still giving the eye a clear focal point. You can also keep the exact center a little open, letting flanking groupings draw attention inward naturally.
How Do I Style a Credenza in a Small Space?
In tight rooms, less is genuinely more. Choose a few multipurpose pieces, like a tray that corrals small items and a single plant for life. A mirror works wonders here, reflecting light and making the area feel larger. Keep heights moderate so the arrangement doesn’t overwhelm the room. Functional touches matter most in small spaces, so prioritize items that look good and help keep daily clutter neatly contained.

Can I Mix Different Decor Styles Together?
Absolutely, and mixing styles often creates the most interesting, personal results. The key is finding a common thread to tie things together, such as a shared color palette, similar materials, or a consistent metal finish. This thread keeps an eclectic mix feeling intentional rather than chaotic. Start with one or two contrasting pieces, see how they feel together, and build from there. Trust your eye and adjust until the combination clicks.
How Often Should I Update My Credenza Styling?
Refresh it whenever it feels stale or with the changing seasons, which is often every few months. Swapping a vase, rotating art, or adding seasonal greenery keeps the display feeling fresh without a full overhaul. You don’t need to start from scratch each time, so a few small changes go a long way. Listen to your instincts. If you stop noticing the arrangement, a quick update will make it feel new again.
Conclusion
Turning a plain surface into a polished focal point is far simpler than it looks once you have a reliable method to follow. The whole process comes down to a few friendly steps: start with a clean slate, anchor with a statement piece, build height and layers, group in odd numbers, add greenery, weave in personal touches, and edit until it feels balanced. Each step builds on the last, taking the guesswork out of design and replacing it with confidence. Remember that the best arrangements reflect you, so let your favorite pieces lead the way and don’t be afraid to experiment.
Now that you understand how to style a credenza from start to finish, you have everything you need to transform that empty top into something you’ll genuinely love. Gather a few favorite objects, set aside twenty minutes, and start arranging. Trust the process, step back often, and enjoy watching your space come together beautifully.

Rick is a handyman who grew up helping his dad with his business. He learned a lot from him about how to fix things, and also about how to work hard and take care of business. These days, Rick is still into fixing things- only now, he’s doing it for a living.
Rick is always looking for new ways to help people grow and develop. That’s why he started contributing to this blog: to share all his experience and knowledge so that he can help people who are interested in DIY repair.