
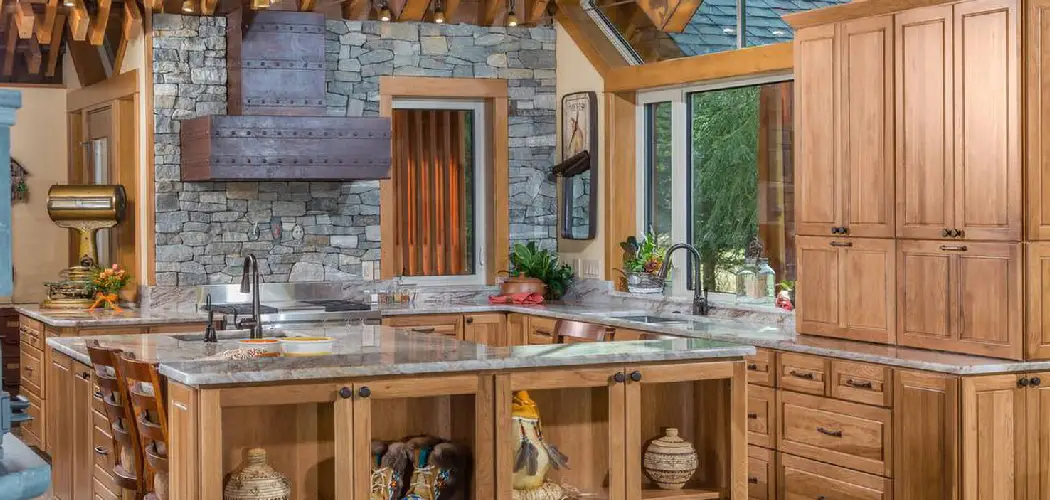
There’s something deeply comforting about a kitchen that feels warm, lived-in, and full of character. If your cabinets look flat, builder-grade, or just plain boring, you don’t need a full remodel to change that. With a little paint, some clever distressing, and a few simple tools, you can give tired cabinets the cozy, weathered charm of a farmhouse retreat. The best part? Learning how to make cabinets look rustic is a beginner-friendly weekend project that costs far less than buying new.
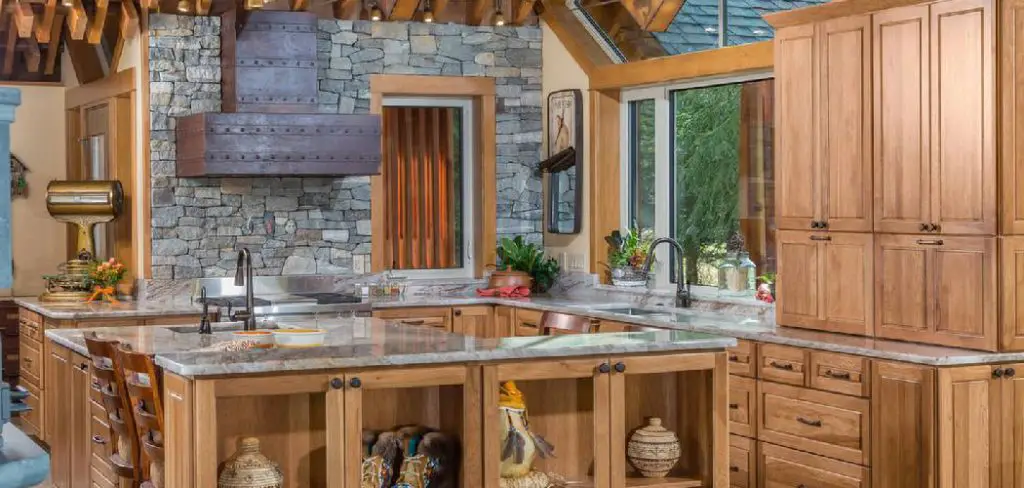
You don’t need fancy carpentry skills or expensive equipment, just patience and a willingness to embrace small imperfections. In fact, imperfection is the whole point of the rustic style. This guide walks you through every stage in plain, easy-to-follow language, from prepping the surface to sealing your finish for the long haul. By the end, you’ll feel confident picking up a brush and transforming your space into something that feels handmade, timeless, and entirely yours.
Why Making Cabinets Look Rustic Matters
A rustic finish does more than look good. It adds instant warmth and personality that modern, glossy cabinets often lack, turning a plain kitchen into a welcoming gathering spot. Going rustic is also wonderfully forgiving for beginners, since scuffs, dents, and uneven brushstrokes only add to the charm rather than ruining it. That means less pressure and more fun as you work.
On a practical level, this kind of makeover saves serious money. Refinishing what you already own keeps usable cabinets out of the landfill and away from costly replacement bills. You also gain a transferable skill you can use on dressers, shelves, and tables. Best of all, a distressed finish hides everyday wear beautifully, so your cabinets keep looking great for years with very little fuss.
Step-by-Step Guide to How To Make Cabinets Look Rustic
Step 1: Gather Your Supplies and Set Up
Before you dive in, collect everything you’ll need so you aren’t scrambling mid-project. Grab chalk or latex paint in your chosen base and topcoat colors, a quality angled brush, fine-grit sandpaper, a sanding block, painter’s tape, a screwdriver, and clean rags. A clear wax or sealer finishes the look.
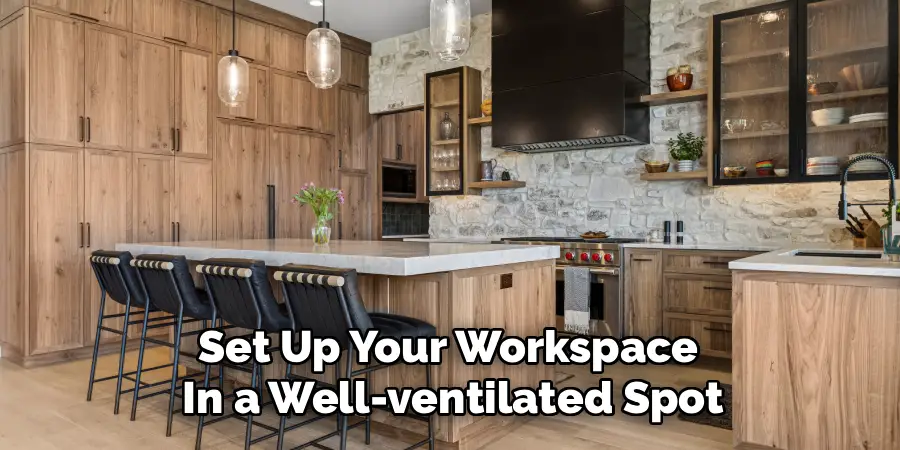
Set up your workspace in a well-ventilated spot like a garage or near an open window. Lay down a drop cloth to protect your floors, and arrange your tools within easy reach. Taking a few minutes to organize now keeps your workflow smooth and stress-free. Good preparation here is the quiet secret behind a polished, professional-looking result later.
Step 2: Remove Doors and Hardware
Start by unscrewing the cabinet doors and drawer fronts, then take off all knobs, pulls, and hinges. Working on flat, detached pieces is far easier than reaching into awkward corners, and it gives you cleaner, more even coverage everywhere.
Keep your screws and hardware organized in labeled bags or small containers so nothing disappears. It helps to number each door and its matching spot with a piece of tape, making reassembly painless. This small step saves real frustration when you’re putting everything back together. Trying to paint around hinges and handles almost always leaves messy edges, so removing them now sets you up for crisp, tidy results.
Step 3: Clean and Lightly Sand
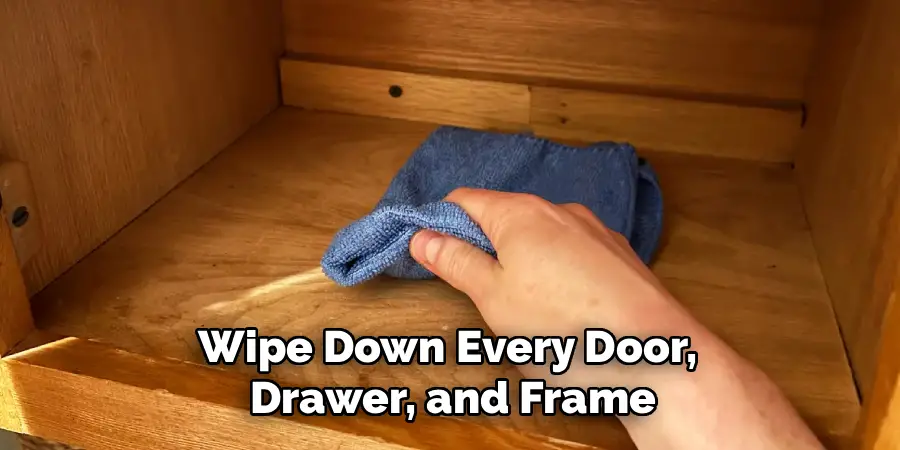
Kitchen cabinets collect grease, dust, and grime you can’t always see, and paint simply won’t stick to a dirty surface. Mix warm water with a little dish soap and wipe down every door, drawer, and frame. For stubborn buildup, a gentle degreaser works wonders. Rinse with a damp cloth and let everything dry fully.
Next, scuff each surface lightly with fine-grit sandpaper. You’re not stripping the finish, just dulling the shine so paint can grip properly. Wipe away the dust with a tack cloth or damp rag when you’re done. This clean, lightly roughened base is what keeps your finish from peeling down the road.
Step 4: Apply Your Base Coat
The base coat sets the foundation for your whole rustic look, so choose a color you want peeking through later when you distress the surface. Many people pick a darker tone underneath a lighter topcoat for that classic worn, layered effect. Stir your paint well and apply thin, even coats with your angled brush.
Resist the urge to glob it on thick, since thin layers dry smoother and resist drips. Let each coat dry completely before adding the next, and two thin coats almost always beat one heavy one. Knowing how to make cabinets look rustic starts here, with a solid, patient base that gives your distressing real depth.
Step 5: Add the Topcoat and Layered Color
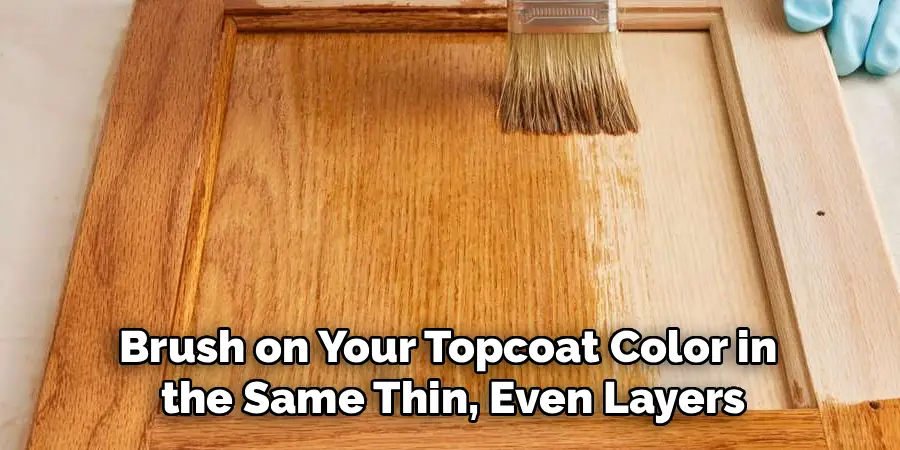
Once your base coat is fully dry, brush on your topcoat color in the same thin, even layers. For an authentic farmhouse feel, try a dry-brush technique, where you dip just the tips of your brush in paint, wipe off most of it, then drag it lightly across the surface. This leaves soft, uneven streaks that look beautifully aged.
Don’t aim for perfect, full coverage here. Letting bits of the base color show through is exactly what creates that charming, time-worn character. Work in one direction along the grain, and step back often to check your progress. A little variation makes the finish feel genuine rather than mass-produced.
Step 6: Distress for That Weathered Look
This is where the magic happens. Once your paint dries, grab your sandpaper and gently rub the edges, corners, and any spots that would naturally wear over time, like around handles and along raised panels. Sanding through to the base color, or even the bare wood, reveals those lovely hints of age.
The trick to making cabinets look rustic convincingly is restraint, so go slowly and build up the effect gradually. You can always remove more, but you can’t easily put it back. For extra texture, lightly tap the surface with a chain or hammer to add subtle dents. Wipe away all dust before moving on to seal your work.
Step 7: Seal and Reassemble
Protect all your hard work with a clear sealer or furniture wax. Wax gives a soft, matte sheen that suits the rustic style perfectly, while a water-based polyurethane offers tougher protection for high-use kitchens. Apply a thin, even layer with a clean cloth or brush, then buff gently once it dries.
Let the sealer cure fully according to the label before handling the pieces too much. When everything is hard and dry, reattach your hinges, knobs, and pulls, then rehang the doors using your numbered labels as a guide. Step back and admire your transformation. Your cabinets now carry that cozy, handcrafted charm that makes a whole room feel warmer.

Frequently Asked Questions
Do I Need to Sand Cabinets Before Painting?
A light sanding is highly recommended, though you don’t need to strip the cabinets bare. Gently scuffing the surface with fine-grit sandpaper dulls the existing shine, giving your paint something to grip. This simple step dramatically reduces the risk of peeling or chipping later. If your cabinets have a glossy factory finish, sanding becomes especially important for a result that lasts for years.
What Type of Paint Works Best for a Rustic Finish?
Chalk paint is a favorite for rustic projects because it adheres well, dries quickly, and distresses beautifully with minimal effort. Latex paint also works nicely and offers more color choices. The most important thing is using thin, even coats and choosing two contrasting tones for that layered, worn look. Whichever you pick, a matte or satin sheen suits the farmhouse style far better than a glossy finish.
How Do I Make Distressing Look Natural?
Focus on the areas that would naturally wear over time, such as edges, corners, handles, and raised details. Sand lightly and gradually, checking your progress often so you don’t overdo it. Real wear is uneven, so vary your pressure and avoid making every spot identical. Stepping back frequently helps you keep perspective. Patience and restraint are what separate a genuine aged look from an obviously fake one.
How Long Should I Wait Between Coats?
Drying times vary by paint type and humidity, so always check your product label first. As a general rule, allow at least two hours between coats, and let the base coat dry fully before adding your topcoat. Rushing leads to smudges and uneven texture. When in doubt, wait a little longer. A fully dry surface accepts the next layer smoothly and keeps your finish looking clean and professional.
Will the Finish Hold Up in a Busy Kitchen?
Yes, as long as you seal it properly. A clear topcoat of furniture wax or water-based polyurethane shields your paint from moisture, grease, and daily handling. Polyurethane is the more durable choice for high-traffic kitchens, while wax offers a softer look that needs occasional reapplication. With a good seal and gentle cleaning, your rustic cabinets can stay beautiful and resilient for many years.
Conclusion
Giving your kitchen a cozy, character-filled makeover is far more achievable than it first appears. The whole process comes down to a handful of reliable steps: prep and clean thoroughly, apply a base coat, layer your topcoat, distress with a light touch, and seal to protect your work.
Each stage builds on the last, turning plain, forgettable cabinets into pieces that feel handmade and full of warmth. The best part is how forgiving this style is, since every little imperfection only adds to the charm. Now that you understand how to make cabinets look rustic from start to finish, you have everything you need to begin with confidence. Gather your supplies, set aside a weekend, and embrace the relaxed, creative spirit of the project. You’ll save money, learn a handy new skill, and end up with a kitchen that feels uniquely yours. Pick up that brush and start transforming your space today.

Rick is a handyman who grew up helping his dad with his business. He learned a lot from him about how to fix things, and also about how to work hard and take care of business. These days, Rick is still into fixing things- only now, he’s doing it for a living.
Rick is always looking for new ways to help people grow and develop. That’s why he started contributing to this blog: to share all his experience and knowledge so that he can help people who are interested in DIY repair.