
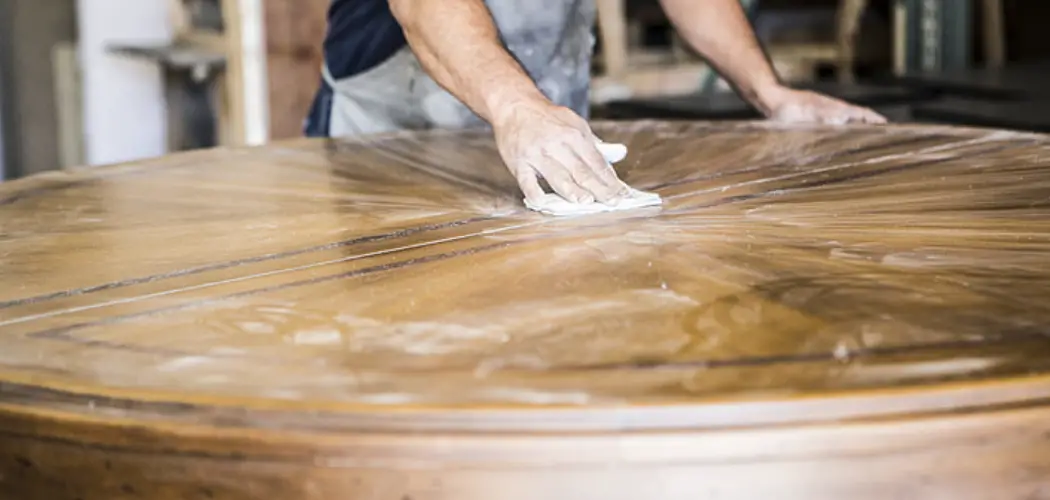
A fresh coat of paint can completely transform an old dresser, chair, or table. But before you reach for that brush, there’s one step you can’t skip: cleaning. Skipping prep work is the number one reason DIY paint jobs peel, bubble, or look patchy within weeks. Learning how to clean furniture before painting is the secret to results that actually last.
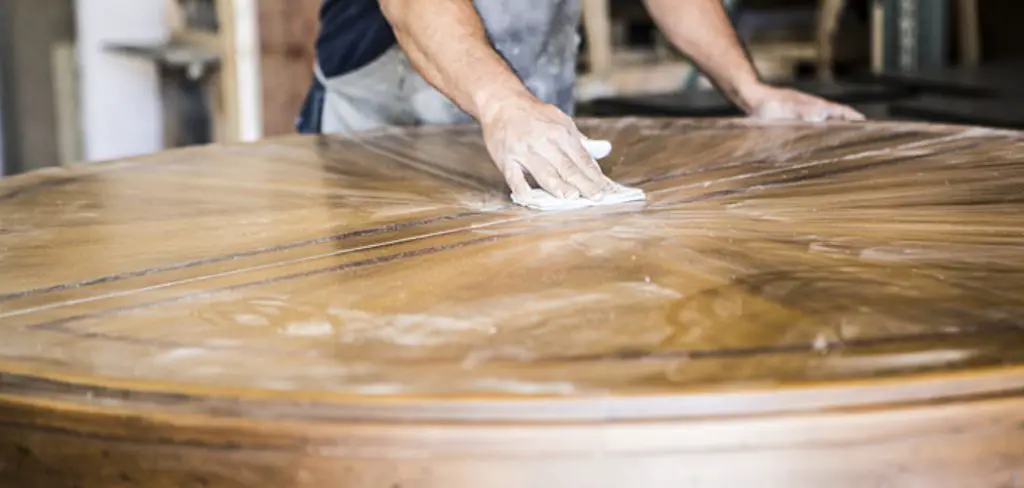
Dust, grease, wax, and old polish create a slippery barrier between your furniture and the paint. When you remove that buildup, paint grips the surface properly and dries into a smooth, even finish. The good news? You don’t need fancy tools or professional experience. With a few household supplies and a little patience, anyone can get this right.
In this guide, we’ll walk you through every step in plain language, answer common questions, and help you avoid the mistakes beginners often make. Whether you’re upcycling a thrift-store find or refreshing a family heirloom, you’ll feel confident tackling the job from start to finish.
Why Cleaning Furniture Before Painting Matters
Cleaning isn’t just an extra chore; it’s the foundation of a great finish. When you paint over grime, oils, or old wax, the paint can’t bond to the surface. That leads to peeling, chipping, and uneven coverage that ruins all your hard work.
Proper cleaning also helps you spot hidden problems, like sticky residue or stubborn stains, before they sabotage your project. A clean surface means smoother application, fewer coats, and a professional-looking result. You’ll save money on wasted paint and avoid the frustration of redoing the job.
Think of it this way: every minute spent cleaning saves you hours of repair later. It’s the simplest way to guarantee your effort pays off with a finish you’ll be proud of for years.
Step-by-Step Guide to How to Clean Furniture Before Painting
Step 1: Gather Your Supplies
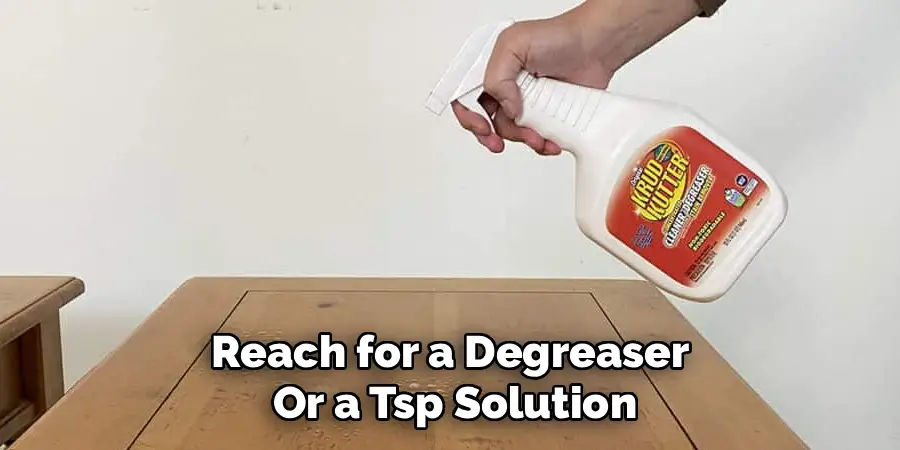
Before you begin, set yourself up for success by collecting everything in one place. You’ll want a mild dish soap, warm water, a soft sponge, clean rags, rubber gloves, and a bucket. For tougher jobs, grab a degreaser or trisodium phosphate (TSP), plus fine-grit sandpaper for later. Having your tools ready prevents frustrating mid-task interruptions and keeps your momentum going.
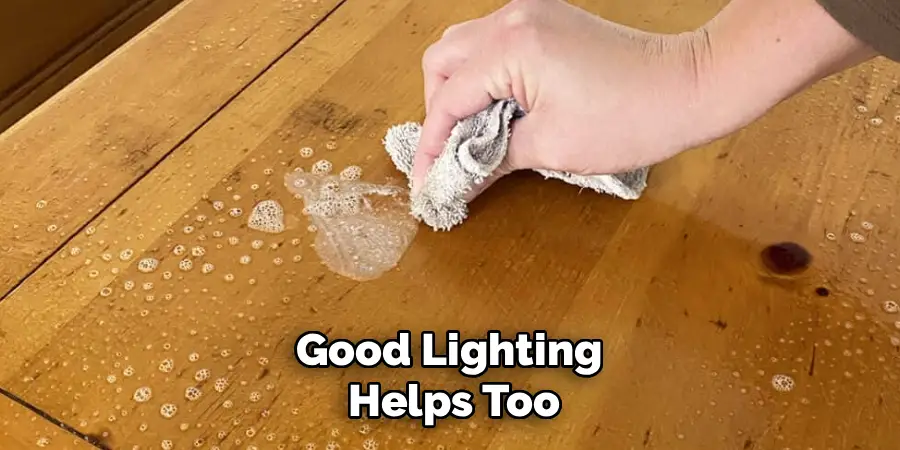
Lay down a drop cloth or old sheet to protect your floor from drips and dust. Good lighting helps too, so you can spot grime you might otherwise miss. A little preparation now makes the entire cleaning process smoother and far more enjoyable.
Step 2: Remove Hardware and Loose Parts
Take a few minutes to unscrew knobs, handles, hinges, and any removable parts. Cleaning around hardware is awkward and often leaves missed spots, so removing these pieces gives you full access to every surface. It also protects the metal from soap, water, and future paint splatter.
Place the screws and small fittings in a labeled bag or container so nothing goes missing. If a piece is stuck, a gentle wiggle usually loosens it without force. Taking parts off now means you’ll get cleaner edges and a tidier final result, especially in those tricky corners and recessed areas where grime tends to hide.
Step 3: Dust and Wipe Down the Surface
Start with a dry microfiber cloth to remove loose dust, cobwebs, and debris. This first pass prevents you from smearing dirt into a muddy paste once water enters the picture. Pay attention to grooves, carved details, and the undersides where dust loves to settle unnoticed.
Once the loose dirt is gone, knowing how to clean furniture before painting properly means tackling the surface grime next. Use a slightly damp cloth to lift away the finer particles. Work in sections so you don’t miss any areas. This simple dusting stage makes the deeper cleaning steps much more effective and keeps your washing water cleaner for longer.

Step 4: Wash With Soap and Water
Mix a few drops of mild dish soap into warm water until it’s lightly sudsy. Dip your sponge, wring out the excess, and wipe the furniture in gentle, even strokes. The goal is a damp sponge, not a soaking one, since too much water can warp wood or seep into joints. Work from top to bottom so drips fall onto areas you haven’t cleaned yet.
Rinse your sponge often to avoid spreading dirt around. For everyday dust and light grime, this soapy wash handles most of the job and leaves the surface ready for closer inspection and any targeted treatment.
Step 5: Tackle Grease and Stubborn Residue
Some pieces, especially kitchen furniture, carry grease and sticky buildup that soap alone won’t budge. For these, reach for a degreaser or a TSP solution, following the product instructions and wearing gloves for safety. Apply it to the affected areas, let it sit briefly, then wipe firmly with a clean rag.
This is where understanding how to clean furniture before painting really pays off, because leftover grease is a leading cause of paint failure. Don’t rush this step. Inspect the surface closely under good light, and repeat the treatment on any spots that still feel slick or tacky to the touch.
Step 6: Rinse and Dry Completely
After washing and degreasing, you need to remove every trace of soap and cleaning product. Wipe the entire piece with a fresh cloth dampened in clean water. Any residue left behind can interfere with paint adhesion, so be thorough and change your rinse water if it looks cloudy.
Once rinsed, dry the furniture with a clean towel and then let it air-dry fully. Patience matters here. Painting over damp wood traps moisture and causes bubbling later. Depending on the humidity, give it a few hours or even overnight. A completely dry surface is non-negotiable for a flawless finish.
Step 7: Lightly Sand and Do a Final Wipe
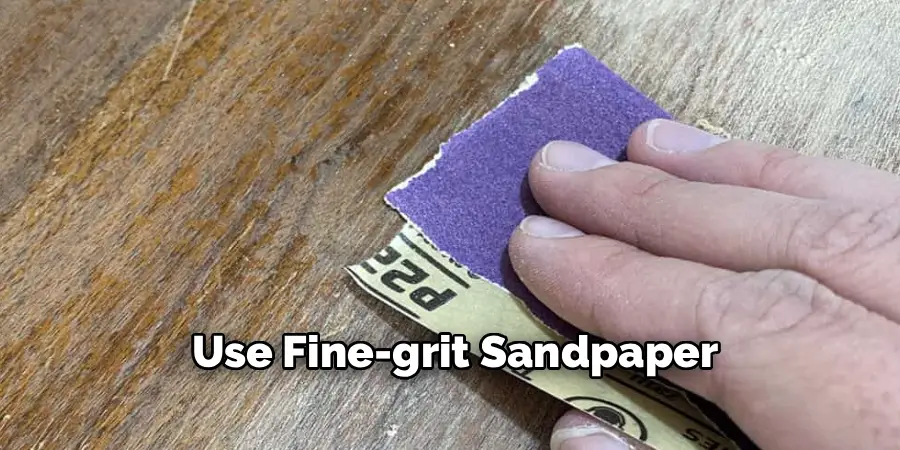
With the surface clean and dry, a light sanding helps paint grip even better. Use fine-grit sandpaper and scuff the surface gently, just enough to dull any remaining sheen. You’re not stripping the piece, only creating a slightly rough texture for the paint to cling to.
Sanding creates dust, so finish with a tack cloth or a barely damp rag to remove every particle. Run your hand over the surface to check for smoothness and missed spots. Once it feels clean, dry, and dust-free, your furniture is fully prepped and ready for primer or your first coat of paint.
Frequently Asked Questions
Do I Really Need to Clean Furniture if It Looks Clean?
Yes, absolutely. Even furniture that looks spotless carries invisible layers of dust, oils from hands, and old polish residue. These films prevent paint from bonding properly, leading to peeling down the line. A quick wash takes only minutes and guarantees a stronger, longer-lasting finish. When in doubt, always clean. It’s a small effort that protects your entire project from disappointing results.
What Is the Best Cleaner to Use?
For most pieces, a simple mix of mild dish soap and warm water works beautifully and won’t damage finishes. For greasy or heavily soiled furniture, a degreaser or diluted TSP solution does the heavy lifting. Avoid harsh chemicals that can leave residue or harm the surface. Always test any stronger cleaner on a hidden spot first, and wear gloves when using TSP for safety.
How Long Should Furniture Dry Before Painting?
Drying time depends on humidity, temperature, and how much water you used. As a general rule, allow at least two to four hours after rinsing, though overnight drying is safest for wood. The surface should feel completely dry to the touch with no cool or damp patches. Rushing this step traps moisture, which causes bubbling and peeling, so patience here truly protects your finish.
Do I Have to Sand After Cleaning?
Sanding isn’t always required, but it’s highly recommended for glossy or previously painted surfaces. A light scuff with fine-grit sandpaper dulls the sheen and gives paint something to grip. If you’re using a self-priming paint or a bonding primer, you may skip heavy sanding. Still, a quick once-over usually improves adhesion and produces a noticeably smoother, more durable final result.
Can I Skip Cleaning if I’m Using Primer?
No, primer is not a substitute for cleaning. Primer bonds to a clean surface, not to dirt, grease, or wax. Applying primer over grime simply traps that buildup underneath, where it weakens adhesion and causes flaking. Always clean first, let the piece dry, then prime. Think of cleaning and priming as a team that work together to deliver a flawless, lasting finish.
Conclusion
Great paint results start long before you open the can. By taking time to clean, degrease, rinse, dry, and lightly sand your piece, you create the perfect foundation for paint that bonds beautifully and lasts for years. Each step builds on the last, turning a simple weekend project into a finish you’ll genuinely be proud of.
Now that you know how to clean furniture before painting the right way, you can approach any project with confidence. Don’t rush the prep, trust the process, and enjoy the transformation. Grab your supplies, pick that piece you’ve been eyeing, and get started today. Your future self will thank you when the paint stays smooth, vibrant, and chip-free for the long haul.

Rick is a handyman who grew up helping his dad with his business. He learned a lot from him about how to fix things, and also about how to work hard and take care of business. These days, Rick is still into fixing things- only now, he’s doing it for a living.
Rick is always looking for new ways to help people grow and develop. That’s why he started contributing to this blog: to share all his experience and knowledge so that he can help people who are interested in DIY repair.