
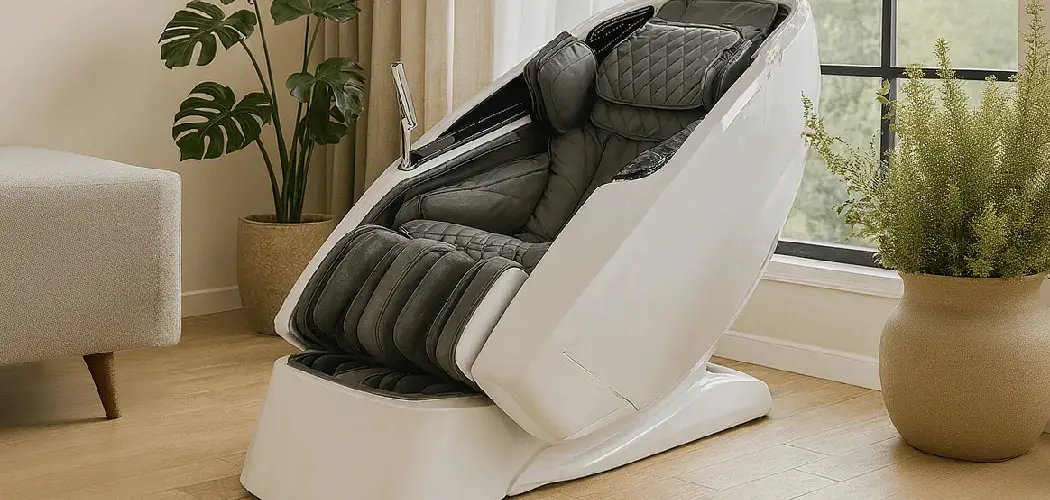
Your Osaki massage chair is a little oasis of calm after a long day, but even the best technology hits a snag now and then. Maybe the rollers freeze mid-session, the remote stops responding, or an error code flashes on the screen. Before you panic or call for repairs, there’s a simple fix that solves most of these hiccups. Learning how to reset osaki massage chair models is one of the most useful skills you can pick up as an owner, and the good news is that it takes only a few minutes.

A reset clears out temporary glitches, refreshes the chair’s internal system, and gets you back to relaxing fast. You don’t need any special tools or technical know-how. This guide breaks everything down into clear, beginner-friendly steps you can follow with confidence. We’ll explain why resets matter, walk you through the exact process, and answer the questions owners ask most. By the end, you’ll feel completely comfortable handling small issues on your own.
Why Resetting Your Osaki Massage Chair Matters
A massage chair is essentially a small computer wrapped in cushions and motors. Like any smart device, it can develop minor software hiccups that interrupt performance. Resetting clears these temporary errors and restores the chair to its default working state, which often solves problems faster than any other fix.
There’s real value in knowing this skill. A quick reset can save you the cost and hassle of a service call, reduce downtime, and extend the life of your chair by keeping its system running smoothly. It also gives you peace of mind, since you’ll know exactly what to do when an error code or frozen function appears. Instead of feeling stuck, you’ll feel in control, confident that you can troubleshoot common issues and get back to your relaxation routine in just a few simple steps.
Step-by-Step Guide to How To Reset Osaki Massage Chair
Step 1: Stop the Current Session Safely
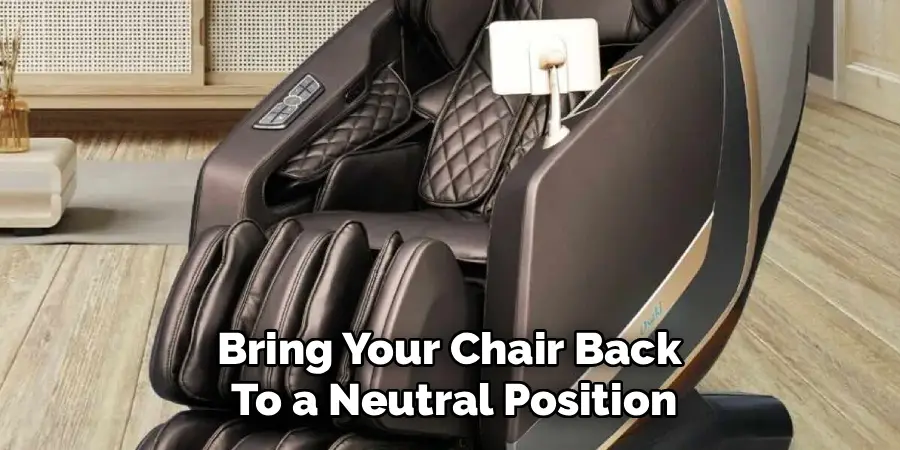
Before you do anything else, bring your chair back to a neutral position. Press the stop or pause button on your remote so the rollers and recline functions return to their default resting spot. This protects the motors and prevents any strain when power cuts off.
Wait for the chair to fully settle before moving on. If the chair is frozen and won’t respond to the remote, don’t force it or yank on any moving parts. Simply leave it as it is for the moment. A safe, calm starting point makes the rest of the reset process smoother and helps avoid accidental damage to the chair’s internal components.
Step 2: Power Down the Chair Completely
Locate the main power switch, which usually sits on the side or back of the chair near the cord. Flip it to the off position so the chair loses all active power. You’ll typically hear the motors go quiet and see the control screen turn dark, confirming the shutdown worked.
Powering down completely is the foundation of how to reset osaki massage chair systems correctly. It gives the internal electronics a chance to stop all running processes. Avoid simply pressing the standby button on the remote, since that only puts the chair in sleep mode rather than fully cutting power. A true shutdown is what allows the next steps to work properly.
Step 3: Unplug From the Wall Outlet
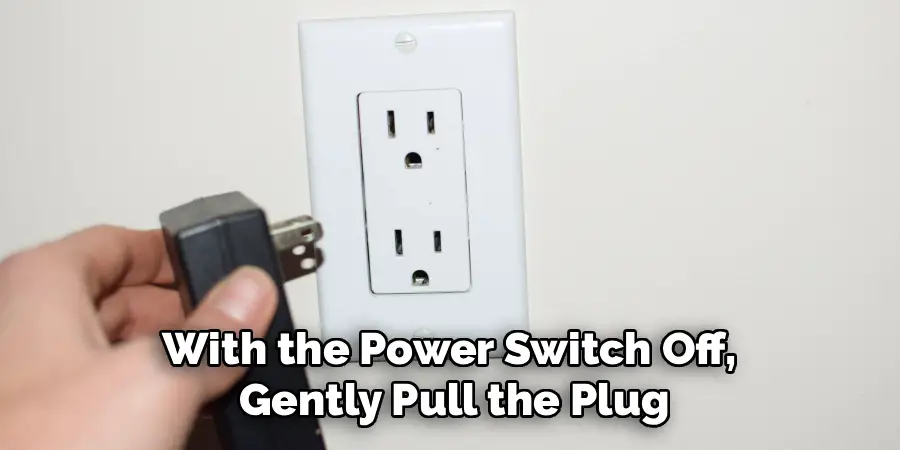
With the power switch off, gently pull the plug from the wall outlet. This is a crucial step that many people skip, but it’s what truly clears the chair’s temporary memory and resets the electrical system. Handle the cord by the plug itself rather than tugging on the wire.
Once unplugged, take a moment to inspect the cord and plug for any visible wear, fraying, or loose connections. If everything looks healthy, set it aside safely. Disconnecting from the wall ensures no residual power lingers in the system, giving you a clean slate for the chair’s electronics to refresh fully before you reconnect.
Step 4: Wait for the System to Discharge
Patience pays off here. Let the chair sit unplugged for at least 60 seconds, though waiting a full two to three minutes is even better. This pause allows any stored electrical charge in the capacitors to drain away completely, which is essential for a genuine reset.
Rushing this step is one of the most common mistakes owners make. If you plug the chair back in too quickly, leftover charge can keep the glitch alive, and you’ll find yourself starting over. Use this time to tidy the area around your chair or simply take a short breather. When the wait is done, you’re ready to bring the system back to life.
Step 5: Reconnect and Power On
Plug the chair firmly back into the wall outlet, making sure the connection is snug and secure. Then flip the main power switch to the on position. You should see the control screen light up and hear a soft beep or a brief whir as the motors initialize.
This stage is the heart of how to reset osaki massage chair models, because the chair now reboots with a fresh system. Give it a few seconds to complete its startup sequence without pressing any buttons. Many chairs run a quick self-check during this phase, calibrating the rollers and confirming all functions are ready. Let the chair finish before you interact with it.

Step 6: Run a Calibration Test
Once the chair powers on fully, grab your remote and start a basic massage program. Choose a simple automatic mode rather than a complex custom setting. This lets you confirm the rollers move smoothly, the recline works, and any previous error codes have cleared from the display.
Watch and listen as the chair operates. The movements should feel even and the sounds should be steady, without grinding or stalling. If everything runs as expected, your reset worked perfectly. Running this quick test gives you confidence that the chair is fully functional again and ready for your next relaxation session, rather than discovering a lingering issue later.
Step 7: Restore Your Personal Settings
A full reset often returns your chair to its factory defaults, which means saved programs, intensity levels, or custom preferences may have cleared. Take a few minutes to reprogram your favorite settings through the remote menu. Most Osaki models make this easy with on-screen prompts that guide you along the way.
Set your preferred massage intensity, recline angle, and any memory slots you regularly use. Once you’ve saved them, run one more short test to make sure your preferences stick. With your personalized comfort restored, your chair is back to feeling like your own. You’ve successfully completed the process and can return to enjoying smooth, worry-free sessions.

Frequently Asked Questions
Why Is My Osaki Massage Chair Not Responding?
Most often, an unresponsive chair points to a temporary software glitch, a loose power connection, or a tripped safety sensor. Start by checking that the cord is firmly plugged in and the power switch is on. If the chair still won’t respond, a full reset usually clears the issue. Lingering problems after a reset may signal a deeper fault worth reporting to support.
How Often Should I Reset My Chair?
There’s no fixed schedule for resetting your chair. You only need to do it when something goes wrong, such as a frozen function, an error code, or an unresponsive remote. Resetting is a troubleshooting tool, not routine maintenance. For general upkeep, focus instead on keeping the chair clean, avoiding overloading the seat, and following the weight and usage limits in your owner’s manual.
Will Resetting Erase My Saved Settings?
In many cases, yes. A complete reset can return the chair to its factory defaults, which may clear custom programs, saved intensity levels, and memory slots. This is normal and nothing to worry about. After the reset finishes, simply use the remote to reprogram your favorite preferences. The process is quick, and most Osaki models guide you through it with clear on-screen menus.
What Do the Error Codes on the Display Mean?
Error codes are the chair’s way of flagging a specific issue, such as a sensor problem, a motor fault, or an obstruction. Each code corresponds to a particular meaning listed in your owner’s manual. A reset clears many minor codes instantly. If a code keeps reappearing after resetting, write it down and contact customer support so they can pinpoint the exact cause for you.
Is It Safe to Reset the Chair Myself?
Absolutely. Resetting your chair is a safe, beginner-friendly task that involves nothing more than powering down, unplugging, waiting, and reconnecting. You won’t need tools or technical experience. Just handle the cord gently and avoid forcing any frozen parts. If you ever feel unsure or the chair behaves strangely after several attempts, reaching out to expert support gives you added reassurance and guidance.
Conclusion
Troubleshooting your massage chair doesn’t have to feel intimidating. As you’ve seen, the process follows a simple, logical order: stop the session, power down, unplug, wait for the system to discharge, reconnect, test, and restore your settings. Each step builds on the last, turning what might seem like a frustrating malfunction into a quick, manageable fix you can handle entirely on your own. The key is patience, especially during that crucial waiting period that lets the electronics fully refresh.
Now that you know how to reset osaki massage chair models with confidence, you’re well equipped to tackle the most common glitches without stress or expense. Bookmark this guide so it’s handy the next time an error code pops up or a function freezes. Go ahead and put these steps into practice, and you’ll be back to enjoying smooth, relaxing sessions in no time. Your comfort is just a quick reset away, and you have everything you need to keep your chair running beautifully.

Rick is a handyman who grew up helping his dad with his business. He learned a lot from him about how to fix things, and also about how to work hard and take care of business. These days, Rick is still into fixing things- only now, he’s doing it for a living.
Rick is always looking for new ways to help people grow and develop. That’s why he started contributing to this blog: to share all his experience and knowledge so that he can help people who are interested in DIY repair.