
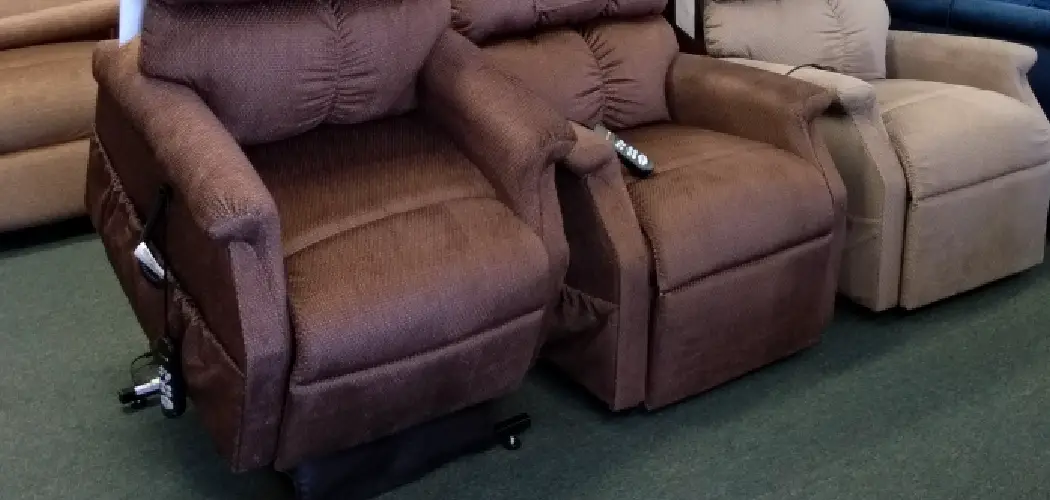
A lift chair is more than just furniture. For many people, it’s a lifeline that makes standing up safe, simple, and dignified. So when that smooth rise turns into a stutter, a stall, or a stubborn silence, it can feel like a small crisis. The good news is that most problems are easier to solve than you might think. Learning how to fix a lift chair at home often comes down to a few simple checks, the right tools, and a bit of patience.
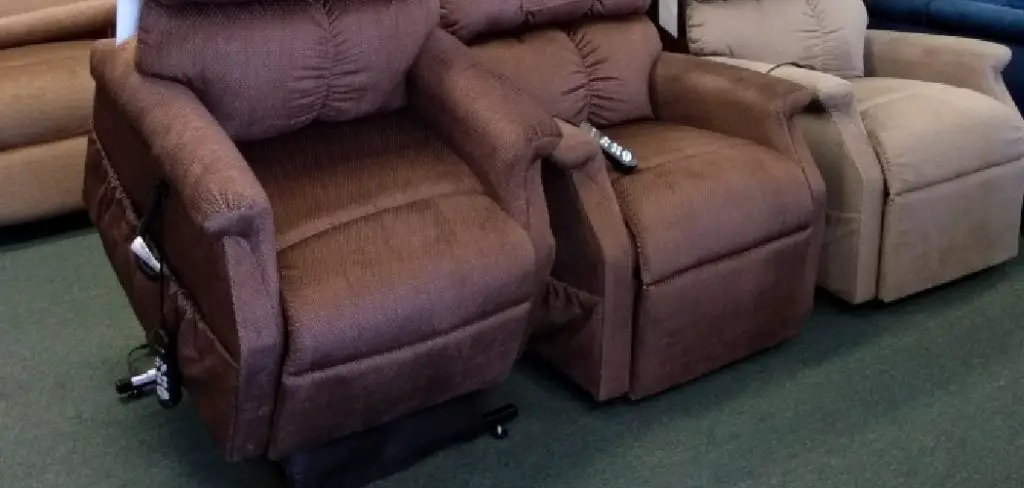
You don’t need to be an engineer or call an expensive technician for every hiccup. Many issues trace back to a loose cable, a tired battery, or a worn part you can swap yourself. This guide walks you through each step in plain language, no jargon required. Whether your chair won’t lift, won’t recline, or makes odd noises, you’ll find clear answers here. By the end, you’ll feel confident troubleshooting the problem and getting your chair back to the dependable comfort you count on every single day.
Why Fixing a Lift Chair Matters
A working lift chair supports independence, and that matters more than any quick fix. For someone with limited mobility, a reliable chair means standing without help, sitting without fear of falling, and keeping daily routines intact. When it breaks, those small freedoms slip away fast.
There’s also a practical side. Repairs usually cost far less than a brand-new chair, which can run into hundreds or even thousands of dollars. Catching a minor issue early, like a frayed wire or a failing power supply, stops it from snowballing into bigger, pricier damage. Beyond the savings, fixing the chair quickly keeps your loved one safe and comfortable. A stalled motor or jammed mechanism can become a hazard, so timely action protects both peace of mind and physical wellbeing. Empowering yourself with a little know-how pays off in real, lasting ways.
Step-by-Step Guide to How To Fix a Lift Chair
Step 1: Check the Power Source First
Before assuming the worst, start with the basics. A surprising number of lift chair problems come from a simple power issue. Make sure the chair is plugged firmly into a working wall outlet, and test that outlet with another device like a lamp or phone charger to confirm it has power.
Next, inspect the power cord for any kinks, cuts, or frayed sections. Trace it from the wall all the way to the chair, looking for damage along the route. If you use a power strip, plug the chair directly into the wall instead to rule out a faulty strip. This quick check often solves the issue in seconds.

Step 2: Inspect the Transformer Box
If the outlet works but the chair stays still, the transformer box is your next suspect. This small rectangular device sits along the power cord and converts wall current into the voltage your chair needs. A failed transformer is one of the most common culprits behind a dead lift chair.
Feel the box for warmth and listen for a faint hum when you press the remote. No warmth and no sound often signal a problem. Check both connection points, where the cord enters and exits the box, making sure each plug is fully seated. Loose connections here are easy to miss but simple to fix with a firm push.
Step 3: Test and Examine the Hand Control
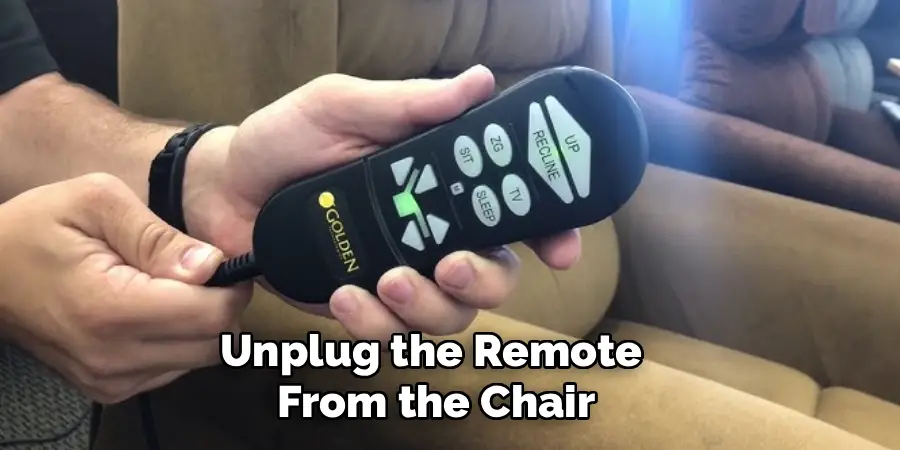
The hand control, or remote, takes a lot of daily use, so wear and tear is common. Knowing how to fix a lift chair often means starting with this handy little device. Inspect the buttons for stickiness or damage, and check the curly cord for cracks, especially near the plug ends where bending stress builds up.
Unplug the remote from the chair, then plug it back in firmly to reset the connection. If the chair still won’t respond, the remote itself may have failed internally. Testing with a known-working replacement remote, if you can borrow one, quickly confirms whether the controller is the source of your trouble.
Step 4: Look at the Battery Backup
Most lift chairs include a battery backup so you’re not stranded during a power outage. These batteries, usually two 9-volt cells, sit inside a small compartment on the motor or near the transformer. Over time they drain or corrode, and a dying backup can sometimes interfere with normal operation.
Open the battery compartment and check for leaks, white powdery buildup, or swelling. Replace old batteries with fresh ones, making sure the positive and negative ends line up correctly. Even if you mostly run on wall power, fresh batteries are cheap insurance and can clear up odd, intermittent behavior you might not expect.
Step 5: Inspect the Lift Motor and Wiring
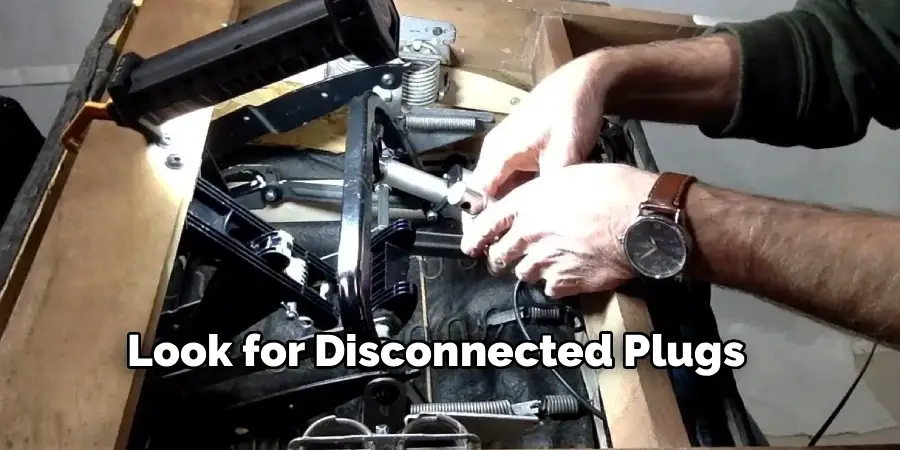
When power, remote, and batteries all check out, turn your attention to the motor. The lift motor, also called the actuator, is the muscle that raises and lowers the chair. Carefully tip the chair or look underneath to find it, then trace every wire leading in and out.
Look for disconnected plugs, pinched cables, or scorch marks that hint at a burnt-out motor. Gently reseat any loose connectors you find. If you hear a click or hum when pressing the remote but the chair doesn’t move, the motor may be jammed or failing. Motors are replaceable parts, and matching your chair’s model number ensures you order the correct one.
Step 6: Clear Mechanical Jams and Obstructions
Sometimes the electronics are fine, and the trouble is purely physical. Objects love to hide beneath lift chairs, and a stray remote, blanket, or even a pet toy can block the lifting frame. Learning how to fix a lift chair includes a careful look at the moving mechanism underneath.
Clear the area around and under the chair completely, then watch the scissor-style frame as it tries to move. Look for anything wedged in the joints or tracks. A squeak or grinding sound often points to dry, friction-heavy parts. Applying a light silicone lubricant to the pivot points can free up sticky movement and restore that smooth, quiet glide you remember.
Step 7: Reassemble, Test, and Confirm the Fix
After your repairs, put everything back in order before celebrating. Reconnect any plugs you unplugged, tuck cables neatly away from moving parts, and secure the battery cover. Loose wiring left dangling can get caught and cause fresh problems, so take a moment to route everything safely.
Now test the chair through a full cycle. Press the button to lift, let it rise completely, then lower it back down, watching and listening for smooth, steady motion. Run it a few times to confirm the issue is truly resolved and not just temporarily nudged. If everything moves cleanly and quietly, congratulations, you’ve successfully brought your chair back to life.

Frequently Asked Questions
Why Does My Lift Chair Only Move in One Direction?
This usually points to a remote or actuator issue. If the chair lifts but won’t recline, or the reverse, one set of contacts in the hand control may have failed. Try resetting the remote first by unplugging and reconnecting it. If that doesn’t help, the motor’s directional circuit could be worn, often requiring a replacement actuator to restore full movement.
How Long Do Lift Chair Motors Usually Last?
A quality lift chair motor typically lasts five to ten years with regular use, though this varies by brand and how often you use it. Heavier daily use shortens that span, while occasional use extends it. Signs of a fading motor include slow movement, unusual grinding, or stalling mid-cycle. Keeping the mechanism clean and clear of obstructions helps your motor reach its full lifespan.
Is It Safe to Repair a Lift Chair Myself?
For most basic checks, yes, it’s perfectly safe. Inspecting cords, replacing batteries, and reseating plugs carry little risk when the chair is unplugged. However, if you smell burning, see exposed wiring, or feel unsure handling electrical parts, stop and call a professional. Your safety comes first, and expert help is always worth it when the problem moves beyond simple troubleshooting steps.
What Tools Do I Need for Basic Lift Chair Repairs?
Most repairs need very little. A screwdriver set, a flashlight for seeing underneath, and fresh 9-volt batteries cover the common fixes. A multimeter helps test for power flow if you’re comfortable using one, and silicone lubricant frees up stiff joints. Having your chair’s model number handy is just as valuable, since it lets you order exact replacement parts when needed.
When Should I Replace the Chair Instead of Fixing It?
Consider replacement when repair costs approach half the price of a new chair, or when the frame itself is damaged, cracked, or unstable. Repeated failures across different parts also signal an aging chair near the end of its life. If the chair is still under warranty, contact the manufacturer first, since covered repairs or replacements may cost you nothing at all.
Conclusion
Bringing a stalled chair back to working order is rarely as daunting as it first seems. The key is to work through the problem methodically, starting with the simplest causes like power and connections before moving to the motor and mechanical parts. Each step you take rules out a possibility and brings you closer to the solution, which is exactly why a calm, step-by-step approach beats panic every time. Most issues trace back to something small and fully fixable at home.
Now that you understand how to fix a lift chair from the first power check to the final test run, you’re well equipped to handle the most common problems with confidence. Gather your tools, set aside a little time, and tackle the repair one clear step at a time. Your effort restores not just a piece of furniture, but the comfort, safety, and independence it provides. Give it a try, and enjoy the satisfaction of a job well done.

Rick is a handyman who grew up helping his dad with his business. He learned a lot from him about how to fix things, and also about how to work hard and take care of business. These days, Rick is still into fixing things- only now, he’s doing it for a living.
Rick is always looking for new ways to help people grow and develop. That’s why he started contributing to this blog: to share all his experience and knowledge so that he can help people who are interested in DIY repair.